Introduction to No-Knead Buttermilk Dinner Rolls
Have you ever craved warm, fluffy dinner rolls but felt overwhelmed at the thought of baking?
Welcome to my kitchen where No-Knead Buttermilk Dinner Rolls become your secret multitasker’s delight!
These rolls are the answer to your busy life, requiring minimal effort while delivering maximum flavor.
Perfect for family gatherings or a simple weeknight meal, they’ll become a staple on your dinner table. Let’s transform your cooking experience with this easy recipe that isn’t just about feeding your loved ones, but also filling your home with that cozy aroma of freshly baked bread!
Why You’ll Love This No-Knead Buttermilk Dinner Rolls
No-Knead Buttermilk Dinner Rolls are a game-changer for busy moms and professionals. They require just a handful of ingredients and minimal hands-on time, making them perfect for any schedule.
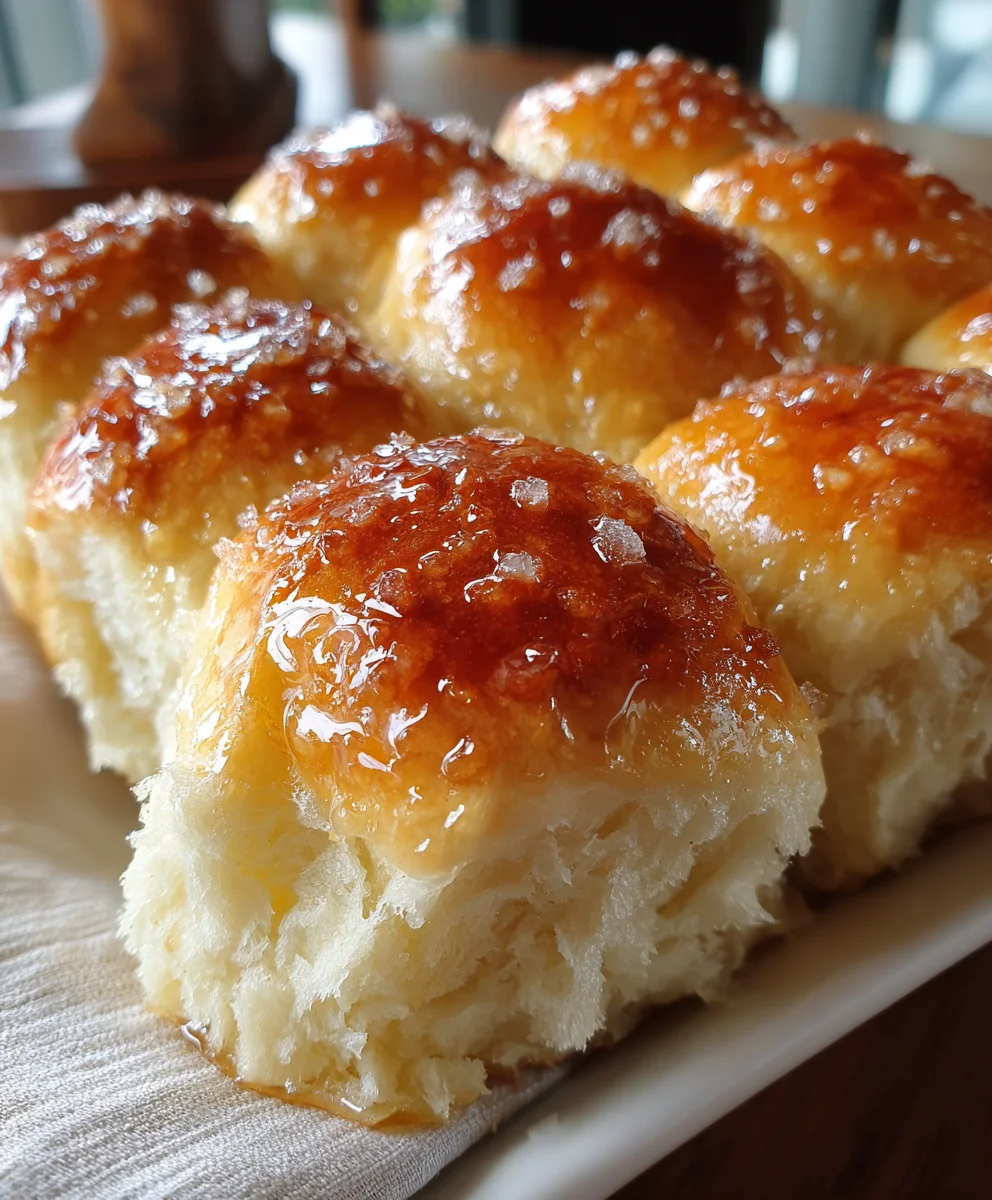
The buttery, soft texture paired with a hint of tang from buttermilk will make your taste buds dance. Plus, nothing beats the joy of serving warm rolls fresh from the oven to your family. They’re pure comfort on a plate!
Ingredients for No-Knead Buttermilk Dinner Rolls
Gathering the right ingredients is crucial for making irresistible No-Knead Buttermilk Dinner Rolls. Here’s what you’ll need:
- Buttermilk: This creamy delight adds moisture and tang, making the rolls richer in flavor. You can even use a dairy-free alternative if you prefer!
- Active dry yeast: This little powerhouse is essential for the dough to rise beautifully. Make sure it’s fresh for the best results!
- All-purpose flour: Whether you choose bread flour or all-purpose, this is the base of your rolls. It provides structure and softness.
- Granulated sugar: Just a touch of sweetness helps feed your yeast and enhances the overall flavor. Trust me, it makes a difference!
- Kosher salt: A must for balancing flavors, and it also helps control yeast activity. A pinch goes a long way!
- Melted butter: This adds richness to the dough and a shiny finish on top. If you’re dairy-free, an alternative works just as well.
- Flaky salt: Sprinkling this on top right before serving elevates the rolls with a delightful crunch—my favorite finishing touch!
For exact measurements, scroll down to the bottom of the article where you can find them listed for printing. With these ingredients proudly in hand, you’re already one step closer to baking delicious rolls that will warm your heart and home!
How to Make No-Knead Buttermilk Dinner Rolls
Now that you have your ingredients ready, let’s roll into the simple steps of making these delightful No-Knead Buttermilk Dinner Rolls. Follow along, and I promise you’ll find joy in every twist and turn of this baking adventure!
Step 1: Activate the Yeast
Begin by pouring the room temperature buttermilk into a bowl.
Sprinkle the active dry yeast over the surface of the buttermilk.
Give it a gentle stir and let it sit for 10-15 minutes.
You want to see bubbles forming, a sign that your yeast is lively and ready to work its magic!
Step 2: Prepare the Dry Ingredients
In a large mixing bowl, whisk together the flour, sugar, and kosher salt.
Let this sit for about 10 minutes—this allows the flavors to meld beautifully.
Trust me, a little patience here makes a big difference in flavor!
Step 3: Combine Mixtures
Add the activated yeast and buttermilk mixture plus ¼ cup of melted butter into the flour mix.
Grab a rubber spatula and mix everything together until it’s just combined.
Don’t worry about making it perfectly smooth; a few lumps are okay!
Step 4: First Rise
Cover your mixing bowl with a clean kitchen towel or plastic wrap.
Place it in a warm spot and let the dough rise for about 2 hours.
Watch as it doubles in size—this is the moment where magic happens!
Step 5: Shape the Dough
Once risen, sprinkle flour over the dough.
Using your hand or a dough scraper, gently turn it out onto a floured surface.
Divide the dough into two halves, then each half into thirds.
Finally, cut those into pieces to make 12 delightful rolls!
Shape each piece into a smooth ball.
Pinch the sides under the dough to hide the seam.
That’s the secret to beautiful, round rolls!
Step 6: Second Rise
Place your beautifully shaped rolls in a lightly greased 9×13-inch baking dish.
Space them evenly to give them room to grow.
Cover them again and let them rise for about 60-90 minutes, until they double in size again.
Use this time to enjoy a cup of tea or read a good book!
Step 7: Bake the Rolls
Preheat your oven to 400ºF (200ºC).
Once your rolls have risen beautifully, pop them in the oven.
Bake for 25-30 minutes until they have that lovely golden-brown color that makes your mouth water!
Step 8: Finish and Serve
While the rolls bake, melt the remaining tablespoon of butter.
When the rolls are done, take them out of the oven and brush the tops with the melted butter.
Sprinkle a pinch of flaky salt for that extra crunch.
Serve them warm and watch everyone’s faces light up!
Tips for Success
- Always use room temperature buttermilk for an even rise and great texture.
- Measure your flour correctly—spoon it into the cup and level it off to avoid dense rolls.
- Keep your workspace floured when shaping the dough to prevent sticking.
- Don’t rush the rising times; patience is key to fluffy rolls!
- Feel free to experiment with add-ins like herbs or cheese for added flavor!
Equipment Needed
- Mixing bowl: Any large bowl will do, even a pot!
- Rubber spatula: Perfect for mixing; a wooden spoon works too.
- Dough scraper: Great for shaping; a sharp knife can substitute.
- Baking dish: A 9×13-inch dish is ideal; any comparable size works.
- Kitchen towel or plastic wrap: For covering the dough; any cloth can work in a pinch!
Variations
- Herb-Infused Rolls: Add fresh or dried herbs like rosemary, thyme, or oregano to the dough for a fragrant twist.
- Cheesy Delight: Mix in shredded cheese like cheddar or parmesan into the dough for a savory flavor that’s always a hit.
- Whole Wheat Option: Swap half of the all-purpose flour with whole wheat flour for a nuttier taste and added nutrition.
- Sweet Touch: Incorporate a tablespoon of honey or maple syrup into the dough for a subtly sweet variation.
- Garlic Rolls: Brush the tops with garlic-infused butter before baking for a deliciously aromatic experience.
Serving Suggestions for No-Knead Buttermilk Dinner Rolls
- Pair these rolls with a warm bowl of soup for a comforting meal.
- Serve alongside roasted meats or glazed vegetables for a delightful feast.
- Add a little honey or butter for an extra touch of sweetness.
- Presentation is key; arrange them in a breadbasket lined with a cloth for a rustic look.
FAQs about No-Knead Buttermilk Dinner Rolls
Can I prepare No-Knead Buttermilk Dinner Rolls ahead of time?
Absolutely! You can shape the rolls and refrigerate them before the second rise. Just let them sit at room temperature for about 30 minutes before baking. This allows them to rise perfectly!
How do I store leftover dinner rolls?
Once cooled, place them in an airtight container at room temperature for up to 3 days. For longer storage, you can freeze them. Just thaw at room temperature and reheat in the oven before serving.
What can I substitute for buttermilk?
If you’re in a pinch, you can mix 1 cup of milk with 1 tablespoon of lemon juice or vinegar to create a buttermilk substitute. Let it sit for about 5-10 minutes before using!
Can I use whole wheat flour instead of all-purpose?
Yes! You can substitute half of the all-purpose flour with whole wheat flour. This adds nuttiness and extra nutrients to your rolls while maintaining their delightful softness.
What’s the secret to fluffy dinner rolls?
Patience! Allowing the dough to rise fully is key. Make sure to cover it in a warm spot, plus using room temperature ingredients helps create that soft, pillowy texture we all love.
Final Thoughts
Baking No-Knead Buttermilk Dinner Rolls isn’t just about nourishing meals; it’s about creating moments. The joy of watching my family gather around the table, breaking warm rolls and sharing laughter fills my heart.
This recipe is your go-to for easy baking, whether you’re celebrating a special occasion or enjoying a cozy weeknight dinner. Each bite transports you to a world of warmth and comfort, reminding us of the love baked into every roll.
So grab your ingredients, embrace the process, and let’s make memories together, one fluffy roll at a time!
Print
No-Knead Buttermilk Dinner Rolls
- Total Time: 2 hours 45 minutes
- Yield: 12 rolls 1x
- Diet: Vegetarian
Description
These No-Knead Buttermilk Dinner Rolls are easy to make and perfect for any meal.
Ingredients
- 2 cups buttermilk, room temperature (sub dairy free)
- 2 teaspoons active dry yeast
- 4 cups bread or all-purpose flour, plus more for shaping
- 1 tablespoon granulated sugar
- 3 teaspoons kosher salt
- ¼ cup melted butter (sub dairy free), plus 1 tablespoon for finishing
- Flaky salt to finish
Instructions
- Stir the yeast into the buttermilk and let it sit for 10-15 minutes.
- In a large bowl, whisk together flour, sugar and salt and let sit for 10 minutes.
- Add buttermilk, yeast and ¼ cup butter (melted) to the bowl and use a rubber spatula to mix it together until combined.
- Cover and let rise somewhere warm for 2 hours until it has doubled in volume.
- Uncover and sprinkle dough with a generous amount of flour then, using your hand or a dough scraper, turn it out onto a floured surface.
- Divide the dough into 2 halves, then divide each half into thirds for 6 pieces, and then each section in two again so you’re left with 12 pieces.
- Shape each piece into a ball, smoothing the top and pinching the sides under the roll to hide the seam.
- Place rolls in a lightly greased 9×13-inch baking dish, spacing them evenly apart.
- Cover and let rise for 60-90 minutes until the rolls have doubled in size.
- Bake at 400ºF (200ºC) for 25-30 minutes until golden.
- While the rolls are baking, melt the remaining tablespoon of butter.
- Remove dish from oven and brush the tops with melted butter. Sprinkle with flaky salt and serve warm.
Notes
- If not baking immediately, cover rolls and refrigerate after shaping.
- Flour your hands and the surface to avoid sticking while shaping the dough.
- Prep Time: 15 minutes
- Cook Time: 30 minutes
- Category: Breads
- Method: Baking
- Cuisine: American
Nutrition
- Serving Size: 1 roll
- Calories: 130
- Sugar: 1g
- Sodium: 210mg
- Fat: 5g
- Saturated Fat: 3g
- Unsaturated Fat: 2g
- Trans Fat: 0g
- Carbohydrates: 18g
- Fiber: 0g
- Protein: 3g
- Cholesterol: 10mg