Introduction to Cherries in the Snow
There’s something magical about a dessert that looks as good as it tastes. Cherries in the Snow is one of those delightful treats that can turn an ordinary day into a special occasion. As a busy mom, I know how important it is to have quick, impressive recipes on hand. This luscious, no-bake dessert is perfect for when you want to dazzle your loved ones without spending hours in the kitchen. Creamy, refreshing, and oh-so-satisfying, it’s the kind of dessert that makes you feel like you have it all together—even when you don’t!
Why You’ll Love This Cherries in the Snow
Let’s be real: life can be hectic! This Cherries in the Snow dessert saves you time, allowing you to whip up something fabulous in just 20 minutes. The creamy texture and burst of sweet cherries make each bite a moment to savor. Whether you’re hosting friends or treating your family, this no-bake wonder is quick, simple, and utterly delightful. Trust me, everyone will be asking for seconds!
Ingredients for Cherries in the Snow
Gathering the right ingredients is key to creating this heavenly Cherries in the Snow dessert. Here’s what you’ll need:
- Cream Cheese: The creamy base that adds a rich texture. Make sure it’s at room temperature for smooth mixing. It makes the dessert oh-so-indulgent!
- Powdered Sugar: This sweetens the cream cheese and gives it that delightful frosting-like quality. It’s light and dissolves easily, making it ideal for desserts.
- Whole Milk: A splash here ensures your mixture is smooth. Feel free to substitute with almond milk for a dairy-free twist!
- Vanilla Extract: A touch of this aromatic ingredient brings depth to the flavor. It pairs beautifully with the cherries and cream cheese.
- Whipped Topping: This gives the dessert a light and fluffy texture. I love using Cool Whip, but homemade whipped cream works just as well.
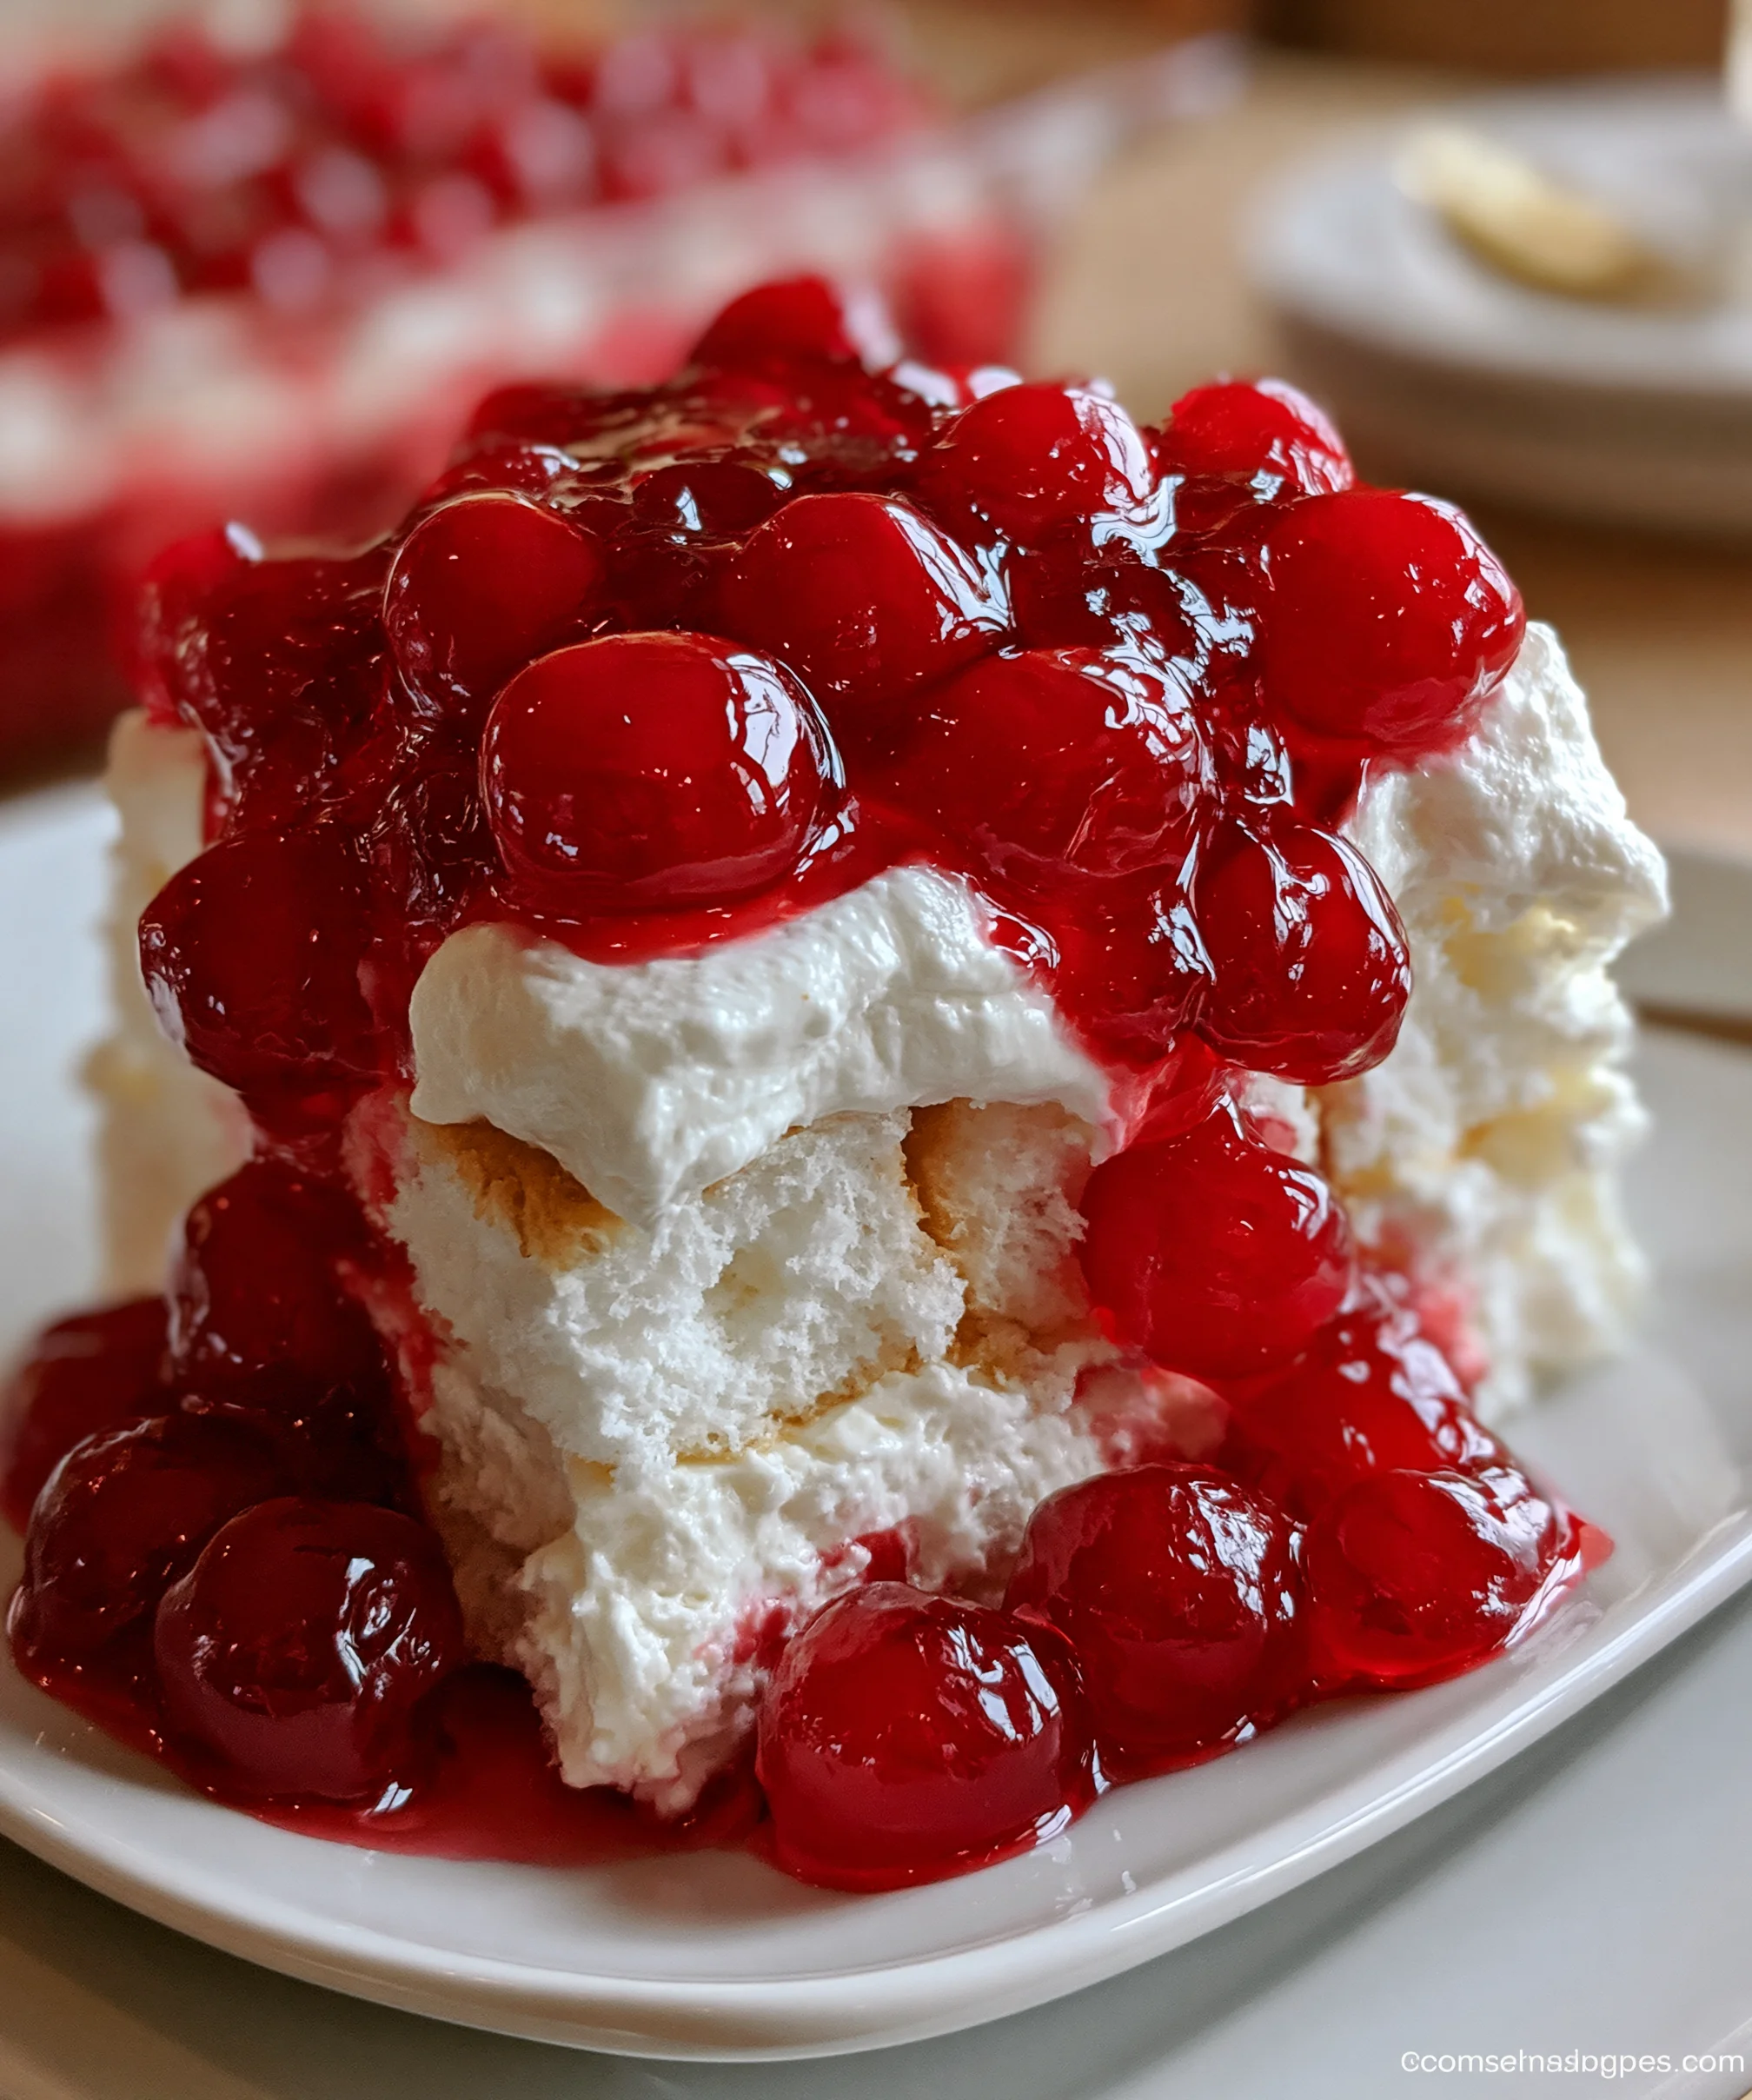
- Angel Food Cake: The airy sponge cake that adds a lovely contrast to the creamy filling. You can use store-bought or make your own if you’re feeling adventurous!
- Cherry Pie Filling: The star of the show! Look for quality pie filling with plump cherries. You can even use fresh cherries if you have them on hand!
For exact measurements, be sure to check the bottom of the article where you can easily print the recipe. Happy cooking!
How to Make Cherries in the Snow
Making Cherries in the Snow is as easy as pie—no baking required! This delightful dessert comes together beautifully in just a few steps. Grab your mixing bowls, and let’s get started!
Step 1: Prepare the Cream Cheese Mixture
Begin by beating the room temperature cream cheese in a large bowl. Using an electric mixer, whip it on medium-high speed for 1-2 minutes. You want it light and fluffy, with no lumps left behind. Trust me, this step sets the heavenly foundation for your dessert!
Step 2: Add the Sweetness
Next, add the sifted powdered sugar to the creamy mixture. Blend it all together until fully incorporated. The sweetness of the sugar complements the creaminess perfectly. Who doesn’t love a touch of sweetness, right?
Step 3: Mix in the Liquid Ingredients
Now it’s time to add the whole milk and vanilla extract. Beat the mixture until it’s smooth and fluffy. This will create a delightful texture, enhancing the overall experience. You’ll love the aroma as the vanilla wafts through your kitchen!
Step 4: Incorporate the Whipped Topping
Gently fold in the thawed whipped topping, taking care not to deflate it too much. This adds an airy lightness that balances out the richness of the cream cheese. It’s like a cloud of fluffiness waiting to be enjoyed!
Step 5: Fold in the Angel Food Cake
Take those torn pieces of angel food cake and carefully fold them into the creamy mixture. The cake should be light and wispy, soaking up the delightful flavors. This is where the magic begins, and your dessert starts to take shape!
Step 6: Transfer to Baking Dish
Once everything is well-combined, transfer the mixture into a 9×13 baking dish. Spread it out evenly, creating a soft layer that looks oh-so-inviting. Don’t worry; it doesn’t have to be perfect. Just make it look scrumptious!
Step 7: Top with Cherry Pie Filling
Spoon the cherry pie filling over the cream cheese mixture. Try to distribute it evenly across the top. The rich, red cherries pop against the creamy layers—a feast for the eyes, as well as your taste buds.
Step 8: Chill Before Serving
The final step? Patience! Refrigerate your Cherries in the Snow for at least 30 minutes, or up to 2 hours if you can wait. This chilling time allows the flavors to meld beautifully. It’s worth every second, ensuring a refreshing treat awaits!
Tips for Success
- Always use room temperature cream cheese for a smoother blend; it makes a world of difference!
- Don’t skip the chilling step; this allows flavors to develop and the dessert to firm up beautifully.
- If you want to impress, consider serving in a trifle dish for a gorgeous presentation.
- Feel free to customize with additional toppings like chopped nuts or chocolate drizzle!
- Keep an eye on the time; this dessert is best enjoyed fresh within a few days!
Equipment Needed for Cherries in the Snow
- Electric Mixer: This makes beating the cream cheese easy. A whisk works if you enjoy a workout!
- Mixing Bowls: You’ll need one large bowl. Any bowl will do, just ensure it has enough space to mix!
- 9×13 Baking Dish: This is ideal for layering. A trifle dish can add a beautiful touch!
- Spoon or Spatula: Perfect for folding ingredients together and spreading the mixture evenly.
Variations of Cherries in the Snow
- Chocolate Cherry Delight: Stir in some cocoa powder or chocolate chips for a decadent twist that will satisfy any chocolate lover!
- Berry Bliss: Swap out the cherry pie filling for mixed berries. Strawberries, blueberries, and raspberries can create a delightful fruity version.
- Nutty Addition: Fold in some chopped nuts, like walnuts or pecans, for added crunch and nutrition. They pair wonderfully with the creamy texture.
- Dairy-Free Option: Use dairy-free cream cheese and whipped topping. Coconut cream could also serve as a tasty replacement for a tropical flare.
- Gluten-Free Version: Make sure to use a gluten-free angel food cake or create a similar dessert using gluten-free ingredients!
Serving Suggestions for Cherries in the Snow
- Pair with a scoop of vanilla ice cream for an extra creamy treat that’s simply divine!
- Serve alongside fresh whipped cream to enhance that fluffy texture.
- For beverages, a light sparkling water or a refreshing iced tea complements this dessert perfectly.
- Garnish with mint leaves for a pop of color and freshness!
FAQs about Cherries in the Snow
Can I use fresh cherries instead of cherry pie filling?
Absolutely! Fresh cherries can add a lovely burst of flavor. Just pit and slice them, then mix with a bit of sugar to enhance their sweetness before adding them on top of the cream cheese layer.
How long can I store Cherries in the Snow?
This dessert is best enjoyed cold within 2-3 days. Store it covered in the refrigerator, and it’ll stay fresh and tasty. Just remember, the flavors develop over time!
Can I make Cherries in the Snow ahead of time?
Yes! You can prepare this delightful dessert up to 24 hours in advance. Just make sure to keep it chilled until you’re ready to serve—it will taste amazing and be well worth the wait!
Is this dessert suitable for a large gathering?
Definitely! Cherries in the Snow can easily serve 12, making it a wonderful choice for potlucks or family gatherings. It’s a crowd-pleaser that will have everyone asking for the recipe!
What can I substitute for cream cheese to make it lighter?
If you’re looking for a lighter option, consider using Greek yogurt as a substitute. It adds a similar creaminess and pairs perfectly with the cherries while reducing the calorie count.
Final Thoughts on Cherries in the Snow
Cherries in the Snow is more than just a dessert; it’s a delightful experience wrapped in creamy layers and topped with vibrant cherries. Each bite transports me to sunlit afternoons and precious moments shared with family. The joy of creating something so simple yet so stunning always warms my heart. Perfect for busy days or special celebrations, this no-bake treat is a breeze to make and brings smiles all around. So, why not let this refreshing dessert add a splash of sweetness to your next gathering? You’ll be sure to create sweet memories that last long after the last bite!
Print
Cherries in the Snow
- Total Time: 50 minutes (including refrigeration)
- Yield: 12 servings 1x
- Diet: Vegetarian
Description
A delightful dessert combining cream cheese, whipped topping, and cherry pie filling layered with angel food cake for a refreshing treat.
Ingredients
- 12 ounces block style cream cheese, room temperature
- ¾ cup powdered sugar, sifted
- ⅓ cup whole milk
- ½ teaspoon vanilla extract
- 8 ounces frozen whipped topping, thawed (Cool Whip brand used)
- 1 pre-baked angel food cake, torn into ¾–1 inch pieces
- 42 ounces (2 – 21 ounce) cans cherry pie filling (Comstock brand used)
Instructions
- Beat the cream cheese in a large bowl with an electric mixer on medium-high speed for 1-2 minutes until light and fluffy with no lumps.
- Add the powdered sugar to the beaten cream cheese and mix until fully incorporated.
- Add the whole milk and vanilla extract, beating until the mixture is smooth and fluffy.
- Fold in the thawed whipped topping until fully incorporated.
- Gently fold the torn pieces of angel food cake into the mixture.
- Transfer the mixture to a 9×13 baking dish and spread it evenly.
- Spoon the cherry pie filling evenly over the cream cheese mixture.
- Refrigerate for a minimum of 30 minutes to 2 hours before serving.
Notes
- Store leftovers covered in the refrigerator for up to 2 days.
- Prepare up to 24 hours in advance for enhanced flavor.
- Serve cold, straight from the fridge.
- Best enjoyed within 2-3 days for optimal taste and texture.
- Use room temperature cream cheese for a smoother blend.
- For a beautiful presentation, use a trifle dish instead of a baking dish.
- Prep Time: 20 minutes
- Cook Time: 0 minutes
- Category: Dessert
- Method: No-Bake
- Cuisine: American
Nutrition
- Serving Size: 1 serving
- Calories: 250
- Sugar: 25g
- Sodium: 150mg
- Fat: 10g
- Saturated Fat: 6g
- Unsaturated Fat: 2g
- Trans Fat: 0g
- Carbohydrates: 35g
- Fiber: 0g
- Protein: 3g
- Cholesterol: 35mg