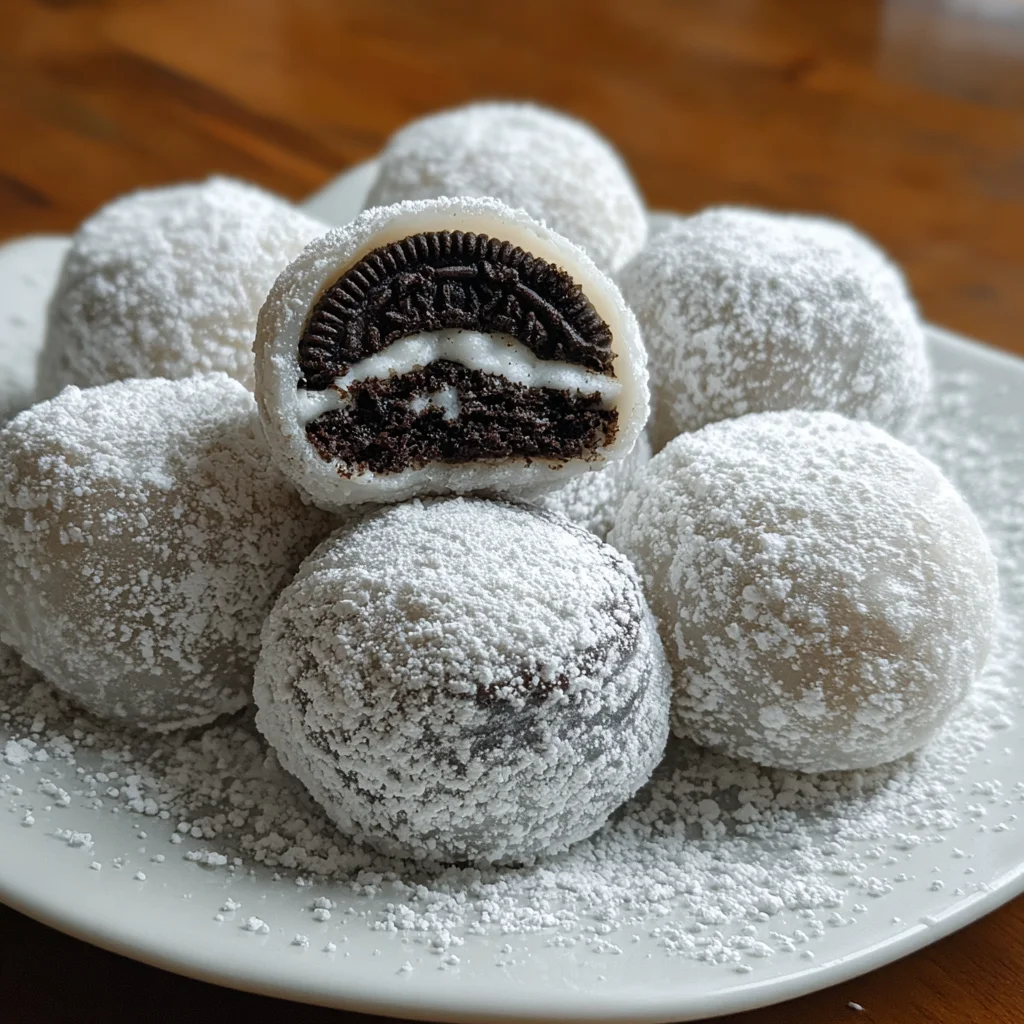
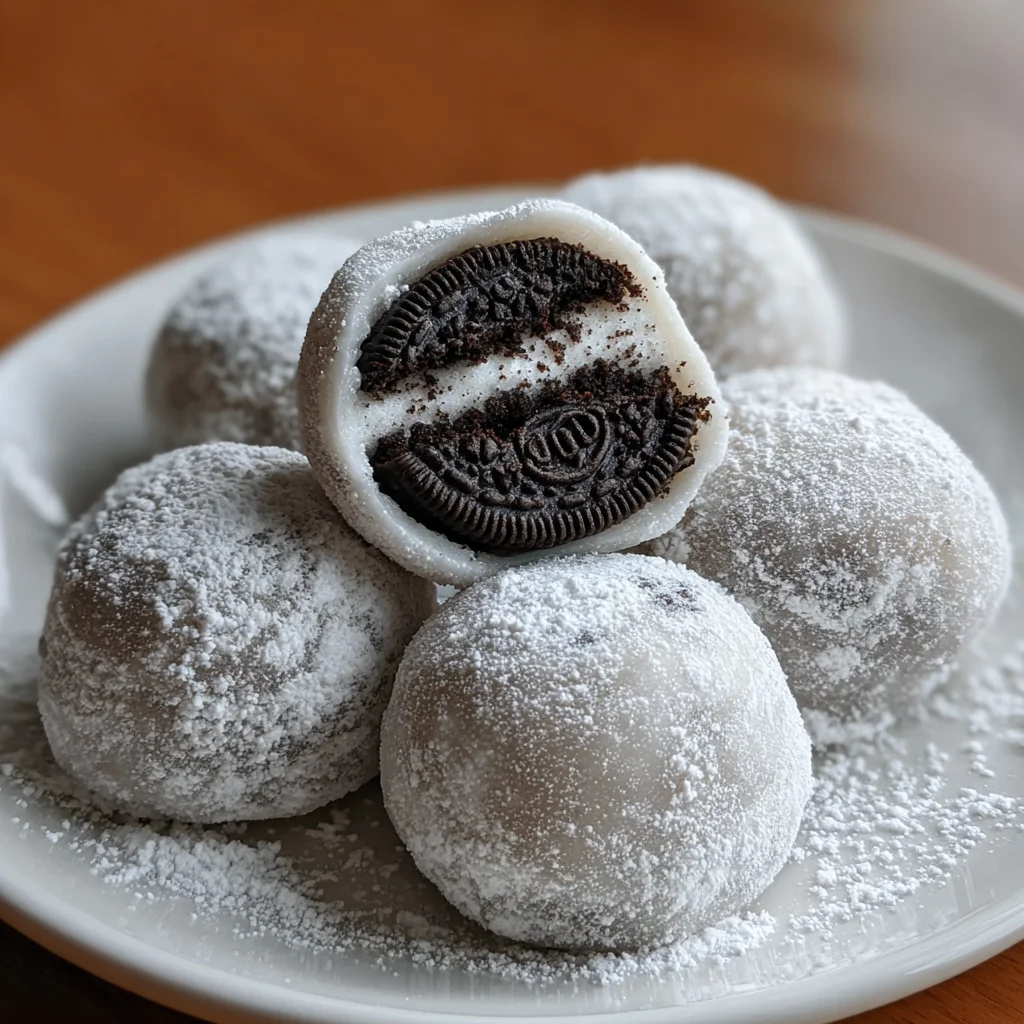
Introduction to Oreo Mochi
As a busy mom, I completely understand the struggle of finding a dessert that’s both easy to make and delightful to eat. Oreo Mochi ticks all the boxes! Imagine the soft, chewy texture of mochi enveloping the rich, chocolatey goodness of Oreo cookies. It’s a match made in culinary heaven! Whether you’re looking to impress your family or treat yourself after a long day, this recipe is your answer. So, let’s dive into this deliciously fun dessert that marries Japanese tradition with American cookie culture. You won’t want to miss out on this sweet adventure!
Why You’ll Love This Oreo Mochi
Let’s be honest: dessert should be both delicious and quick! Oreo Mochi is incredibly easy to whip up, taking just about 10 minutes of prep and a few more in the microwave. Plus, who doesn’t love the combination of chewy mochi and creamy, crunchy Oreos? It’s a delightful surprise that will bring smiles to your family’s faces and satisfy those sweet cravings in no time!

Ingredients for Oreo Mochi
Creating your own Oreo Mochi is a delightful experience, and it begins with gathering the right ingredients. Let’s take a look at what you’ll need:
- Mochiko (sweet rice flour): This special flour gives mochi its unique chewy texture. You can find it in most Asian grocery stores or even online.
- Sugar: A touch of sweetness balances the rich chocolate from the Oreos. Feel free to adjust based on your taste preferences!
- Water: This helps form the dough; it’s all about that perfect consistency!
- Vanilla extract: Adding this elevates the flavor, making each bite even more scrumptious. Don’t skip this step—trust me!
- Oreos: The star of the show! These cookies add that classic chocolatey flavor. Crushed Oreos are mixed right into the mochi for an irresistible treat.
- Cornstarch: You’ll use this for dusting to prevent sticking. A little goes a long way in making your mochi easy to handle.
Want to get creative? You can even swap out Oreos for other cookies if you’re feeling adventurous! The full ingredient list with exact measurements is available at the bottom of this article for easy printing. Ready? Let’s make some mochi magic!
How to Make Oreo Mochi
Making Oreo Mochi is an exciting journey full of delightful textures and flavors. Let’s break down the process step by step, ensuring you feel confident in your culinary adventure.
Prepare the Mochi Mixture
Start by grabbing a mixing bowl. In it, combine the mochiko, sugar, and water. Use a whisk to blend everything until the mixture is smooth and free of lumps. This silky consistency is the base of your mochi!
Cook the Mochi
Next, pour the mochi mixture into a microwave-safe bowl. Cover it tightly with plastic wrap, leaving a small vent to allow steam to escape. Microwave it on high for one minute, then stir. Repeat this process, microwaving and stirring for a total of four minutes until the mochi becomes thick and slightly translucent. You’ll know it’s ready when it looks like a stretchy, gooey dream!
Add Flavoring
Now, let’s elevate the flavor! Carefully remove your mochi from the microwave and stir in the vanilla extract. This small addition makes a big difference, enhancing the sweetness and giving the mochi a lovely aroma. As the warm mochi absorbs the vanilla, it will develop an even richer taste.
Shape the Mochi
It’s time to get hands-on! Dust a clean surface with cornstarch to prevent sticking. Pour the mochi dough onto the surface and let it cool slightly for easier handling. Once cool enough to touch, divide the dough into six equal portions. Flatten each piece gently and place a crushed Oreo in the center. Fold the mochi around the Oreo, sealing it tightly, and roll it into a ball. Repeat until all the mochis are formed and perfectly stuffed.
Chill and Serve
After shaping, dust the mochis with even more cornstarch. This prevents them from sticking together. Place your mochi treasures in the refrigerator for at least 30 minutes. Chilling not only firms them up but also allows the flavors to marry beautifully. When you’re ready to serve, your Oreo Mochi will be both chewy and wonderfully refreshing!
Tips for Success
- Use a microwave-safe bowl to avoid any accidents while cooking.
- Dust your hands with cornstarch to prevent sticking when shaping the mochi.
- If the mochi dough is too sticky, add a bit more cornstarch to the surface.
- For an extra touch, consider adding a sprinkle of sea salt on top before chilling.
- Feel free to experiment by mixing different cookie flavors into your mochi!
Equipment Needed for Oreo Mochi
- Microwave-safe bowl: A glass or ceramic bowl works perfectly. Just ensure it can handle the heat!
- Mixing bowl: A standard mixing bowl is ideal for combining ingredients.
- Whisk or spoon: To mix everything together smoothly. A fork will do in a pinch!
- Plastic wrap: Helps cover the bowl while microwaving, allowing steam to escape.
- Cornstarch dusting surface: A clean kitchen counter or cutting board will work just fine!
Variations on Oreo Mochi
- Cookie Swap: Experiment with different types of cookies! Chocolate chip, peanut butter, or even gluten-free cookies can bring a new twist to your mochi.
- Flavor Infusion: Add different flavor extracts like almond, mint, or even coconut to create a unique mochi experience.
- Colorful Mochis: Mix a bit of food coloring into the dough for a fun visual appeal that kids will love!
- Fruit-Filled: Instead of Oreos, try filling the mochi with small pieces of fresh fruit like strawberries or mango for a summertime treat.
- Vegan Version: Substitute the sugar with coconut sugar or agave nectar for a healthier option that still tastes incredible!
Serving Suggestions for Oreo Mochi
- Pair with Ice Cream: Serve your mochi alongside vanilla or chocolate ice cream for a creamy contrast.
- Garnish with Chocolate Sauce: Drizzle some chocolate sauce over the mochi for an extra indulgent touch.
- Presentation: Arrange the mochis on a colorful plate with fresh mint leaves to elevate the look.
- Tea Time: Enjoy with a warm cup of green tea or matcha for a delightful balance.
- Sweet Gift: Pack mochis in a decorative box to share with friends and family as a delightful surprise.
FAQs about Oreo Mochi
As I’ve come to discover, stepping into the world of Oreo Mochi sparks all sorts of questions. Here are some common inquiries that often arise, along with my friendly answers!
Can I make Oreo Mochi ahead of time?
Absolutely! You can prepare your Oreo Mochi a day in advance. Just store them in an airtight container in the refrigerator. They’ll stay fresh and delicious!
What’s the texture of Oreo Mochi like?
Oreo Mochi has a delightful chewy texture, thanks to the mochiko. It offers a unique contrast to the crunchy Oreo filling, making every bite an adventure in taste!
Is Oreo Mochi gluten-free?
Yes! Using mochiko (sweet rice flour) ensures that your Oreo Mochi is gluten-free. However, check your Oreo cookies, as some may contain gluten.
How long can I store leftover Oreo Mochi?
You can keep leftover Mochi in the refrigerator for about three days. Just make sure to sprinkle cornstarch on them to prevent sticking.
Can I customize the filling?
Definitely! While Oreos are a fantastic choice, don’t hesitate to experiment. Consider filling your mochi with peanut butter or fruit preserves for a sweeter treat.
Final Thoughts on Oreo Mochi
Making Oreo Mochi isn’t just about creating a dessert; it’s about enjoying the process and bringing smiles to your loved ones. The joy of biting into these chewy little morsels, revealing the scrumptious Oreo surprise within, creates delightful memories. Every step, from mixing to shaping, is a mini adventure in my kitchen. I encourage you to try this fun recipe and share it with family and friends. Whether it’s for a special occasion or just a sweet treat after a long day, Oreo Mochi will certainly become a favorite highlight of your dessert repertoire!
Print
Oreo Mochi
- Total Time: 45 minutes
- Yield: 6 servings 1x
- Diet: Vegetarian
Description
Oreo Mochi is a delightful dessert that combines the chewy texture of mochi with the classic flavor of Oreo cookies, creating a delicious treat perfect for any occasion.
Ingredients
- 1/2 cup mochiko (sweet rice flour)
- 1/4 cup sugar
- 1/2 cup water
- 1/4 teaspoon vanilla extract
- 6 Oreo cookies, crushed
- Cornstarch, for dusting
Instructions
- In a mixing bowl, combine the mochiko, sugar, and water. Stir until smooth.
- Pour the mixture into a microwave-safe bowl and cover it with plastic wrap.
- Microwave on high for 1 minute, stir, then microwave for another 1 minute. Repeat the process twice until the mixture is thickened and slightly translucent.
- Remove from the microwave and stir in the vanilla extract.
- Dust a clean surface with cornstarch and pour the mochi dough onto it. Let it cool slightly.
- Divide the dough into 6 portions. Flatten each portion with your hands and place a crushed Oreo cookie in the center.
- Gently fold the dough around the Oreo to seal it. Roll it into a ball.
- Repeat the process with the remaining portions of dough and Oreo cookies.
- Once all the mochis are shaped, dust them with more cornstarch to prevent sticking.
- Chill the mochi in the refrigerator for at least 30 minutes before serving.
Notes
- Make sure to use a microwave-safe bowl for cooking the mochi.
- You can adjust the sugar level based on your taste preference.
- Store any leftover mochi in an airtight container in the refrigerator.
- Prep Time: 10 minutes
- Cook Time: 5 minutes
- Category: Dessert
- Method: Microwave
- Cuisine: Japanese-American
Nutrition
- Serving Size: 1 mochi
- Calories: 180
- Sugar: 8g
- Sodium: 0mg
- Fat: 6g
- Saturated Fat: 2g
- Unsaturated Fat: 4g
- Trans Fat: 0g
- Carbohydrates: 29g
- Fiber: 1g
- Protein: 2g
- Cholesterol: 0mg