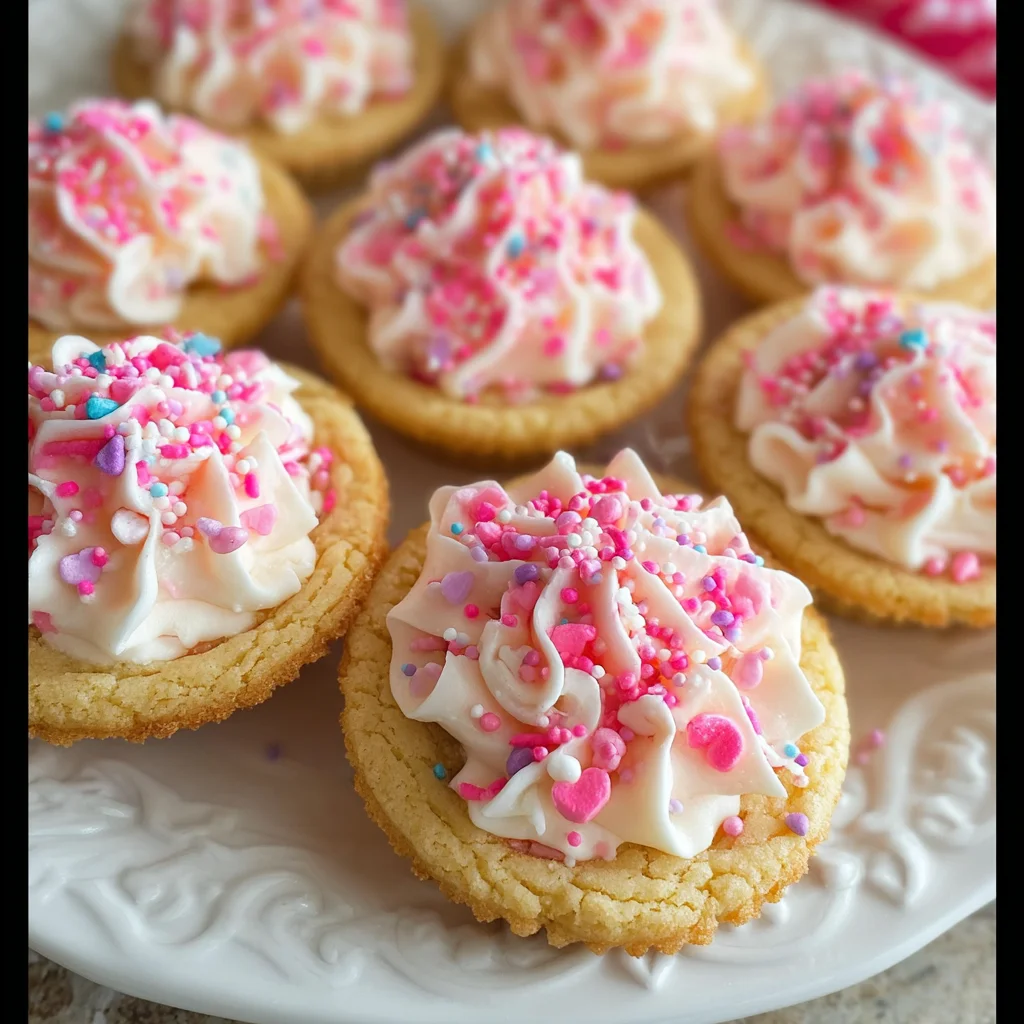
Introduction to Sugar Cookie Cups
As a passionate home cook, I know how hectic life can get, especially for busy moms or professionals. That’s why I’m thrilled to share my delightful Sugar Cookie Cups with you! These sweet little treats are like a warm hug in dessert form. They’re perfect for birthday parties, family gatherings, or just because. With a creamy buttercream frosting on top, they bring joy to any occasion. Plus, they’re super quick and easy to make, letting you impress loved ones without spending hours in the kitchen. Let’s dive into this scrumptious recipe!
Why You’ll Love This Sugar Cookie Cups
These Sugar Cookie Cups are an absolute winner for a reason! They’re not only easy to whip up, but they also bake in just 12 minutes. In no time, you’ll have delicious, chewy cookie cups that are simply irresistible. Topped with a creamy and dreamy buttercream frosting, they satisfy every sweet tooth. Plus, you can customize them with your favorite sprinkles for extra flair—making them perfect for any occasion!

Ingredients for Sugar Cookie Cups
Gathering the right ingredients is the first step to creating these delightful Sugar Cookie Cups. Here’s what you’ll need:
- Salted butter: Adds richness and flavor to the cookie cups. Always ensure it’s softened for easy mixing.
- Granulated sugar: This is your main sweetener, giving the cookie cups that delicious sweetness we all crave.
- Large egg: Helps bind everything together, creating a tender texture.
- Vanilla extract: A must for that classic cookie flavor. Feel free to use pure vanilla for a more robust taste.
- Almond extract: Just a hint elevates the flavor profile, giving these cookie cups a lovely depth.
- All-purpose flour: The base of the cookie dough, providing structure and chewiness.
- Baking powder and baking soda: These leavening agents keep your cookie cups light and fluffy.
- Sprinkles: These are purely optional but add a fun, festive touch. Use your favorite colors to match any occasion!
- Cream cheese: This ingredient adds creaminess and tang to the frosting, making it irresistible.
- Powdered sugar: Essential for a sweet and smooth frosting. Adjust the amount based on personal sweetness preference.
- Milk: Helps reach the perfect frosting consistency. You can swap in a non-dairy milk if needed.
- Food coloring gel: Optional, but it’s a fun way to add some pizzazz to your frosting.
For exact measurements, don’t forget to check the bottom of the article where the recipe is available for printing. Happy baking!
How to Make Sugar Cookie Cups
Step 1: Preheat and Prep
Let’s kick things off by preheating your oven to 350°F (175°C). Preheating is crucial because it ensures even baking. No one likes undercooked centers! While that’s warming up, grab two regular muffin pans and grease them with nonstick cooking spray. Believe me, this step is a game changer. You want your cookie cups to slide right out without a fight. If you don’t have muffin pans, feel free to use silicone molds. Those work surprisingly well, too! Now, you’re ready to create some cookie magic!
Step 2: Creaming the Butter and Sugar
Now, let’s get those arms working! In a large bowl, add your softened butter and granulated sugar. Use an electric mixer to cream them together until you achieve a light and fluffy consistency. This usually takes about 3-5 minutes. The proper creaming is crucial because it helps incorporate air into the mix, making your Sugar Cookie Cups soft and tender. Scrape the bowl’s sides frequently to ensure everything combines evenly. If you notice any clumps of butter, keep mixing! Trust me, this step lays the foundation for delicious cookie cups.
Step 3: Incorporating Eggs and Extracts
With your butter and sugar mixture ready, it’s time to mix in the egg and extracts. Crack in your large egg and add both the vanilla and almond extracts. Beat this blend just until everything is smooth and combined. Be gentle with that mixer! Over-beating can cause the egg to curdle, which isn’t what we want for our cookie cups. Just aim for a velvety batter that dances smoothly on your spoon. This is where those delightful flavors start to shine, making your cookie cups extra special!
Step 4: Combining Dry Ingredients
In a separate bowl, whisk together your dry ingredients: all-purpose flour, baking powder, and baking soda. This step is essential for even distribution. If you skip this, it could lead to uneven rise and texture in your cookie cups. After mixing the dry ingredients well, gradually add them to the wet mixture. Use a spatula to fold everything together until a dough forms. Remember, don’t over-mix! Just until it’s combined is best. We want to preserve that perfectly soft, chewy texture!
Step 5: Forming the Cookie Cups
Now comes the fun part—forming those cookie cups! Take about 2 tablespoons of your dough and press it into the bottom of each greased muffin pan. Make sure to push it halfway up the sides too! This creates enough room for the filling that goes in later, so don’t skimp on this step. You could use your fingers or the back of a tablespoon. Whatever works best for you! Aim for an even thickness to ensure consistent baking. Look at those cookie cups coming together!
Step 6: Baking and Cooling
It’s time to bake these beauties! Pop them in the preheated oven and let them bake for about 12 minutes. You want them lightly golden around the edges, but soft in the middle. Once they’re done, let them cool for at least 15 minutes. This cooling phase is crucial; it helps them firm up and makes it easier to shape the cups. Use the back of a tablespoon or the top of a spice jar to press down in the center and create that perfect cup shape. Allow them to cool completely before frosting!
Step 7: Making the Cream Cheese Frosting
While your cookie cups cool, let’s whip up that creamy frosting! In a medium bowl, beat together your softened cream cheese and butter using an electric mixer until they’re smooth and well combined. Now, slowly add in your powdered sugar, vanilla extract, and milk. This is where you can adjust the texture. If it’s too thick, add a tad more milk; if it’s too runny, add more powdered sugar. The goal is a thick yet smooth frosting that swirls beautifully on top of your cookie cups!
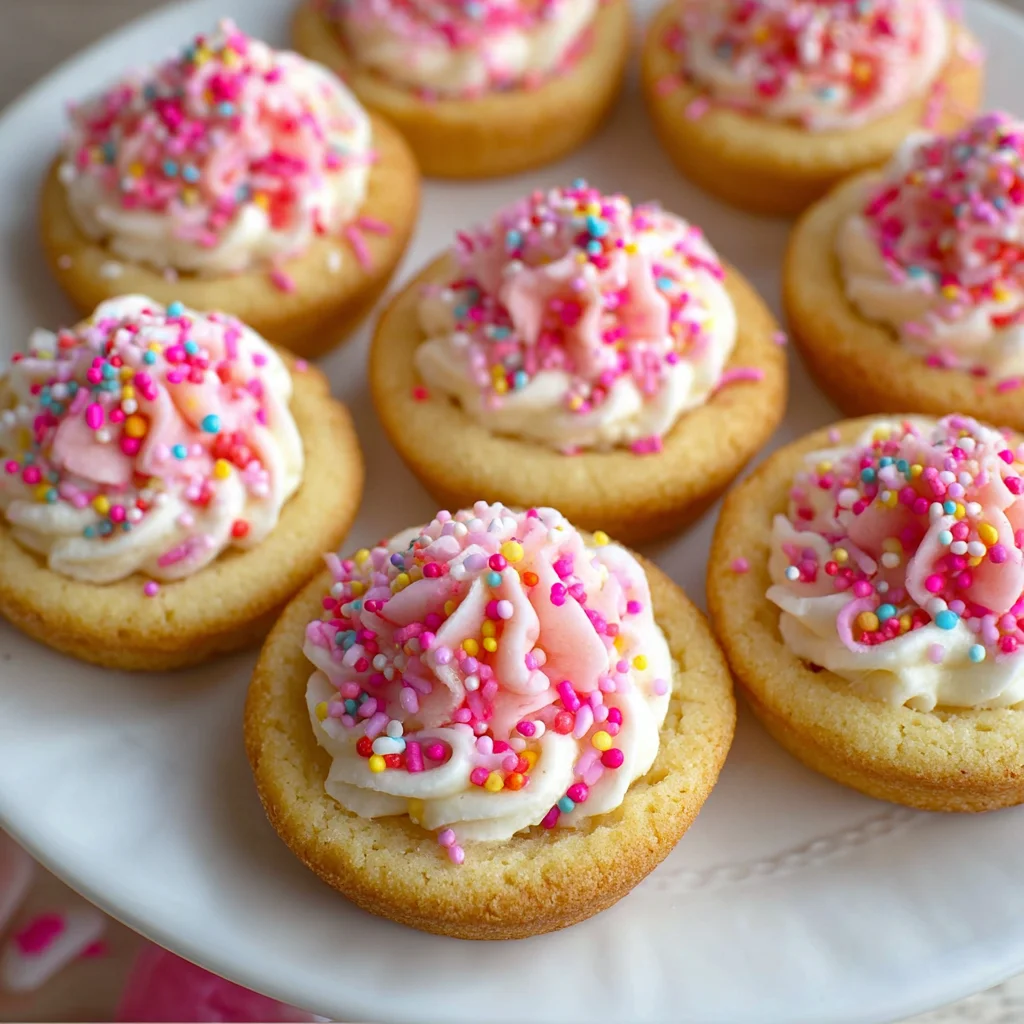
Step 8: Decorating Your Sugar Cookie Cups
Now for the icing on the cake—or rather, the frosting on the cookie cups! Transfer your thick, luscious cream cheese frosting into a piping bag fitted with a star tip for that professional look. If you don’t have a piping bag, a simple spoon works just fine. Swirl the frosting generously on each cookie cup. Want to make them even more festive? Top with your favorite sprinkles! The colors and textures will elevate your presentation to the next level. Voila, you’re done! Time to enjoy your masterpiece!
Tips for Success
- Use room temperature ingredients for better mixing.
- Don’t overwork the dough to keep cookie cups tender.
- Let the cookie cups cool completely before frosting for best results.
- Get creative with frosting colors and sprinkles to match any occasion.
- Store leftover cookie cups in an airtight container at room temperature for freshness.
Equipment Needed
- Muffin pans: Essential for shaping your cookie cups; silicone molds are a great alternative.
- Electric mixer: This speeds up the creaming process; a whisk works if you’re up for a workout!
- Rubber spatula: Perfect for scraping down the sides and folding ingredients together.
- Piping bag with star tip: For perfect frosting swirls; a simple spoon can do the trick too.
Variations on Sugar Cookie Cups
- Chocolate Sugar Cookie Cups: Substitute half of the all-purpose flour with cocoa powder for a chocolatey twist. These are perfect for chocolate lovers!
- Nut-Free Version: Omit almond extract for a nut-free variant, making it suitable for those with allergies.
- Gluten-Free Option: Swap out regular flour with gluten-free all-purpose flour for a safe and delicious treat for gluten-sensitive folks.
- Fruity Flavors: Add a few tablespoons of lemon or orange zest to the dough for a refreshing citrus touch that brightens each bite.
- Decorative Themes: Change the sprinkles based on seasons or holidays! Use heart sprinkles for Valentine’s Day or pastel sprinkles for Easter.
Serving Suggestions for Sugar Cookie Cups
- Serve with a glass of cold milk for that classic combo that kids and adults love!
- Pair them with a scoop of vanilla ice cream for an extravagant dessert experience.
- For a festive touch, arrange the cookie cups on a colorful cake stand.
- Include a fresh fruit platter for a balanced treat option.
FAQs about Sugar Cookie Cups
Got questions about these delightful Sugar Cookie Cups? Here are some of the most common inquiries:
Can I freeze Sugar Cookie Cups?
Absolutely! After they cool completely, freeze the cookie cups in an airtight container. Just thaw them at room temperature before frosting when you’re ready to enjoy.
How long do Sugar Cookie Cups last?
These tasty treats stay fresh for about 3-5 days at room temperature in an airtight container. If you want them to last longer, consider refrigerating!
Can I use different types of frosting?
Yes! While the cream cheese frosting is divine, feel free to switch things up. Buttercream, whipped cream, or chocolate ganache can add a new twist to your cookie cups.
What’s the key to soft Sugar Cookie Cups?
Avoid over-mixing the dough and ensure you let them cool fully after baking before frosting. This keeps them tender and chewy, rather than hard.
Can kids help make these Sugar Cookie Cups?
Definitely! This is a fun recipe for kids. They can help with mixing, pressing the dough, and decorating the cups with frosting and sprinkles. It’s a great family activity!
Final Thoughts
If you’re looking for a delightful treat that brings smiles all around, these Sugar Cookie Cups are the way to go! They’re a beautiful blend of chewy cookie and creamy frosting that will have everyone coming back for seconds. I love how adaptable this recipe is, allowing you to dress them up or down for any occasion. Plus, it’s the perfect way to get your loved ones involved in the kitchen. So, roll up those sleeves and create your own batch of joy! Trust me, the happiness these cookie cups bring is worth every moment spent baking.
Print
Sugar Cookie Cups
- Total Time: 50 minutes
- Yield: 24 cookie cups 1x
- Diet: Vegetarian
Description
Delicious sugar cookie cups topped with creamy buttercream frosting, perfect for any occasion.
Ingredients
- 3/4 cup salted butter, softened
- 3/4 cup granulated sugar
- 1 large egg
- 1 1/2 teaspoons vanilla extract
- 1/2 teaspoon almond extract
- 2 cups all-purpose flour
- 1 teaspoon baking powder
- 1/2 teaspoon baking soda
- sprinkles
- 2 ounces cream cheese, softened
- 3 cups powdered sugar
- 1/4 cup butter
- 2 tablespoons milk
- 1/4 teaspoon vanilla extract
- pink or red food coloring gel (optional)
Instructions
- Preheat oven to 350°F and grease 2 regular muffin pans with nonstick cooking spray.
- In a large bowl with an electric mixer, cream together the butter and sugar until light and fluffy for a few minutes, scraping down the sides of the bowl with a rubber spatula.
- Add in the egg and extracts and beat again until smooth.
- In a medium bowl, whisk together the flour, baking powder, and baking soda.
- Add the flour mixture to the wet mixture and mix until dough has formed, being careful not to over-mix.
- Press 2 tablespoons of cookie dough into the bottom of the cupcake pan and press halfway up the sides with your fingers.
- Bake cookie cups for 12 minutes, then let cool for at least 15 minutes. Press the back of a tablespoon or the top of a round spice jar down the center to form the cup shape. Let cool completely.
- In the meantime, in a medium bowl beat together the cream cheese and butter with an electric mixer until smooth.
- Add in powdered sugar, vanilla extract, and milk. Continue to mix, then add food coloring gel (optional) until desired frosting consistency is achieved. Adjust with more milk or powdered sugar as necessary.
- Add frosting to a piping bag with a star tip and swirl into each cookie cup, or use a spoon. Top with sprinkles if desired. Enjoy!
Notes
- For best results, do not over-mix the dough.
- Store leftover cookie cups in an airtight container at room temperature.
- Feel free to customize the sprinkles used for decoration.
- Prep Time: 20 minutes
- Cook Time: 12 minutes
- Category: Desserts
- Method: Baking
- Cuisine: American
Nutrition
- Serving Size: 1 cookie cup
- Calories: 180
- Sugar: 12g
- Sodium: 95mg
- Fat: 8g
- Saturated Fat: 5g
- Unsaturated Fat: 2g
- Trans Fat: 0g
- Carbohydrates: 24g
- Fiber: 0g
- Protein: 2g
- Cholesterol: 30mg