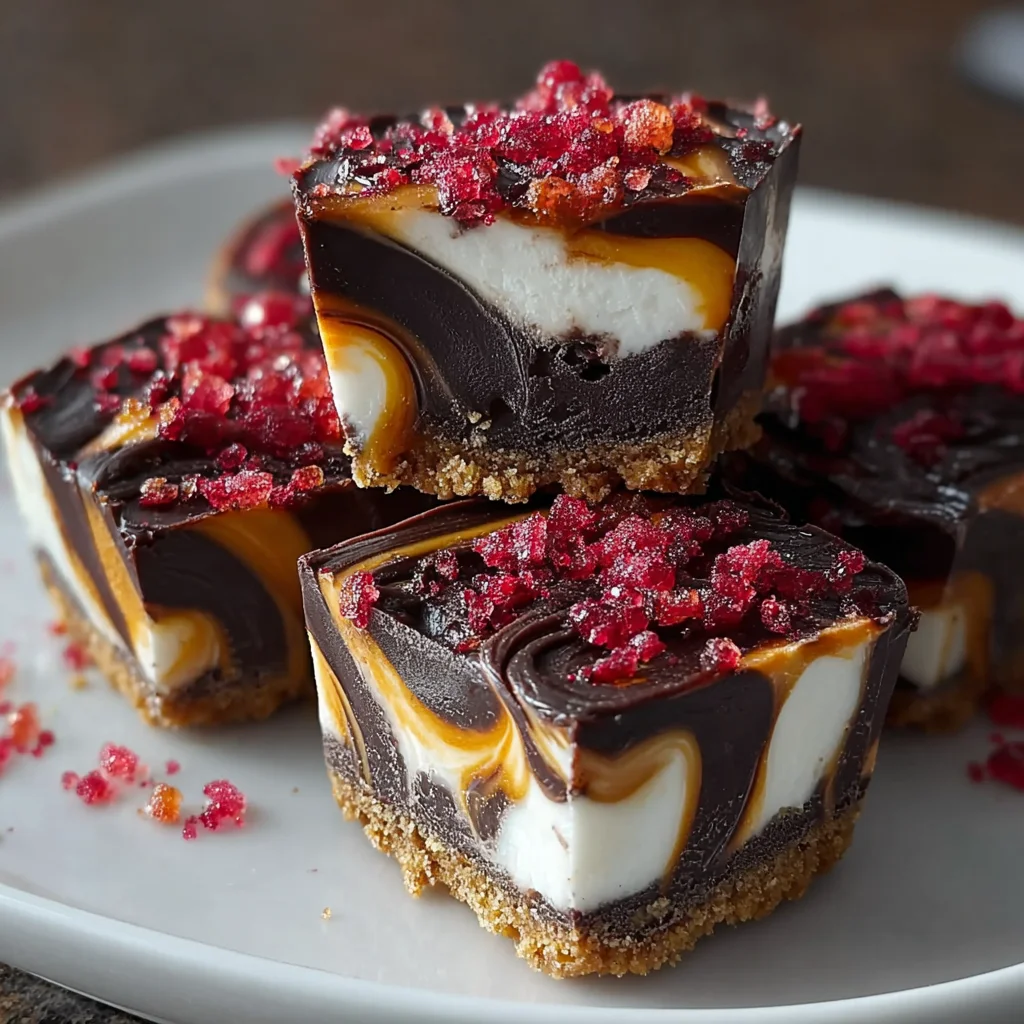
Introduction to Samoa Truffles
As a busy mom, I always need quick and delightful treats on hand, and Samoa Truffles are just the answer! These no-bake gems capture the flavors of coconut, chocolate, and caramel, making them an instant favorite. Whether you’re looking to impress friends at a gathering or simply want a sweet moment to enjoy after a long day, this recipe shines. I love how effortless they are to whip up, allowing me more time to connect with loved ones while satisfying that sweet tooth. Let’s dive into making these irresistible treats!
Why You’ll Love This Samoa Truffles
You’ll adore Samoa Truffles for their unbeatable combination of flavors and textures! They come together in just 25 minutes, making them perfect for your busy schedule. Plus, the no-bake aspect means less time in the kitchen and more time with your family. The distinct layers of chocolate, coconut, and caramel offer a delightful indulgence that satisfies your cravings without the stress. Who doesn’t love a treat that’s both quick and divine?
Ingredients for Samoa Truffles
Gathering the right ingredients is half the fun of making Samoa Truffles! Here’s what you’ll need:
- Shredded Coconut: This is the heart of the truffle, providing that signature tropical flavor. You can choose between sweetened or unsweetened, depending on how much sweetness you desire.
- Chocolate Chips: Use semi-sweet or dark chocolate chips for a richer, decadent taste. Dark chocolate adds an extra depth that beautifully complements the sweetness of the caramel.
- Sweetened Condensed Milk: This creamy ingredient binds everything together, adding luscious sweetness. It also helps ensure your truffles stay fudgy and soft.
- Caramel Sauce: This sweet drizzle elevates the flavor profile. You can opt for store-bought for convenience or whip up a simple homemade version if you’re in the mood!
- Vanilla Extract: Just a splash of this aromatic essence amplifies the overall flavor, giving your truffles a warm, inviting essence.
- Pinch of Salt: Surprisingly, a bit of salt enhances sweetness while adding depth. It’s a must-have in desserts!
- Chopped Nuts (Optional): Consider adding chopped pecans or almonds for a delightful crunch. They also lend an extra layer of flavor!
The precise measurements of these ingredients can be found at the bottom of the article, ready for easy printing! Each component plays a crucial role, ensuring your Samoa Truffles shine brightly on any dessert table.

How to Make Samoa Truffles
Creating these Samoa Truffles is a delightful journey that’s just as enjoyable as the treats themselves! Each step is simple and quick, ideal for those busy days when you crave something sweet. Let’s get started!
Step 1: Toast the Coconut
First, let’s preheat your oven to 350°F (175°C). While that heats up, spread your shredded coconut on a baking sheet in an even layer. The goal is to get it golden brown, enhancing its nutty flavor. It only takes about 5 to 7 minutes in the oven. Keep a close eye on it, and stir it halfway through. Trust me, the aroma of toasted coconut is irresistible!
Step 2: Melt the Chocolate
Next up, grab a microwave-safe bowl and add your chocolate chips along with a pinch of salt. Microwave them in 20-second intervals, stirring in between. This helps you avoid burning the chocolate, which can happen surprisingly fast. Once melted, the chocolate should be smooth and glossy, ready to be mixed with other ingredients.
Step 3: Combine Ingredients
Now comes the fun part! In a large mixing bowl, combine the toasted coconut, melted chocolate, sweetened condensed milk, caramel sauce, and a splash of vanilla extract. Mix everything together until it’s well blended. Make sure there are no dry pockets of coconut hiding out; every bite should be deliciously cohesive!
Step 4: Form Truffles
Time to roll these beauties into truffles! Scoop a tablespoon of the mixture and roll it into a ball about 1-inch in size. My secret tip? Wet your hands slightly to prevent sticking, making your job easier. Place each ball on a parchment-lined baking sheet. Try to keep them uniform in size; it makes them look beautiful and ensures even chilling.
Step 5: Chill
Finally, pop the baking sheet into the refrigerator. Allow the truffles to chill for at least 30 minutes to firm up. This step is crucial for texture, giving your truffles that perfect bite. Plus, it builds anticipation for that first heavenly taste!
Tips for Success
- Always keep an eye on the coconut while toasting. It goes from golden to burnt in seconds!
- Use fresh ingredients for the best flavor—especially for chocolate and vanilla extract.
- If you’re adding nuts, consider toasting them for an extra crunch and flavor dimension.
- Store leftovers in an airtight container in the fridge for up to a week—if they last that long!
- If in a rush, skip the chilling time and enjoy them slightly soft!
Equipment Needed
- Baking Sheet: A standard baking sheet works well; a dish can also substitute.
- Parchment Paper: Use parchment to line your baking sheet for easy removal; wax paper is another option.
- Microwave-Safe Bowl: Essential for melting the chocolate; a heatproof glass bowl will do.
- Mixing Bowl: Any large bowl for combining ingredients works perfectly.
- Spoon or Cookie Scoop: Great for portioning the truffles; hands are just fine too!
Variations for Samoa Truffles
- Peanut Butter Delight: Add a couple of tablespoons of peanut butter to the mixture for a delightful twist. The creamy richness combined with the chocolate and coconut is simply divine!
- Vegan Samoa Truffles: Swap the sweetened condensed milk for coconut cream and use dairy-free chocolate chips. You can make these truffles suitable for vegan diets without losing its rich flavor.
- Minty Fresh: For a refreshing update, add a few drops of peppermint extract. The cool mint flavor pairs beautifully with chocolate, giving your truffles a unique bite!
- Dried Fruit Addition: Mix in some chopped dried fruits, like cherries or apricots, for a touch of tanginess. The contrast complements the sweetness of the caramel and chocolate.
- Protein-Packed Variation: Stir in a scoop of your favorite protein powder. This not only ups the nutritional value but also adds a unique twist to your truffles.
Serving Suggestions
- Elegant Platter: Arrange your Samoa Truffles on a beautiful plate, drizzling them with extra caramel or chocolate for presentation.
- Pair with Coffee: Serve alongside a rich, freshly brewed cup of coffee for a delightful afternoon treat.
- Festive Touch: During gatherings, place them in mini cupcake liners for a charming buffet display.
- Cold Treat: Enjoy with a scoop of vanilla ice cream to elevate your dessert game!
FAQs about Samoa Truffles
I often get questions about making Samoa Truffles, so I thought I’d share some helpful answers here. Let’s tackle the most common queries!
Can I substitute the shredded coconut?
Absolutely! If you’re not a fan of coconut, you can skip it or use crushed graham crackers for a different texture. This will still keep the essence of a truffle, just with a new twist.
How long do the truffles last?
Kept in an airtight container in the refrigerator, Samoa Truffles can last for about a week. However, I doubt they’ll stick around that long—they’re just too tempting!
Can I freeze Samoa Truffles?
Yes, you can freeze these little delights! Just make sure they’re in a single layer on a baking sheet first, then transfer them to an airtight container or freezer bag. They should stay good for up to three months.
What can I use instead of caramel sauce?
If you’re looking for alternatives, you could use honey or maple syrup for a natural sweetener option. Keep in mind that the flavor will shift slightly but can still be delicious!
Can I make these truffles gluten-free?
You bet! As long as you ensure that your chocolate chips and any optional additions—like nuts—are certified gluten-free, your Samoa Truffles will be a safe treat for everyone. Enjoy!
Final Thoughts
Making Samoa Truffles is truly a joyful experience! With each simple step, I find a sense of satisfaction as the flavors meld together. These delightful treats are perfect not just for indulging myself but also for sharing with family and friends. Every bite is a sweet hug, bringing smiles that can light up the room. It’s amazing how easy this no-bake recipe is, allowing us to enjoy the process without stress. I hope you find as much joy in making and savoring these truffles as I do. Happy indulging!
Print
Samoa Truffles: Indulge in a Quick, Irresistible Treat!
- Total Time: 25 minutes, plus chilling time
- Yield: Approximately 20 truffles 1x
- Diet: Vegetarian
Description
Samoa Truffles are a delightful no-bake treat that combines the flavors of coconut, chocolate, and caramel for a quick and indulgent dessert.
Ingredients
- 1 cup of shredded coconut (sweetened or unsweetened, based on preference)
- 1 cup of chocolate chips (semi-sweet or dark chocolate for a richer flavor)
- 1/2 cup of sweetened condensed milk
- 1/4 cup of caramel sauce (store-bought or homemade)
- 1/2 teaspoon of vanilla extract
- Pinch of salt
- Optional: Chopped nuts (like pecans or almonds) for added crunch
Instructions
- Toast the Coconut: Preheat the oven to 350°F (175°C) and toast shredded coconut until golden brown.
- Melt the Chocolate: In a microwave-safe bowl, melt chocolate chips with a pinch of salt in intervals.
- Combine Ingredients: Mix toasted coconut, melted chocolate, sweetened condensed milk, caramel sauce, and vanilla extract until well combined.
- Form Truffles: Roll the mixture into 1-inch balls and place on a parchment-lined baking sheet.
- Chill: Refrigerate for at least 30 minutes to firm up.
Notes
- Adjust coconut sweetness based on personal preference.
- For a crunchier texture, feel free to add the chopped nuts.
- Keep the truffles refrigerated to maintain their firmness.
- Prep Time: 15 minutes
- Cook Time: 10 minutes
- Category: Dessert
- Method: No-bake
- Cuisine: American
Nutrition
- Serving Size: 1 truffle
- Calories: 120
- Sugar: 10g
- Sodium: 50mg
- Fat: 6g
- Saturated Fat: 4g
- Unsaturated Fat: 2g
- Trans Fat: 0g
- Carbohydrates: 15g
- Fiber: 1g
- Protein: 1g
- Cholesterol: 5mg