Introduction to Grinch Mini Cheesecakes
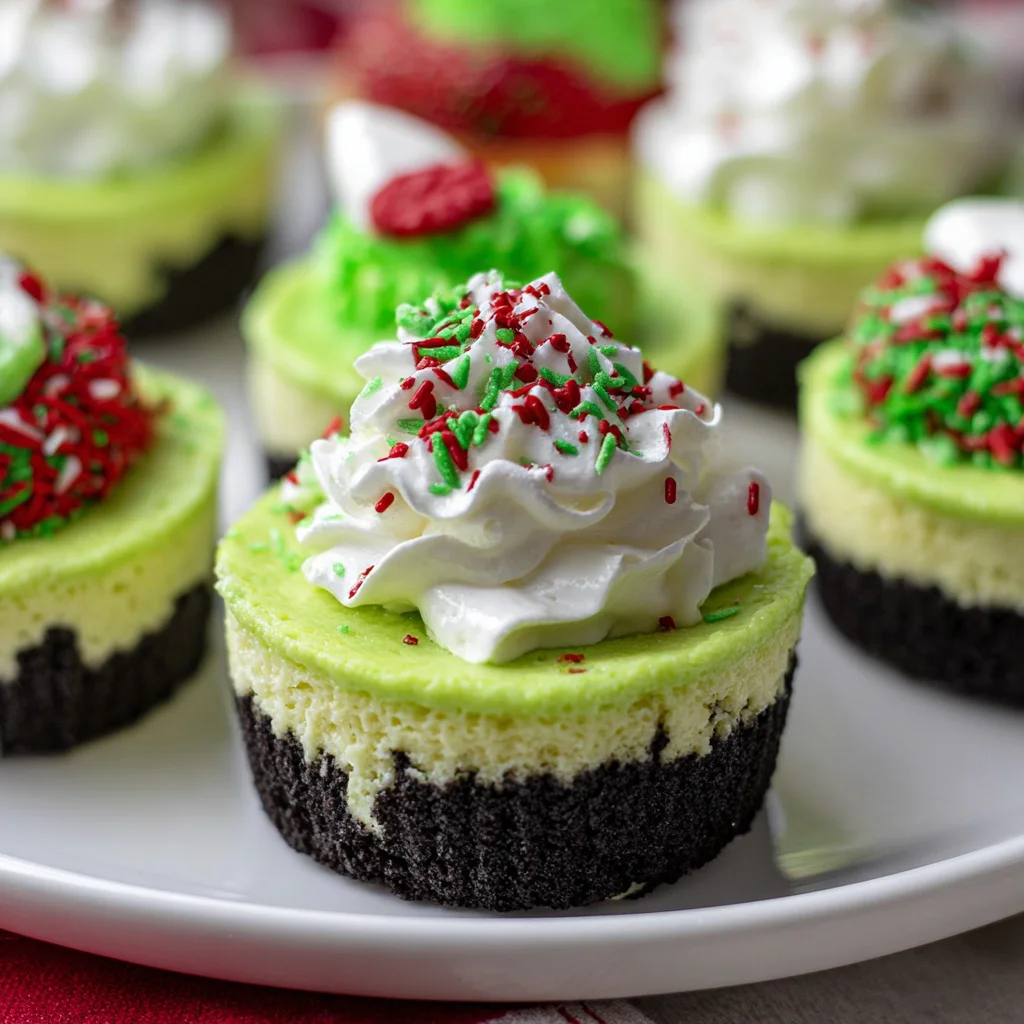
Are you ready to spread some holiday cheer with a dessert that’s both fun and festive? These Grinch Mini Cheesecakes are the perfect treat! With their vibrant green color and creamy filling, they’re sure to impress your family and friends. Plus, they’re a quick solution for busy days when you want to bake something special. I often find myself juggling work, errands, and family commitments, so having a go-to dessert that’s simple and delicious is a game-changer. These mini cheesecakes not only look delightful, but they also taste divine!
Why You’ll Love This Grinch Mini Cheesecakes
What’s not to love about these Grinch Mini Cheesecakes? They’re incredibly easy to whip up, making them a fantastic option for time-strapped moms like me. In just a little over two hours, you’ll have a festive dessert that dazzles the eyes and delights the taste buds. Each bite is creamy with a sweet crunch from the Oreo crust. Plus, the festive vibe will brighten even the busiest of holiday gatherings!
Ingredients for Grinch Mini Cheesecakes
Here’s what you’ll need to create these merry little treats! I’ve included tips and alternatives, so you can make them your own.
- Oreo Crumbs: The foundation of our crust! You can use regular or double-stuffed Oreos for extra richness.
- Butter: Melted butter brings that delightful richness to the crust. If you’re looking for a lighter option, feel free to use coconut oil.
- Cream Cheese: The star of the show! Make sure it’s softened to ensure a smooth, creamy filling.
- Sugar: Granulated sugar adds just the right sweetness. You could substitute with a sugar alternative if desired.
- Eggs: Eggs help to set the filling while giving it that luscious texture. If you prefer a dairy-free version, try using a flax egg instead.
- Vanilla Extract: This ingredient adds depth of flavor. Pure vanilla extract is best, but imitation works too.
- Neon Green Food Coloring: This is what gives these mini cheesecakes their “Grinchy” hue! Adjust the amount to your preference; a little goes a long way!
For specific measurements, be sure to check the end of the article! This delightful recipe is simply waiting for you to print it out and get started!

How to Make Grinch Mini Cheesecakes
Now that you’re all set with the ingredients, let’s jump into making these festive Grinch Mini Cheesecakes! Follow my simple steps, and you’ll be well on your way to creating a delicious holiday treat that everyone will adore.
Step 1: Preheat and Prepare
Start by preheating your oven to 350 degrees. While that delightful heat builds, line a cupcake pan with festive cupcake liners. This little step makes for easy removal later and adds to the cheerful presentation!
Step 2: Make the Oreo Crust
It’s time to create the crust that gives these mini cheesecakes their yum factor! In a food processor, pulse about 10-11 Oreos until they resemble little pebbles. Add in melted butter and blend until it’s well combined. The mixture should hold together when you squeeze it in your hand. Now, divide this crumbly goodness evenly among the cupcake liners and press down firmly—think of it as building a delicious little foundation!
Step 3: Prepare the Cheesecake Mixture
In a medium-sized bowl, beat together your softened cream cheese and sugar until it’s smooth and creamy. I’m talking about a luscious mixture that’s practically begging to be tasted! Next, add in the eggs and vanilla. Beat it all together until completely incorporated. Make sure there are no lumps—the goal is silky perfection!
Step 4: Color the Cheesecake Filling
Now comes the fun part! It’s time to add the neon green food coloring. Start with a few drops and mix. Keep adding until you achieve that Grinchy green hue that would make Dr. Seuss proud. Don’t be shy—this color is what makes these mini cheesecakes stand out on your holiday table!
Step 5: Bake the Mini Cheesecakes
Grab a spoon and gently scoop about ¼ cup of the cheesecake mixture into each cupcake liner over the crust. They should be filled evenly. Slide them into your preheated oven and let them bake for 15-17 minutes. Keep an eye on them! When the centers are slightly jiggly, they’re done. Remember, they’ll set up beautifully as they cool!
Step 6: Cooling and Setting
After baking, remove your mini cheesecakes from the oven and let them cool completely in the pan. Patience is key here! Once fully cooled, transfer them to the fridge and chill for at least two hours. This step is crucial for that perfect cheesecake texture you love.
Step 7: Finishing Touches
When you’re ready to serve, add a dollop of whipped cream on top for that extra festive flair. You could even sprinkle some holiday-themed sprinkles if you’re feeling extra joyful. The finishing touches will elevate your Grinch Mini Cheesecakes and wow your family and friends!
Tips for Success
- Always use softened cream cheese for a smoothly blended filling.
- Adjust food coloring based on your desired shade of green—experiment for fun!
- For a firmer cheesecake, chill overnight before serving; this enhances flavor.
- Feel free to use a regular cupcake pan for a thicker cheesecake.
- Double the recipe if you’re serving a crowd; everyone will want seconds!
Equipment Needed
- Cupcake Pan: A standard cupcake pan works well, but you can also use a muffin tin for larger mini cheesecakes.
- Food Processor: This makes crushing Oreos a breeze. A zip-top bag and rolling pin will work, too!
- Mixing Bowls: Use medium and large bowls for mixing ingredients easily.
- Electric Mixer: An electric hand mixer saves time, but a whisk will do in a pinch.
Variations on Grinch Mini Cheesecakes
- Chocolate Chip Grinch Mini Cheesecakes: Fold in mini chocolate chips to the cheesecake mixture for a tasty surprise.
- Nut-Free Option: Use gluten-free Oreos and ensure all other ingredients are nut-free for a safe treat.
- Vegan Grinch Mini Cheesecakes: Substitute cream cheese with vegan cream cheese, use flax eggs, and choose dairy-free whipped cream.
- Flavored Cheesecakes: Add a tablespoon of peppermint extract for a festive twist or use almond extract for a nutty flavor.
- Fruit Topping: Add fresh berries or kiwi on top before serving for a burst of color and flavor.
Serving Suggestions for Grinch Mini Cheesecakes
- Hot Cocoa: Pair these mini cheesecakes with a warm mug of cocoa for a delightful treat.
- Festive Platter: Arrange them on a bright red platter for a stunning holiday display.
- Fresh Berries: Serve with a side of seasonal berries to balance the sweetness with some tartness.
- Mint Tea: A steaming cup of mint tea complements the flavors beautifully.
- Sprinkles: Add extra sprinkles or crushed candy canes on top for added seasonal cheer.
FAQs about Grinch Mini Cheesecakes
Can I make Grinch Mini Cheesecakes in advance?
Absolutely! One of the joys of this recipe is that you can make these festive treats a day ahead. Just store them in the fridge to let the flavors meld together. They’ll be just as delicious, if not better, the next day!
What’s the best way to store leftovers?
After baking and cooling, keep your mini cheesecakes in an airtight container in the refrigerator. They’ll stay fresh for up to a week—though trust me, they’ll disappear much faster than that during holiday gatherings!
Can I freeze Grinch Mini Cheesecakes?
Yes, you can! After they’ve chilled, wrap them tightly in plastic wrap or store in a freezer-safe container. They can be frozen for up to a month. Just thaw them in the fridge before serving for the best texture.
What can I use instead of Oreo crumbs for the crust?
If you’re looking for alternatives, you can use graham cracker crumbs or even crushed pretzels for a salty twist. Just adjust the melted butter based on the crumbs’ absorption capacity!
Will the food coloring affect the flavor?
Not at all! The neon green food coloring is purely for decorative purposes. So you can enjoy a vibrant and festive dessert without altering the deliciously creamy taste of your Grinch Mini Cheesecakes!
Final Thoughts
As I finish up this delightful recipe for Grinch Mini Cheesecakes, I can’t help but think about the joyful moments they bring. These little green wonders are more than just a dessert; they are a way to create fun memories with family and friends. Imagine gathering around the table, sharing giggles, and savoring each creamy bite together! With their vibrant color and scrumptious flavor, these cheesecakes become a festive highlight of the holidays. So grab your ingredients and let the baking begin—let’s spread some cheer and whip up some holiday magic in the kitchen!
Print
Grinch Mini Cheesecakes: A Festive Delight to Try!
- Total Time: 2 hours (including cooling time)
- Yield: 12 mini cheesecakes 1x
- Diet: Vegetarian
Description
These Grinch Mini Cheesecakes are a festive and fun dessert perfect for the holiday season, featuring a vibrant green color and a deliciously creamy filling.
Ingredients
- 1 cup Oreo Crumbs
- 2 1/2 tbsp Butter, Melted
- 2 (8 oz) Cream Cheese, Softened
- 1/2 cup Sugar
- 2 Eggs
- 1 tsp Vanilla
- Neon Green Food Coloring
Instructions
- Preheat oven to 350 degrees. Line a cupcake pan with liners.
- Pulse about 10-11 Oreos in a food processor to make crumbs. Then pulse in melted butter until well combined.
- Divide crumbs evenly between each liner and press down firmly.
- In a medium size bowl, beat softened cream cheese and sugar until smooth. Beat in eggs and vanilla.
- Mix in neon green food coloring until desired Grinchy color is reached.
- Spoon about 1/4 cup mixture into each cup, filling them evenly.
- Bake for 15-17 minutes. The centers of the cheesecakes should be slightly jiggly.
- Remove from oven and let completely cool in the pan. Then refrigerate until firm.
- Top with whipped cream and sprinkles if desired.
Notes
- Make sure to use softened cream cheese for a smooth texture.
- Adjust the amount of food coloring based on your color preference.
- These cheesecakes can be made a day in advance for convenience.
- Prep Time: 15 minutes
- Cook Time: 17 minutes
- Category: Dessert
- Method: Baking
- Cuisine: American
Nutrition
- Serving Size: 1 mini cheesecake
- Calories: 250
- Sugar: 15g
- Sodium: 180mg
- Fat: 20g
- Saturated Fat: 12g
- Unsaturated Fat: 6g
- Trans Fat: 0g
- Carbohydrates: 18g
- Fiber: 1g
- Protein: 3g
- Cholesterol: 70mg