Introduction to Crusty Italian Bread
Ah, the aroma of fresh-baked bread wafting through the kitchen. There’s something undeniably comforting about it, isn’t there? Crusty Italian Bread is my go-to recipe when I want to bring a little joy into my home.
It’s perfect for a quick meal or as a delightful side to impress your loved ones.
Even better, it’s surprisingly easy to make! With just a few simple ingredients, you can create a warm, crusty masterpiece that beckons everyone to gather around the table, creating special moments and memories.
Why You’ll Love This Crusty Italian Bread
Picture this: a looming dinner time, and you have no bread in sight. Crusty Italian Bread swoops in as your hero!
It’s not only easy to whip up, but it also requires minimal hands-on time.
Just let it rise while you tackle other tasks. Plus, the taste is heavenly! That crispy crust and soft interior are like a warm hug for your taste buds.
Ingredients for Crusty Italian Bread
Let’s gather the stars of our Crusty Italian Bread show! Here’s what you’ll need:
- Warm Water: Essential for activating the yeast, giving life to our dough.
- Instant Yeast: This is our little magic maker, speeding up the rising process. No time to waste!
- Sugar: Just a pinch to feed the yeast, helping our bread rise beautifully.
- All-Purpose Flour: The foundation of our bread, providing structure and that lovely chewy texture.
- Salt: Enhances flavor and strengthens the dough’s structure. Balance is key!
- Fresh Herbs (optional): You can unleash your creativity by adding flavor. Think rosemary or thyme for an aromatic twist!
- Cornmeal or Flour (for dusting): This helps keep our bread from sticking and adds a rustic look to the bottom of the loaf.
Remember, if you’re curious about exact measurements, they’re conveniently listed at the bottom of the article for easy printing. Let’s get cooking!
How to Make Crusty Italian Bread
Ready to dive into the world of baking? Let’s make this Crusty Italian Bread together! Follow my lead through these simple steps, and soon you’ll have a beautiful, golden loaf that you can be proud of.
Step 1: Prepare the Dough
In a large bowl, combine 3 3/4 cups of flour, 1 1/2 teaspoons of salt, and 1/2 teaspoon of sugar.
Then, add 2 1/4 teaspoons of instant yeast along with 1 1/2 cups of warm water.
Stir it all together until a sticky dough forms.
This is where the magic begins!
Step 2: First Rise
Now, cover the bowl with a clean kitchen towel or plastic wrap.
Let it rise at room temperature for about 2 hours.
During this time, it should double in size and become lovely and bubbly.
Patience is key, but I promise it’s worth it!
Step 3: Shape the Dough
Once your dough has risen, turn it onto a floured surface.
Gently shape it into a ball but avoid kneading it.
We want to keep those magical bubbles intact.
Imagine cradling a fluffy cloud—treat the dough as delicately!
Step 4: Second Rise
Now, place the shaped dough seam-side down on parchment paper or in a proofing basket.
Cover it again and let it rise for another 30 to 45 minutes.
This second rise is crucial for achieving that perfect crusty exterior.
Step 5: Preheat Oven
While the dough is rising its final time, go ahead and preheat your oven to 450°F.
Don’t forget to place your Dutch oven inside for at least 30 minutes.
This extra heat will help create that delightful crust we all love!
Step 6: Score the Dough
Once your dough has puffed up, it’s time to score it.
Grab a sharp knife and make a few shallow cuts on the surface.
This not only looks beautiful but helps control how the bread rises in the oven.
Think of it as giving your bread a little personality!
Step 7: Bake
Carefully transfer the dough (with the parchment) into the hot Dutch oven.
Cover it with the lid and bake for 30 minutes.
Then, take the lid off and let it bake for another 10-15 minutes.
This will get your loaf nice and golden, with that irresistible crust.
Step 8: Cool
Once out of the oven, let your bread cool on a wire rack for at least 1 hour.
This cooling period helps develop the texture.
I know it’s tempting to slice in right away, but trust me—waiting is worth it!
Tips for Success
- Always use warm water, not hot, to activate the yeast without killing it.
- Keep your kitchen warm while the dough rises; it helps the yeast work its magic.
- Don’t rush the cooling process—it allows the crust to set and flavor to develop.
- Experiment with herbs for an unexpected twist.
- Use a digital thermometer to check the internal temperature of the bread; it should be around 200°F.
Equipment Needed
- Large Mixing Bowl: Any bowl will do, but a glass bowl lets you see the dough rise.
- Sharp Knife: A serrated knife works well for scoring the dough.
- Dutch Oven: If you don’t have one, a cast-iron pot with a lid will suffice.
- Parchment Paper: Optional, but it makes transferring the bread much easier.
- Wire Rack: A cooling rack is best; otherwise, use your countertop!
Variations of Crusty Italian Bread
- Herb-Infused: Add a tablespoon of dried herbs like oregano or basil to the dough for extra flavor.
- Garlic Bread: Mix in roasted garlic or garlic powder for a savory twist.
- Whole Wheat: Substitute half of the all-purpose flour with whole wheat flour for a nuttier flavor and added fiber.
- Cheese Lover’s Delight: Fold in shredded parmesan or mozzarella right before shaping the dough.
- Olive Oil Variation: Brush the dough with olive oil before the second rise for a richer flavor.
Serving Suggestions for Crusty Italian Bread
- Pair with Olive Oil: Drizzle some high-quality olive oil for a simple yet delicious starter.
- Soup Companion: Serve alongside a hearty minestrone or tomato soup for a comforting meal.
- Cheese Platter: Include a selection of cheeses and cured meats as a delightful appetizer.
- Bruschetta Base: Top with tomatoes, basil, and mozzarella for a fresh treat.
- Impressive Presentation: Serve the bread warm in a basket lined with a colorful cloth for a charming touch.
FAQs about Crusty Italian Bread
Can I use active dry yeast instead of instant yeast?
Absolutely! Just remember to activate it by dissolving it in warm water along with the sugar before mixing it into the dough. The process remains quite the same!
What can I do if my dough isn’t rising?
If you find your dough isn’t rising, check if the yeast is fresh and if the water was warm (not hot). A too-cold environment can stall the yeast, so try to find a warmer spot.
How do I store leftover Crusty Italian Bread?
Wrap it tightly in plastic wrap or foil and keep it in a bread box or a cool, dry place. For longer storage, slice and freeze it for future enjoyment during busy days.
Can I make this crusty bread ahead of time?
Yes! You can let the dough rise and shape it, then cover it and refrigerate for up to 24 hours. Bring it back to room temperature before baking. It’s all about juggling that busy life!
What should I do if I want a softer crust?
If you prefer a softer crust, bake the bread in a covered pot but reduce the baking time a bit. You can also brush the crust with butter right after baking for an extra touch of tenderness!
Final Thoughts
Making Crusty Italian Bread is more than just following a recipe; it’s an experience that fills your heart and home with warmth. The joy of kneading and waiting as the dough rises is like a calming ritual amidst our busy lives.
Each golden slice pulls in family and friends, ready to savor the deliciousness.
So, whether it’s for a comforting meal or a gathering, enjoy every moment of creating this masterpiece. Baking this bread is not just about the end result; it’s about the love and memories made along the way.
Print
Crusty Italian Bread
- Total Time: 3 hours
- Yield: 1 loaf 1x
- Diet: Vegetarian
Description
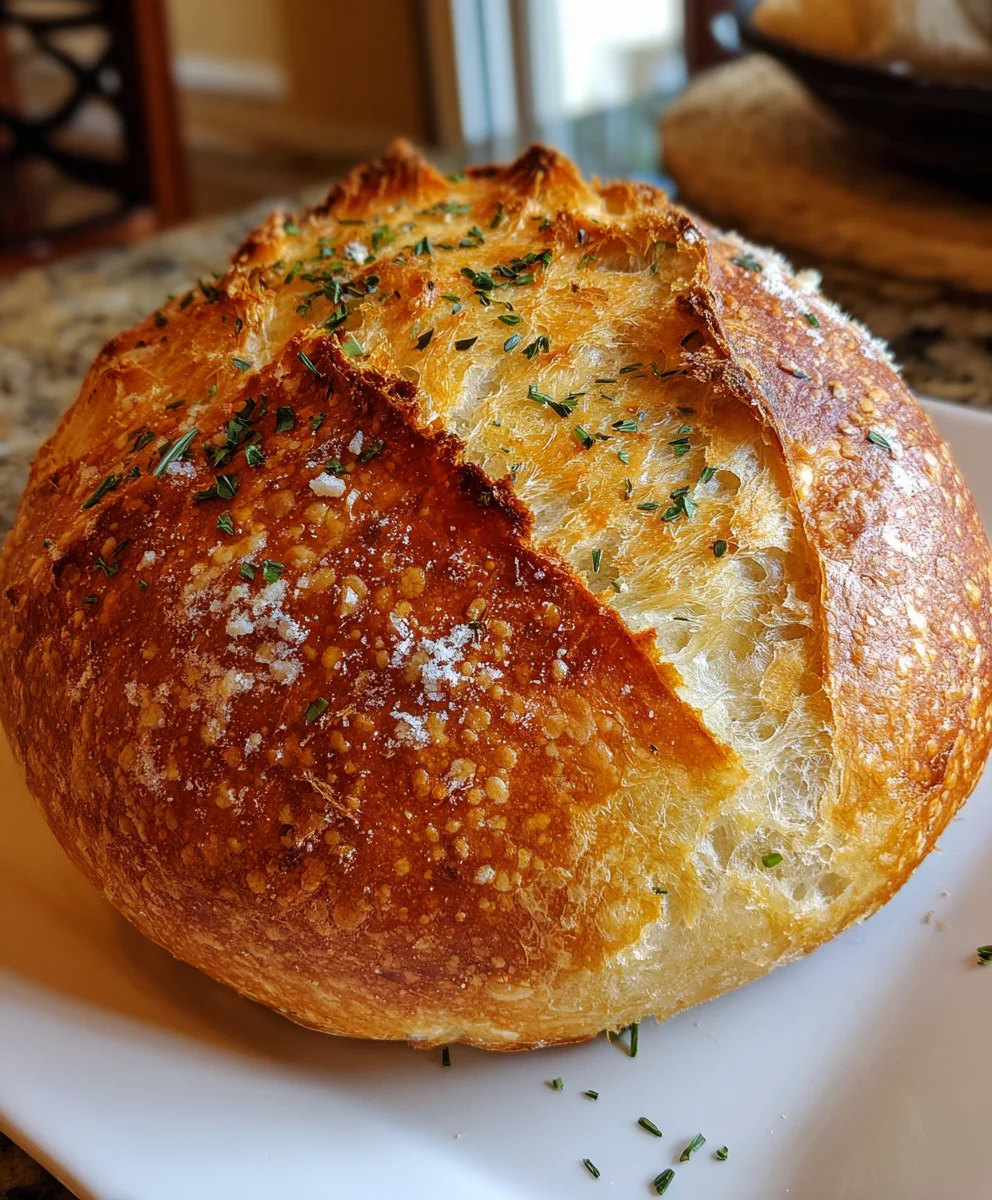
Crusty Italian Bread is a delicious homemade bread with a crispy crust and soft interior.
Ingredients
- 1 1/2 cups warm water
- 2 1/4 teaspoons instant yeast
- 1/2 teaspoon sugar
- 3 3/4 cups all-purpose flour
- 1 1/2 teaspoons salt
- 1 tablespoon chopped fresh herbs (optional)
- 1 tablespoon cornmeal or flour (for dusting)
Instructions
- In a large bowl, mix 3 3/4 cups flour, 1 1/2 teaspoons salt, and 1/2 teaspoon sugar. Add 2 1/4 teaspoons yeast and 1 1/2 cups warm water. Mix until a sticky dough forms.
- Cover the bowl and let rise at room temperature for 2 hours until doubled in size and bubbly.
- Turn the dough onto a floured surface and gently shape into a ball. Do not knead.
- Place seam-side down on parchment paper or a proofing basket. Cover and let rise again for 30–45 minutes.
- Preheat oven to 450°F with a Dutch oven inside for at least 30 minutes.
- Score the dough with a sharp knife.
- Transfer dough (with parchment) into the hot Dutch oven. Cover and bake for 30 minutes.
- Remove the lid and bake another 10–15 minutes until golden and crusty.
- Let cool on a wire rack for at least 1 hour before slicing.
Notes
- For a stronger flavor, consider adding various herbs.
- Make sure to let the dough rise in a warm environment for best results.
- Do not rush the cooling process before slicing, as it helps the texture.
- Prep Time: 15 minutes
- Cook Time: 40–45 minutes
- Category: Bread
- Method: Baking
- Cuisine: Italian
Nutrition
- Serving Size: 1 slice
- Calories: 150
- Sugar: 0.5g
- Sodium: 200mg
- Fat: 1g
- Saturated Fat: 0g
- Unsaturated Fat: 0g
- Trans Fat: 0g
- Carbohydrates: 30g
- Fiber: 1g
- Protein: 4g
- Cholesterol: 0mg