Introduction to Dr. Pepper Ice Cream
As a busy mom, I know how precious time can be, especially when it comes to whipping up something special for my family. That’s why I absolutely adore this Dr. Pepper Ice Cream recipe! It’s not just a dessert; it’s a delightful experience that brings a unique twist to our usual ice cream nights. Imagine the fizzy, nostalgic flavor of Dr. Pepper transformed into a creamy treat that everyone will love. This recipe is perfect for impressing your loved ones or simply treating yourself after a long day. Trust me, you’ll want to keep this one in your back pocket!
Why You’ll Love This Dr. Pepper Ice Cream
This Dr. Pepper Ice Cream is a game-changer for busy days. It’s incredibly easy to make, requiring just a few simple steps. The taste? Oh, it’s a delightful blend of fizzy sweetness and creamy goodness that will have your taste buds dancing! Plus, it’s a fun way to surprise your family with something they’ve never tried before. You’ll love how quickly it comes together, making dessert a breeze!
Ingredients for Dr. Pepper Ice Cream

Gathering the right ingredients is the first step to creating your delicious Dr. Pepper Ice Cream. Here’s what you’ll need:
- Dr Pepper soda: This is the star of the show! It provides that unique flavor that makes this ice cream so special.
- Heavy cream: This adds richness and creaminess to your ice cream. For a lighter version, you can use whole milk or half-and-half.
- Whole milk or half-and-half: This helps balance the creaminess and gives a smooth texture. If you want a richer flavor, stick with heavy cream.
- Granulated sugar: Depending on how sweet your Dr. Pepper reduction is, you might want to add some sugar. It enhances the overall sweetness.
- Vanilla extract: This is optional, but it adds a lovely depth of flavor that complements the Dr. Pepper.
- Sweetened condensed milk: If you’re opting for the no-churn version, this ingredient is a must! It adds sweetness and creaminess without the need for an ice cream maker.
- Heavy whipping cream (for no-churn version): This is used alongside the sweetened condensed milk to create a luscious texture.
For exact measurements, check the bottom of the article where you can find everything listed for easy printing. Happy cooking!
How to Make Dr. Pepper Ice Cream
Now that you have your ingredients ready, let’s dive into the fun part—making your Dr. Pepper Ice Cream! Follow these simple steps, and you’ll be savoring this delightful treat in no time.
Step 1: Reduce the Soda
Start by pouring the Dr. Pepper into a saucepan. Set it over medium heat and let it simmer. You want to reduce it by half until it becomes syrupy. This process intensifies the flavor, making it even more delicious. Once it’s reduced, let it cool completely. Trust me, the aroma will have you dreaming of ice cream!
Step 2: Prepare the Base
In a large bowl, whisk together the heavy cream, whole milk, and sugar if you’re using it. Add in the cooled Dr. Pepper syrup and a splash of vanilla extract if you like. This mixture is the heart of your ice cream, so make sure it’s well combined. The creaminess from the heavy cream and the fizzy sweetness from the soda will create a magical blend!
Step 3: Chill the Mixture
Cover your bowl with plastic wrap and pop it in the refrigerator. Let it chill for at least 4 hours, or even overnight if you can wait! This step is crucial as it enhances the flavors, making your ice cream even more delightful. Plus, it ensures a smoother texture when you churn it.
Step 4: Churn the Ice Cream
Once your mixture is chilled, it’s time to churn! Pour the base into your ice cream maker and churn it until it reaches a soft-serve consistency. This usually takes about 20-25 minutes. If you don’t have an ice cream maker, don’t worry! You can still make this treat using the no-churn method.
Step 5: Freeze to Set
Transfer your churned ice cream into a freezer-safe container. Press plastic wrap directly onto the surface to prevent ice crystals from forming. Seal it tightly and freeze for at least 4-6 hours. This step is essential for achieving that perfect scoopable texture!
Step 6: Serve and Enjoy!
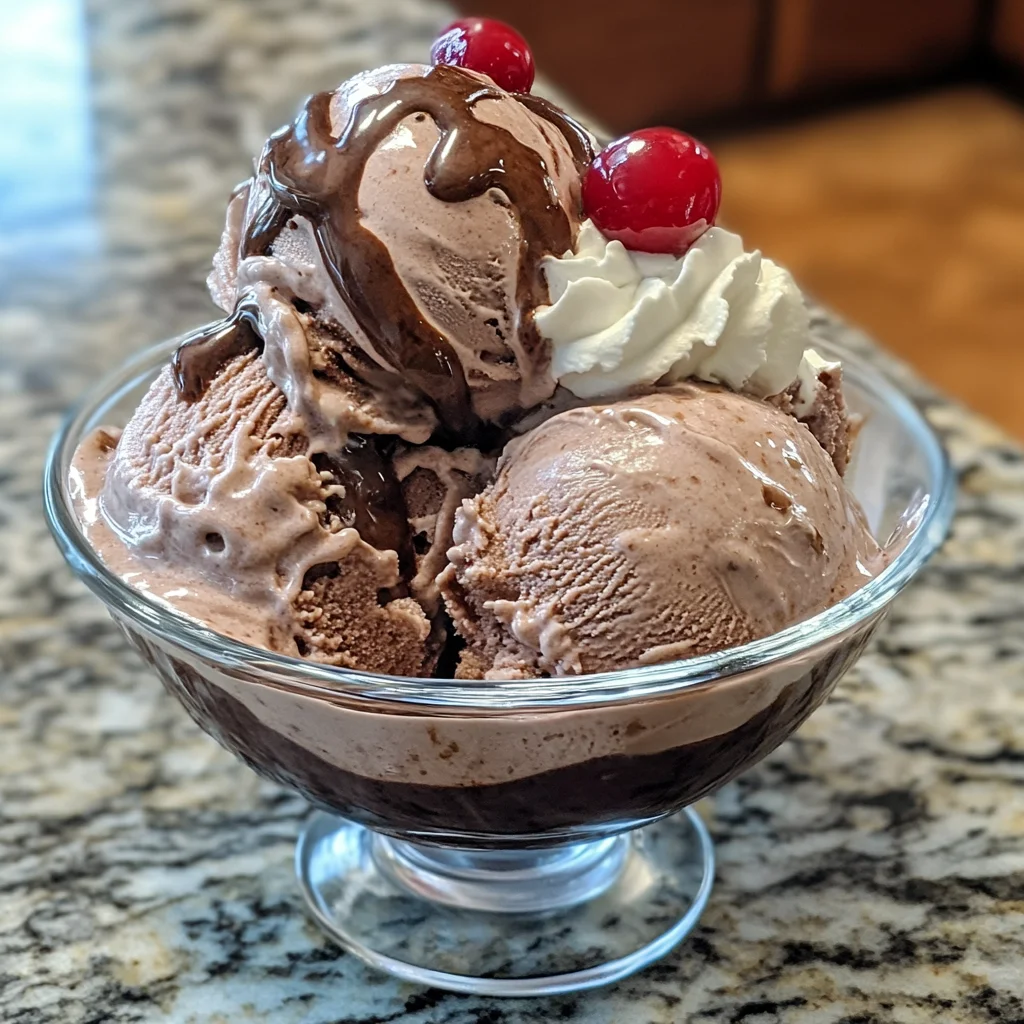
Finally, it’s time to indulge! Scoop out your homemade Dr. Pepper Ice Cream into bowls or cones. If you’re feeling fancy, top it with whipped cream and a cherry. Enjoy every creamy, fizzy bite of this unique dessert. It’s sure to be a hit with family and friends!
Tips for Success

- Make sure to cool the Dr. Pepper syrup completely before mixing it with the cream.
- For a creamier texture, use heavy whipping cream instead of whole milk.
- Adjust the sugar based on your taste preference and the sweetness of the soda reduction.
- Don’t skip the chilling step; it’s key for flavor development.
- If using the no-churn method, ensure your mixing bowl is cold for best results.
Equipment Needed
- Ice Cream Maker: This is ideal for churning your ice cream. If you don’t have one, a hand mixer works too!
- Medium Saucepan: Perfect for reducing the Dr. Pepper. A small pot can work in a pinch.
- Mixing Bowl: Use a large bowl for combining ingredients. Any bowl will do!
- Freezer-Safe Container: Essential for storing your ice cream. A glass or plastic container works great.
Variations
- Chocolate Dr. Pepper Ice Cream: Add cocoa powder or melted chocolate to the base for a rich, chocolatey twist.
- Dr. Pepper Float: Serve scoops of your Dr. Pepper Ice Cream in a glass of Dr. Pepper for a fun float experience!
- Vegan Version: Substitute heavy cream with coconut cream and use a plant-based milk for a dairy-free delight.
- Spicy Dr. Pepper Ice Cream: Add a pinch of cayenne pepper or cinnamon to the base for a surprising kick!
- Fruit Add-ins: Mix in chopped cherries or crushed pineapple for a fruity burst of flavor.
Serving Suggestions
- Pair your Dr. Pepper Ice Cream with a slice of warm chocolate cake for a decadent dessert experience.
- Serve it alongside fresh fruit, like strawberries or bananas, for a refreshing contrast.
- For a fun twist, create a Dr. Pepper float by adding a scoop to a glass of Dr. Pepper.
- Garnish with chocolate syrup, sprinkles, or crushed nuts for added texture and flavor.
FAQs about Dr. Pepper Ice Cream
As you embark on your Dr. Pepper Ice Cream adventure, you might have a few questions. Here are some common queries I’ve encountered, along with helpful answers!
Can I make Dr. Pepper Ice Cream without an ice cream maker?
Absolutely! You can use the no-churn method by mixing sweetened condensed milk with heavy whipping cream. Just whip the cream until soft peaks form, fold in the condensed milk and Dr. Pepper syrup, then freeze!
How long does Dr. Pepper Ice Cream last in the freezer?
This delightful treat can last up to two weeks in the freezer if stored properly in an airtight container. Just remember to let it sit at room temperature for a few minutes before scooping for easier serving!
Can I use diet Dr. Pepper for this recipe?
Yes, you can! Using diet Dr. Pepper will reduce the sugar content, but the flavor may be slightly different. It’s a great option if you’re looking for a lighter dessert.
What can I do with leftover Dr. Pepper syrup?
Don’t let that delicious syrup go to waste! You can drizzle it over pancakes, waffles, or even use it as a topping for yogurt or ice cream. It adds a sweet, fizzy kick to any dish!
Is this recipe suitable for kids?
Definitely! Kids will love the unique flavor of Dr. Pepper Ice Cream. Just keep an eye on the sugar content if you’re serving it to little ones, and enjoy the smiles it brings!
Final Thoughts
Making Dr. Pepper Ice Cream is more than just a recipe; it’s a delightful journey that brings joy to your kitchen. The fizzy sweetness of Dr. Pepper combined with creamy goodness creates a unique treat that’s sure to impress. Whether you’re enjoying it on a hot summer day or serving it at a family gathering, this ice cream is bound to spark smiles and create lasting memories. So, roll up your sleeves, gather your ingredients, and dive into this fun culinary adventure. Trust me, every scoop will remind you of the simple pleasures in life!
Print
Dr. Pepper Ice Cream
- Total Time: 4 hours 45 minutes
- Yield: Approximately 1 quart 1x
- Diet: Vegetarian
Description
A delicious and refreshing ice cream made with Dr. Pepper soda, perfect for a unique dessert experience.
Ingredients
- 2 cups Dr Pepper soda for reduction
- 1 ½ cups heavy cream
- 1 cup whole milk or half-and-half
- ½ cup granulated sugar (optional if soda reduction is very sweet)
- 1 teaspoon vanilla extract (optional)
- (For No-Churn Version) 1 can 14 oz sweetened condensed milk
- 2 cups heavy whipping cream
Instructions
- Reduce the Soda: Pour Dr Pepper into a saucepan and simmer over medium heat until reduced by half and syrupy. Cool completely.
- Prepare the Base: In a bowl, whisk together heavy cream, whole milk, sugar (if using), vanilla extract, and the cooled Dr Pepper syrup.
- Chill the Mixture: Cover and refrigerate the base for 4 hours or overnight.
- Churn the Ice Cream: Pour the chilled base into your ice cream maker and churn until it reaches a soft-serve consistency.
- Freeze to Set: Transfer the churned ice cream to a freezer-safe container. Press plastic wrap directly on the surface, seal, and freeze for at least 4–6 hours.
- Serve and Enjoy!: Scoop, top with whipped cream and cherries if desired, and enjoy your homemade Dr Pepper Ice Cream!
Notes
- For a richer flavor, use heavy whipping cream instead of whole milk.
- Adjust the sugar based on the sweetness of the Dr Pepper reduction.
- This recipe can be made without an ice cream maker using the no-churn method.
- Prep Time: 15 minutes
- Cook Time: 30 minutes
- Category: Dessert
- Method: Churning
- Cuisine: American
Nutrition
- Serving Size: 1/2 cup
- Calories: 250
- Sugar: 20g
- Sodium: 50mg
- Fat: 15g
- Saturated Fat: 10g
- Unsaturated Fat: 3g
- Trans Fat: 0g
- Carbohydrates: 30g
- Fiber: 0g
- Protein: 3g
- Cholesterol: 60mg