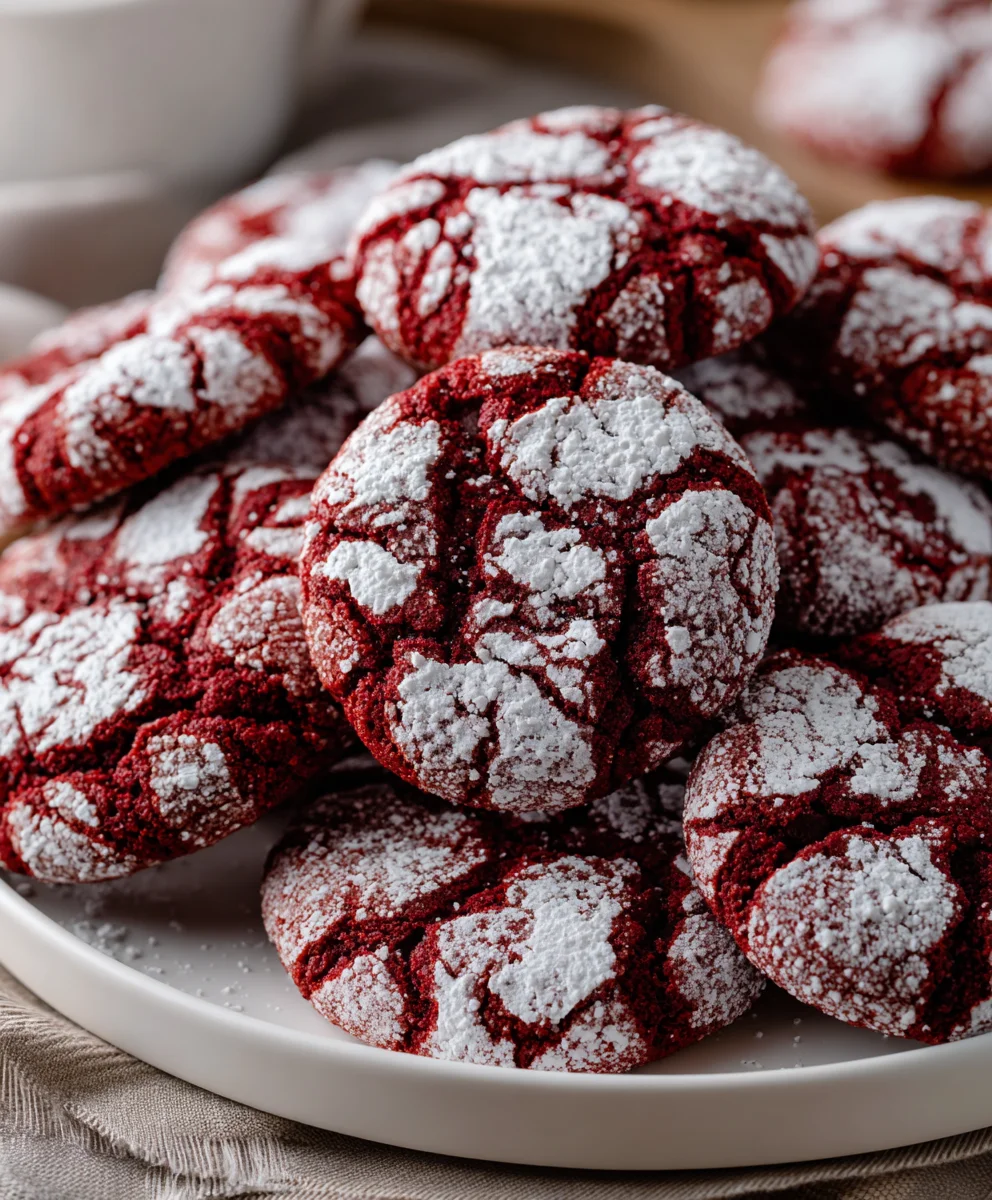
Introduction to The Easiest Red Velvet Crinkle Cookies
Life can be a whirlwind, can’t it? Between work deadlines, family activities, and that never-ending to-do list, finding time to bake might feel impossible. But here’s where The Easiest Red Velvet Crinkle Cookies swoop in like superheroes in an apron! These delightful cookies are not just quick to whip up, but they also add a pop of color and flavor that impresses everyone. They’re soft, crinkly, and oh-so-festive! Perfect for a cozy get-together or simply to brighten your afternoon coffee break.
Why You’ll Love This The Easiest Red Velvet Crinkle Cookies
These cookies aren’t just a treat; they’re a game changer in the kitchen! With just 15 minutes of prep and a mere 10 minutes in the oven, they fit perfectly into our busy lives. Plus, the combination of rich cocoa and vibrant red hue makes them irresistible. Whether you’re celebrating a special occasion or simply indulging your sweet tooth, The Easiest Red Velvet Crinkle Cookies deliver on taste and style without breaking a sweat.
Ingredients for The Easiest Red Velvet Crinkle Cookies
Gathering your ingredients is like setting the stage for a beautiful performance. Each item plays its role in making these cookies unforgettable. Here’s what you’ll need:
- All-purpose flour: The backbone of any cookie, flour gives structure and chewiness.
- Cocoa powder: This brings depth and that rich chocolatey flavor that pairs perfectly with the red velvet.
- Baking powder: A must for leavening, helping your cookies rise to perfection.
- Baking soda: This works alongside the baking powder, ensuring those crinkles form beautifully.
- Salted butter: Adds richness and a delectable buttery flavor; just make sure it’s softened for easy mixing.
- Vegetable oil: This keeps the cookies moist and tender, making them oh-so-satisfying.
- Light brown sugar: It contributes sweetness and moisture, creating a chewy texture.
- Granulated sugar: This adds sweetness and helps achieve a delightful crisp exterior.
- Eggs: Binding the ingredients together, eggs also add richness and help with leavening.
- Red gel food coloring: This is what brings the festive flair; don’t skimp on this eye-catching hue!
- Milk: Just a splash helps achieve that creamy, smooth dough.
- Vanilla extract: A dash of vanilla elevates the flavor, introducing warmth and depth.
- Granulated and powdered sugar (for rolling): These sugary blankets lend crunch and a snow-like finish to your cookies.
For specific quantities, check the bottom of the article, where you’ll find them all laid out clearly and ready for printing!
How to Make The Easiest Red Velvet Crinkle Cookies
Ready to dive into the sweet adventure of baking? Making The Easiest Red Velvet Crinkle Cookies is like painting a masterpiece. Each step contributes to something delicious! Let’s unfold this delightful recipe together, shall we?
Step 1: Prepare Your Baking Station
First things first—let’s get organized! Line a baking sheet with parchment paper. This not only prevents sticking but also makes cleanup a breeze. Set up two shallow bowls; one with granulated sugar and another with powdered sugar. These sugary baths are essential for rolling those cookies later! Trust me, it’s worth the extra prep!
Step 2: Cream the Butter and Oils
In a large mixing bowl, combine your softened salted butter and vegetable oil. Using a mixer, beat these together until creamy. You’re aiming for a smooth texture that’s light and fluffy. Next, add in the light brown sugar and granulated sugar, mixing until everything is well combined. The sweetness here is key—it will make those cookies taste absolutely divine!
Step 3: Add Flavorings and Coloring
Now, let’s bring the magic! Crack in two large eggs and pour in that fragrant vanilla extract. Then, for the star of the show, add a few drops of red gel food coloring. Mix it all until the dough is an even, charming red hue. Watching that color blend in is like seeing a sunset—so mesmerizing!
Step 4: Combine Dry Ingredients
In another bowl, whisk together the all-purpose flour, cocoa powder, baking powder, and baking soda. This step is crucial—mixing the dry ingredients ensures a well-integrated dough. Gently fold the dry ingredients into the wet mixture until everything is combined. Don’t overmix; we want a soft, slightly sticky dough! The texture at this point should feel fluffy while still holding together nicely.
Step 5: Form the Cookie Balls
Here comes the fun part—scooping and rolling! Use a cookie scoop to grab portions of dough. Roll each scoop into a ball first in granulated sugar, then roll it again in powdered sugar. This two-step coating is what gives those cookies their delightful crinkle on top. As you roll, resist the urge to flatten them; we want those beautiful puffs!
Step 6: Bake and Cool
Place your cookie balls on the prepared baking sheet, spacing them about 2 inches apart. Bake them in a preheated oven at 350°F (175°C) for 8–10 minutes. The cookies should look slightly puffed and a bit soft in the center. Once done, let them cool on the baking sheet for about 5 minutes. This resting time is vital for that perfect crinkle texture! Then, transfer them to a wire rack to cool completely. The aroma will be absolutely heavenly, and your patience will be rewarded!
Tips for Success
- Always measure your flour carefully—too much can make cookies tough.
- Let your butter soften at room temperature for easy mixing.
- Use gel food coloring for a vibrant red without affecting the dough’s texture.
- Don’t overcrowd the baking sheet; space helps cookies maintain their shape.
- Resting the cookies on the baking sheet ensures they stay soft in the center.
Equipment Needed
- Mixing Bowls: A large bowl for mixing, and a smaller one for whisking dry ingredients. You can use any size you have!
- Hand Mixer or Whisk: A hand mixer makes life easier, but a good old whisk does the trick too.
- Baking Sheet: A standard cookie sheet works best for baking.
- Parchment Paper: Great for lining your baking sheet; aluminum foil will also work!
- Cookie Scoop: Make uniform cookie balls easily; a tablespoon can serve as an alternative.
Variations of The Easiest Red Velvet Crinkle Cookies
- Add Nuts: Toss in some chopped pecans or walnuts for a delightful crunch.
- White Chocolate Chips: Fold in white chocolate chips for a creamy twist to the classic flavor.
- Gluten-Free Version: Substitute all-purpose flour with a gluten-free blend to accommodate dietary needs.
- Vegan Option: Replace eggs with flaxseed meal and swap butter with coconut oil for a plant-based treat.
- Minty Fresh: Add a few drops of peppermint extract for a refreshing holiday twist!
Serving Suggestions for The Easiest Red Velvet Crinkle Cookies
- Pair with Milk: Nothing beats the classic combo of warm cookies and a cold glass of milk!
- Serve with Coffee: These cookies are delightful with a rich coffee or a frothy cappuccino.
- Presentation: Arrange cookies on a pretty platter, dust with powdered sugar for extra flair.
- Add Ice Cream: Sandwich two cookies with a scoop of vanilla ice cream for a decadent treat.
- Festive Treats: Wrap them up in cellophane bags and gift them for holiday cheer!
FAQs about The Easiest Red Velvet Crinkle Cookies
Can I make The Easiest Red Velvet Crinkle Cookies ahead of time?
Absolutely! You can prepare the dough ahead of time and store it in the refrigerator for up to 3 days. When you’re ready, just scoop and roll them in sugar before baking. It’s an excellent way to whip them up with minimal effort!
What makes these cookies crinkle?
The crinkle of these cookies comes from the combination of baking powder and soda, along with the sugar coating. As they bake, the sugar caramelizes, creating that delightful texture we all love!
Can I use regular food coloring instead of gel?
Yes, you can use regular food coloring, but gel food coloring is more concentrated. It yields a richer red without adding too much liquid to the dough, keeping your cookies soft and chewy.
How should I store any leftovers?
Store any leftover cookies in an airtight container at room temperature for up to a week. If you want to prolong their freshness, you can freeze them in a sealed bag for up to three months.
Can I make these cookies gluten-free?
Definitely! Just swap out the all-purpose flour for a gluten-free flour blend. Make sure to check that all other ingredients are also gluten-free to keep everything safe for those who need it!
Final Thoughts
There’s something truly magical about baking The Easiest Red Velvet Crinkle Cookies. The laughter shared in the kitchen, the aroma wafting through the house, and those cheerful bursts of color remind us of the joy of simple pleasures. Each crinkle is a testament to your effort, bringing smiles to faces young and old. Whether enjoyed with family after a hectic day or presented at a gathering, these cookies embody warmth and happiness. So, don your apron and let each bite warm your heart and fill your home with love. Happy baking!
Print
The Easiest Red Velvet Crinkle Cookies
- Total Time: 25 minutes
- Yield: 24 cookies 1x
- Diet: Vegetarian
Description
Delicious red velvet crinkle cookies that are easy to make and perfect for impressing guests.
Ingredients
- 1 ¾ cups all-purpose flour carefully measured
- 2 tablespoons natural cocoa powder
- 1 teaspoon baking powder
- ¼ teaspoon baking soda
- ¼ cup salted butter softened to room temperature
- ¼ cup vegetable oil
- ¾ cup packed light brown sugar
- ¼ cup granulated sugar
- 2 large eggs
- 3 –4 drops red gel food coloring
- 1 tablespoon milk
- 1 ½ teaspoons vanilla extract
- ½ cup granulated sugar (for rolling)
- ½ cup powdered sugar (for rolling)
Instructions
- Line a baking sheet with parchment paper and set up two shallow bowls, one with granulated sugar and one with powdered sugar, for rolling your cookies later.
- In a large bowl, beat together the softened salted butter and vegetable oil until creamy. Add the light brown sugar and granulated sugar, mixing until the mixture is fluffy and smooth.
- Add the eggs, vanilla extract, and red gel coloring, and stir until the dough is evenly colored.
- In another bowl, whisk together the all-purpose flour, cocoa powder, baking powder, and baking soda. Fold these dry ingredients gently into the wet mixture, then add the milk and mix until a soft, slightly sticky dough forms.
- Scoop the dough and roll each portion first in granulated sugar, then in powdered sugar, pressing lightly to coat evenly.
- Place the cookie balls on your prepared baking sheet, spacing them about 2 inches apart. Bake at 350°F (175°C) for 8–10 minutes.
- Cool the cookies on the baking sheet for 5 minutes, then place them on a wire rack.
Notes
- Make sure to scrape the sides of the bowl when mixing to ensure even consistency.
- Do not flatten the cookie balls when rolling in sugar.
- Prep Time: 15 minutes
- Cook Time: 10 minutes
- Category: Dessert
- Method: Baking
- Cuisine: American
Nutrition
- Serving Size: 1 cookie
- Calories: 120
- Sugar: 10g
- Sodium: 50mg
- Fat: 5g
- Saturated Fat: 2.5g
- Unsaturated Fat: 2.5g
- Trans Fat: 0g
- Carbohydrates: 18g
- Fiber: 1g
- Protein: 2g
- Cholesterol: 20mg