
Introduction to Fluffernutter Fudge
As a passionate home cook, I understand how hectic life can get, especially for busy moms and professionals. Between school runs, work commitments, and everything in between, who has time for complicated desserts? That’s where Fluffernutter Fudge comes to the rescue! This no-bake treat is not only incredibly simple to whip up, but it also offers a delightful blend of creamy white chocolate, peanut butter, and that irresistible marshmallow fluff. Imagine surprising your loved ones with a delicious fudge that comes together in just minutes. It’s the perfect way to show you care—even on your busiest days!
Why You’ll Love This Fluffernutter Fudge
If you’re seeking a sweet treat that’s as quick to make as it is delightful to taste, you’ve found it! Fluffernutter Fudge brings together the creamy, sweet goodness of peanut butter and marshmallow fluff, all without the need for an oven. In just 15 minutes of prep, you’ll have a dish that brings smiles to faces. Plus, let’s be real, it’s hard to resist that luscious combination of flavors—your taste buds will thank you!

Ingredients for Fluffernutter Fudge
Gathering the right ingredients is key to whipping up a delicious batch of Fluffernutter Fudge. Below is a list of what you’ll need to create this delightful treat. Don’t worry, I’ll keep it simple!
- White Chocolate Chips: These create a creamy base full of sweetness that complements the rich peanut butter.
- Creamy Peanut Butter: A must-have! Choose your favorite brand for a smooth texture that marries beautifully with the chocolate.
- Sweetened Condensed Milk: This ingredient adds richness and a hint of sweetness that binds everything together perfectly.
- Marshmallow Fluff: The star of the show! It gives the fudge its iconic taste and airy texture—like a dreamy cloud in every bite.
- Miniature Marshmallows: These are optional, but they make a cute topping! They add a chewy texture to contrast the creamy fudge.
For exact measurements, check the bottom of the article where the full recipe is available for printing. You might also consider using almond or cashew butter as a substitute for peanut butter if you want to switch things up!
How to Make Fluffernutter Fudge
Making Fluffernutter Fudge is a delightful process that brings together sweet ingredients in a joyfully simple way. Let’s dive into the steps that will have you savoring this treat in no time!
Step 1: Prepare Your Baking Dish
Start by lining an 11×7-inch baking dish with parchment paper. This step is essential as it keeps the fudge from sticking. Just cut a piece of parchment large enough to hang over the edges, making it easy to lift out the fudge later. Smooth it down into the corners, and you’re ready to fill it with deliciousness!
Step 2: Melt Chocolate and Peanut Butter
Next, grab a large microwave-safe bowl and combine the white chocolate chips and creamy peanut butter. Place it in the microwave and heat in 20-second increments. Stir the mixture in between heating. This ensures the chocolate and peanut butter melt smoothly together without burning. You want a bubbly, creamy blend—it’s the heart of your fudge!
Step 3: Combine the Ingredients
Once your chocolate and peanut butter are melted and looking luscious, it’s time to add the sweetened condensed milk. Pour it into the bowl and stir vigorously until everything is fully combined. This mixture should be rich and glossy, promising a melt-in-your-mouth experience. Trust me; you’ll want to sneak a taste at this point!
Step 4: Create the First Layer
Now, take half of your peanut butter mixture and spread it evenly into your prepared baking dish. Use a spatula or the back of a spoon to flatten it down. This first layer is crucial, creating a nice base for that fluffy marshmallow layer to come. Make sure it’s even, so every bite is consistently delicious.
Step 5: Add the Marshmallow Fluff
Time for the star of the show—marshmallow fluff! Scoop it out of the jar and spread it carefully over the first layer. Use a knife or an offset spatula to glide over smoothly. Make sure to cover the entire bottom layer. The fluff adds that dreamy texture, almost like a cloud on top of your fudge.
Step 6: Finish the Layers
To complete the dessert, take the remaining peanut butter mixture and add it on top of the marshmallow fluff. Gently spread it out, making sure every corner is filled. Flatten it down, but don’t worry about making it perfect. The beauty of fudge is in its layers, and a little rustic charm is part of the appeal!
Step 7: Add the Toppings
If you fancy a little extra sweetness and texture, sprinkle miniature marshmallows on top. They can be magical little pockets of fluffiness when you take a bite! Just toss them on and press them down slightly to secure them in place. If you’re feeling adventurous, get creative with other toppings—I won’t tell!
Step 8: Chill the Fudge
Finally, it’s time to let your fudge chill. Cover it with plastic wrap and place it in the refrigerator for at least 90 minutes. This waiting time is essential; it allows the fudge to set up perfectly. Patience can be hard, but it’s worth it! After chilling, you can cut it into squares and enjoy each sweet bite of your Fluffernutter Fudge.
Tips for Success
- Make sure all ingredients are at room temperature for easier mixing.
- Stir the chocolate and peanut butter slowly to avoid air bubbles in the fudge.
- Keep a rubber spatula handy for spreading and scraping the bowl clean.
- For a cleaner cut, warm your knife under hot water before slicing the fudge.
- Experiment with toppings like crushed nuts or drizzles of chocolate for added flair!
Equipment Needed
- Microwave-Safe Bowl: Any large bowl will work, but glass or ceramic is ideal for even heating.
- Spatula: Use a silicone spatula to help with spreading and mixing.
- Baking Dish: An 11×7-inch dish is recommended; an 8×8-inch pan works too.
- Parchment Paper: This prevents sticking; aluminum foil is a backup option.
Variations of Fluffernutter Fudge
- Chocolate Swirl: Before chilling, swirl in some melted dark chocolate for a rich contrast in flavor.
- Nutty Delight: Add chopped nuts like almonds or pecans to the fudge mixture for a crunchy texture.
- Gluten-Free Version: Ensure your chocolate chips and marshmallow fluff are gluten-free for a safe treat.
- Vegan Option: Swap regular chocolate chips for dairy-free versions and use vegan marshmallow fluff.
- Fruit Flavors: Mix in dried fruits like cranberries or cherries for a burst of tartness that balances the sweetness.
Serving Suggestions for Fluffernutter Fudge
- Pair the fudge with a glass of cold milk or a warm cup of coffee for a delightful contrast.
- Serve alongside fresh fruit like strawberries or bananas to balance the sweetness.
- Cut into fun shapes with cookie cutters for a playful presentation at parties.
- Dust with powdered sugar before serving for an elegant touch.
- An indulgent scoop of vanilla ice cream on the side can elevate your fudge experience!
FAQs about Fluffernutter Fudge
As you embark on your culinary adventure with Fluffernutter Fudge, you might have some questions. Here are a few common ones I’ve encountered—let’s clear the air!
Can I make Fluffernutter Fudge ahead of time?
Absolutely! This fudge actually gets better after it has had time to chill. You can make it a day or two in advance, and it will be ready to impress whenever you are.
How should I store the fudge?
Store any leftovers in an airtight container in the refrigerator. This will keep them fresh and delicious for up to a week. Just be warned, they might disappear faster than you think!
Can I freeze Fluffernutter Fudge?
Yes! You can freeze it for up to three months. Just wrap the fudge in plastic wrap and then place it in a freezer bag. When you’re ready to indulge, let it thaw in the fridge overnight.
What can I substitute for peanut butter?
If you need an alternative, almond butter or sunbutter works beautifully too! They’ll provide a similar creaminess and nutty flavor.
Is Fluffernutter Fudge gluten-free?
Yes! As long as your chocolate chips and marshmallow fluff are gluten-free, you’re all set. This treat can fit right into a gluten-free diet without a hitch!
Final Thoughts
Creating Fluffernutter Fudge is like discovering a little piece of happiness in the kitchen. The combination of creamy peanut butter, sweet chocolate, and fluffy marshmallow brings a nostalgic joy that melts in your mouth and warms your heart. With just a few simple ingredients and a little patience, you can treat your family to something truly delightful. Whether it’s for a special occasion or just because, this no-bake fudge is sure to bring smiles and spark conversations around the table. Trust me; you’ll find yourself making it over and over again!
Print
Fluffernutter Fudge
- Total Time: 1 hour 45 minutes
- Yield: 8 servings 1x
- Diet: Vegetarian
Description
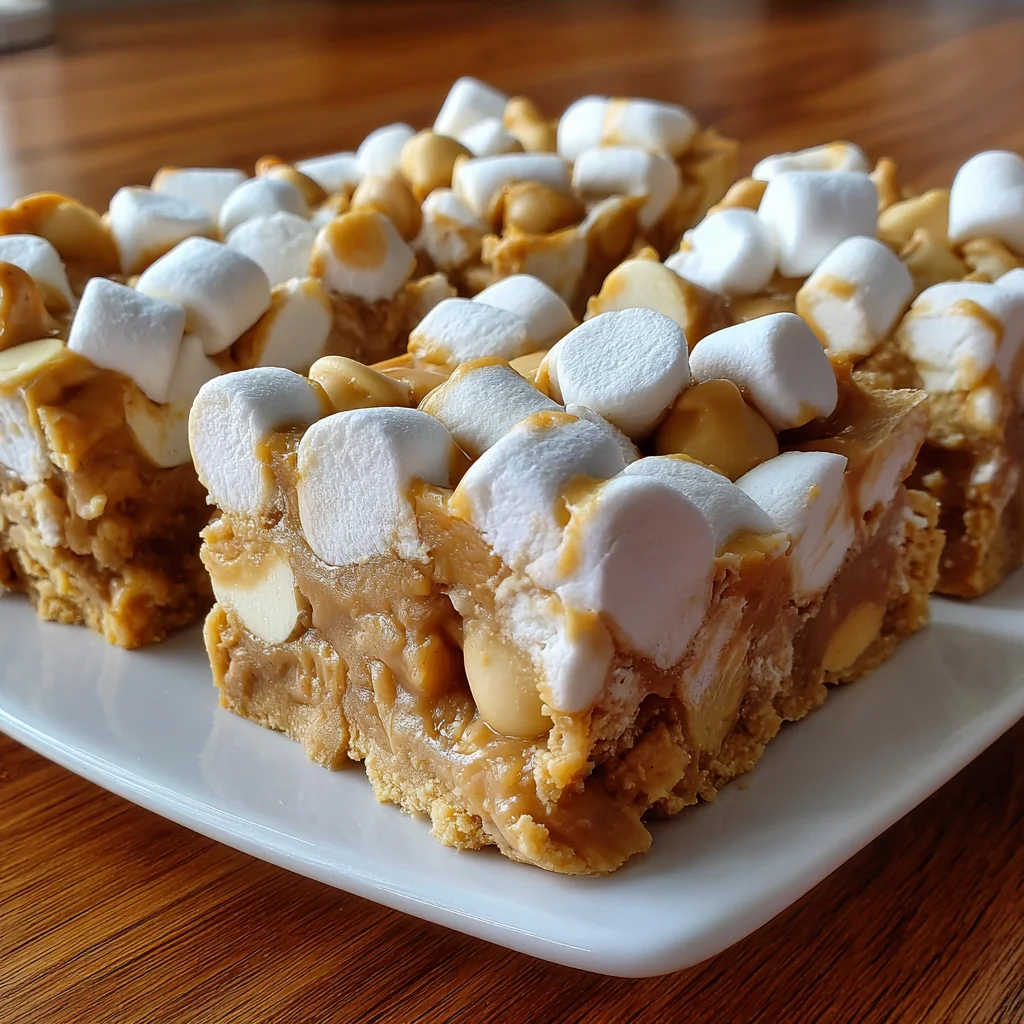
Fluffernutter Fudge is a delicious, no-bake treat featuring a creamy blend of white chocolate, peanut butter, and marshmallow fluff, with optional miniature marshmallow toppings.
Ingredients
- 2 cups (364 g) white chocolate chips
- 2 cups (516 g) creamy peanut butter
- 1 can (14 ounces) sweetened condensed milk
- 1 jar (7 ounces) marshmallow fluff
- 1 cup miniature marshmallows, for topping, optional
Instructions
- Line an 11×7-inch baking dish with parchment paper. Set aside.
- In a large, microwave-safe bowl, melt the white chocolate chips and peanut butter in 20-second increments, stirring between each, until melted and smooth.
- To the melted white chocolate and peanut butter, pour in the sweetened condensed milk. Stir to combine.
- Spread about half of the peanut butter mixture into the lined pan.
- Top with marshmallow fluff. Carefully spread with a knife or offset spatula.
- Add the remaining half of the peanut butter mixture on top of the marshmallow fluff, flattening out portions as needed.
- Top with mini marshmallows, if adding.
- Allow the fudge to chill in the refrigerator for at least 90 minutes, or until set.
Notes
- This fudge is rich and sweet; a little goes a long way.
- For best results, allow the fudge to set completely in the refrigerator.
- Store any leftovers in an airtight container in the fridge.
- Prep Time: 15 minutes
- Cook Time: 0 minutes
- Category: Dessert
- Method: No-Bake
- Cuisine: American
Nutrition
- Serving Size: 1 piece
- Calories: 335
- Sugar: 28g
- Sodium: 150mg
- Fat: 20g
- Saturated Fat: 9g
- Unsaturated Fat: 11g
- Trans Fat: 0g
- Carbohydrates: 30g
- Fiber: 1g
- Protein: 5g
- Cholesterol: 5mg