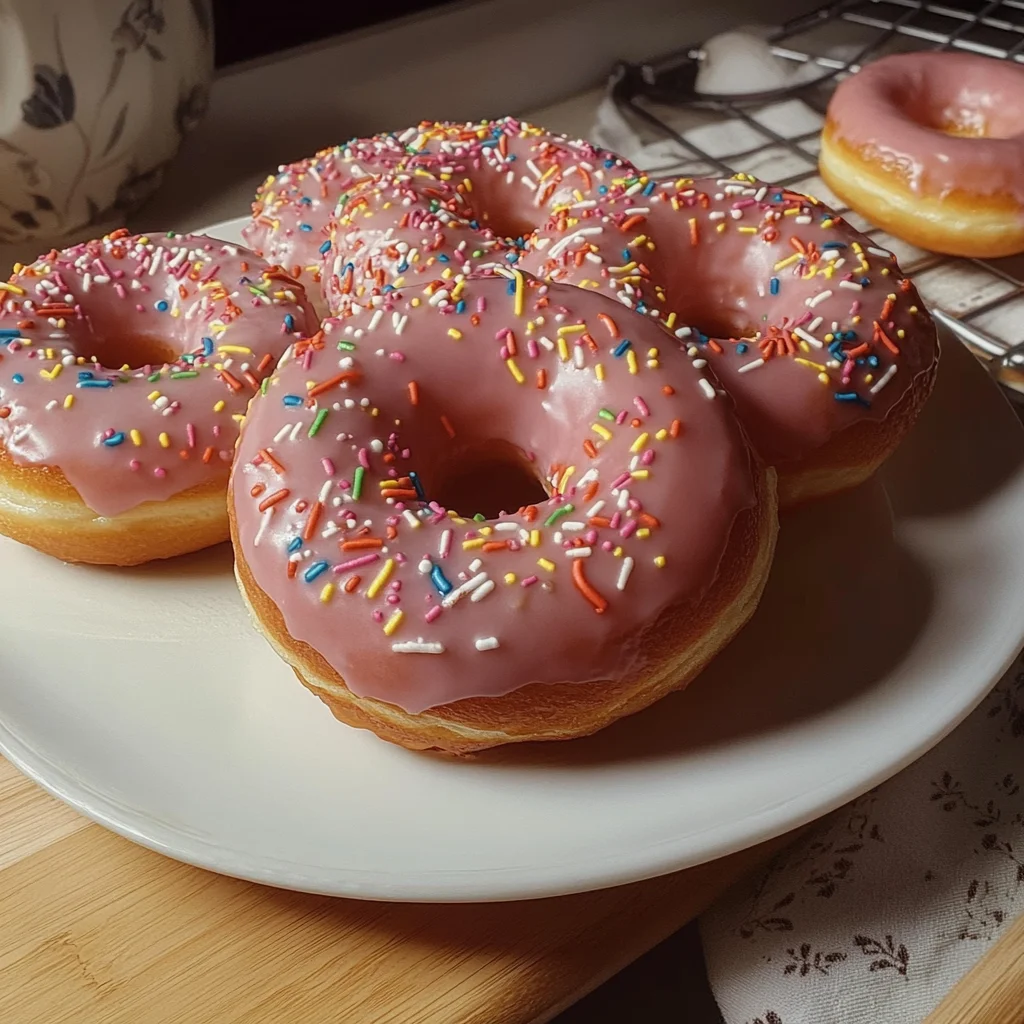
Introduction to Homemade Glazed Doughnuts
There’s nothing like the smell of fresh Homemade Glazed Doughnuts wafting through the kitchen. It’s a warm embrace that fills your home with joy and anticipation. I still remember the first batch I made for my kids on a crisp Saturday morning. Their faces lit up like Christmas lights! These doughnuts aren’t just a treat; they’re a way to create precious family memories. Perfect for a quick breakfast or a delightful dessert, this recipe promises fluffy, sweet bliss that even the busiest moms and professionals can whip up. Let’s get started on this delicious adventure!
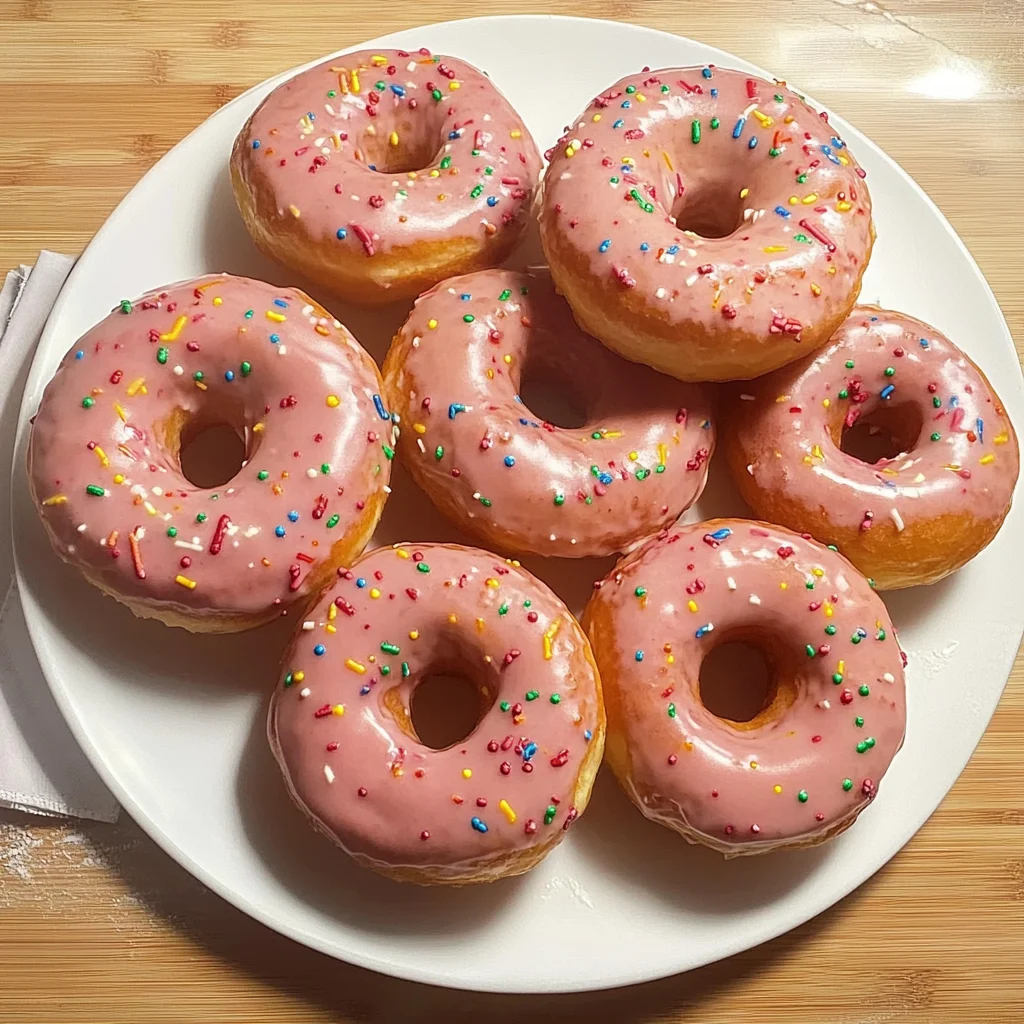
Why You’ll Love This Homemade Glazed Doughnuts
These Homemade Glazed Doughnuts are a game changer for busy mornings or last-minute get-togethers. They’re incredibly easy to make and deliver a taste that rivals any bakery! The soft, fluffy texture combined with the sweet glaze makes for a mouthwatering treat that everyone will adore. Plus, you can customize them to your family’s liking. These doughnuts are sure to bring smiles all around, creating unforgettable moments together.
Ingredients for Homemade Glazed Doughnuts

To whip up these delightful Homemade Glazed Doughnuts, you’ll need a few key ingredients that are likely already in your pantry. Here’s your shopping list, accompanied by a dash of insight on each one:
- Warm milk: This helps activate the yeast and creates a rich flavor in the dough, giving it that soft texture we all love.
- Active dry yeast: A must for that ideal rise! Make sure it’s fresh; you’ll want those little bubbles to work their magic.
- Granulated sugar: Not only sweetens the dough, but feeds the yeast, helping it thrive for a fluffy doughnut.
- Large egg: This ingredient adds moisture and richness, ensuring your doughnuts are tender and flavorful.
- Melted butter: The secret to that delectable richness! It lends a cozy, buttery flavor that makes these doughnuts unforgettable.
- Salt: Just a pinch enhances all the flavors, balancing the sweetness beautifully.
- All-purpose flour: The backbone of your doughnuts! It provides the structure and texture we crave in a perfectly glazed bite.
- Powdered sugar: The star of the show for that dreamy glaze! It’s what makes these doughnuts look as good as they taste.
- Hot water: Combining it with powdered sugar creates that silky glaze that smoothly coats each doughnut.
- Vanilla extract: A splash of this heavenly flavor brings comfort and warmth, elevating your glaze to the next level.
For ingredient specifics, check the bottom of the article for quantities that you can easily print out. Happy baking!
How to Make Homemade Glazed Doughnuts
Making Homemade Glazed Doughnuts is simpler than you think! Follow these step-by-step instructions to ensure your doughnuts are fluffy and delicious. Each step is carefully crafted, so you can enjoy the journey of baking as much as the tasty destination!
Step 1: Prepare the Yeast Mixture
Start by combining warm milk, active dry yeast, and granulated sugar in a large bowl. Let this mixture stand for about 5 minutes until it’s foamy. This step is crucial—it’s like waking up the yeast from a long nap! When it’s bubbly, you know it’s ready to help your dough rise beautifully.
Step 2: Make the Dough
Now, add the egg, melted butter, and salt to your foamy yeast mixture. Stir it all together until it’s well blended. Gradually add the flour, mixing until a soft dough forms. It’s the perfect balance of wet and dry, like a hug that wraps around your senses.
Step 3: Knead the Dough
Turn your dough out onto a lightly floured surface. Knead it for about 5–7 minutes. You’ll know it’s ready when it’s smooth and elastic. Think of it like giving the dough a mini workout. It should bounce back when poked lightly, showing it’s ready to rise!
Step 4: First Rise
Place the kneaded dough in a greased bowl, turning it to coat. Cover it with a clean kitchen towel and let it rise in a warm spot for 1 to 1.5 hours, or until it doubles in size. This is where the magic happens—your dough is taking a beauty nap, prepping to become the star of your kitchen!
Step 5: Shape the Doughnuts
Once risen, punch down the dough gently to remove excess air. Turn it out onto a floured surface and roll it to about 1/2-inch thickness. Use a doughnut cutter or two different-sized round cookie cutters to cut out your doughnuts. Remember, the larger shape will be the outer ring, and the smaller one will create the hole in the middle!
Step 6: Final Rise
Now, place the shaped doughnuts on a baking sheet lined with parchment paper. Cover them lightly and let them rise for another 30 minutes. This second rise helps ensure they’re airy and fluffy after frying. Patience pays off, trust me!
Step 7: Fry the Doughnuts
In a large pot, heat vegetable oil to 350°F (175°C). Carefully drop doughnuts into the hot oil a few at a time. Fry for about 1-2 minutes on each side until they’re golden brown. Keep a close eye—this is where they can go from perfection to burnt in a flash! Use a slotted spoon to transfer the doughnuts to a wire rack to cool slightly.
Step 8: Make the Glaze
While your doughnuts are cooling, prepare the glaze. In a medium bowl, whisk together powdered sugar, hot water, and vanilla extract until smooth. You should have a delightful, thick glaze that begs to coat your doughnuts. The smell? Divine!
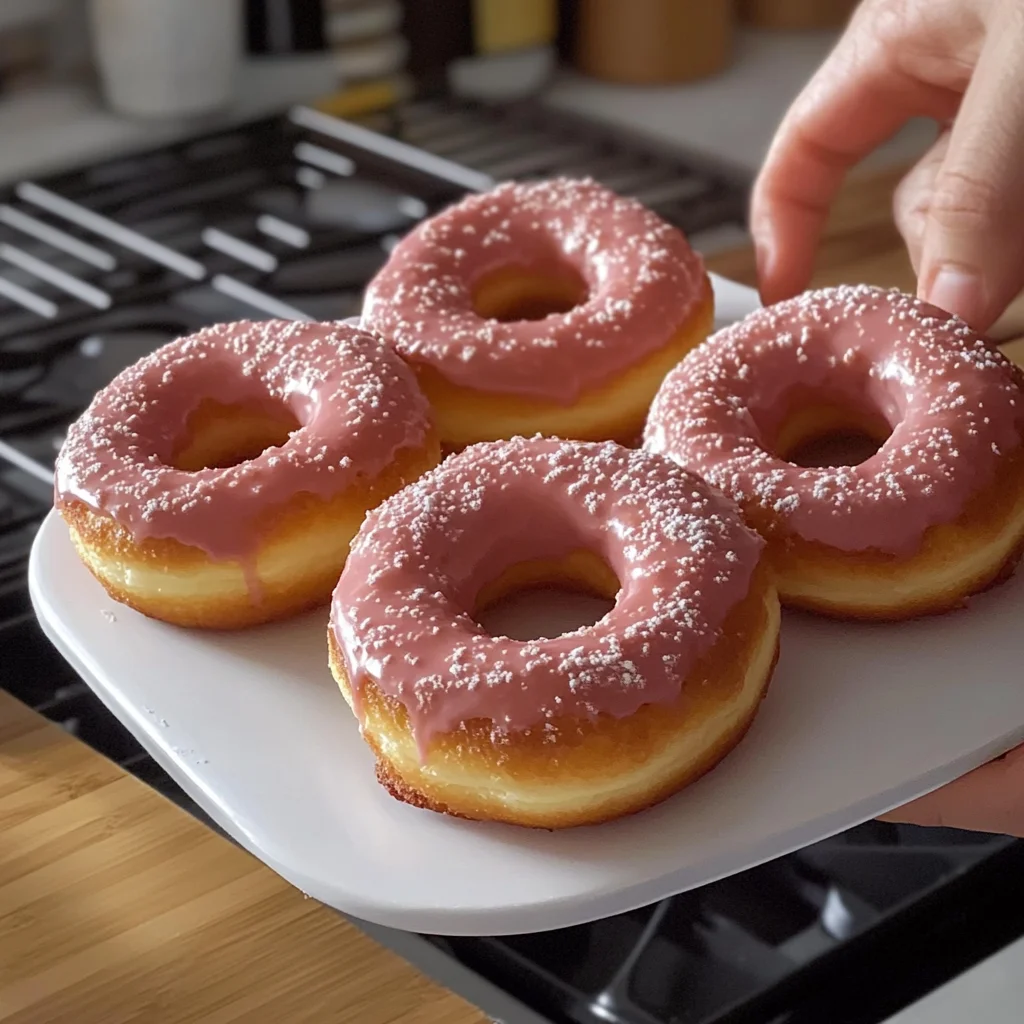
Step 9: Glaze the Doughnuts
Once your doughnuts have cooled just enough not to burn your fingers, dip them into the glaze. You can either dip them halfway or dunk them completely for an extra sweet treat. Place the glazed doughnuts back on the wire rack to allow the glaze to set. This is when they look picture-perfect and ready to impress!
Tips for Success
- Make sure your yeast is fresh; it should foam up during the first step.
- Use a thermometer to ensure your oil is at the right temperature for frying.
- Don’t skip the second rise; it ensures fluffy doughnuts.
- For the perfect glaze, dip your doughnuts while they’re still warm.
- Experiment with flavorings like nutmeg or cinnamon for variety!
Equipment Needed
- Large mixing bowl: A glass or ceramic bowl works great for mixing ingredients.
- Doughnut cutter: If you don’t have one, two round cookie cutters of different sizes will do.
- Deep pot or fryer: A heavy pot can be used for frying safely.
- Wire rack: A cooling rack is perfect for letting doughnuts set.
- Slotted spoon: This handy tool helps remove doughnuts from hot oil easily.
Variations
- Chocolate Glazed: Add cocoa powder to your glaze for a rich chocolate flavor. Just mix it in with the powdered sugar.
- Maple Glaze: Substitute the vanilla extract for maple extract in the glaze. It gives a cozy, autumnal twist!
- Spiced Doughnuts: Mix in ground cinnamon or nutmeg into the dough for a warm, aromatic touch.
- Gluten-Free Option: Use a gluten-free all-purpose flour blend that can be substituted in a 1:1 ratio.
- Fruit-Infused: Consider adding lemon or orange zest to the dough for a refreshing citrus flavor.
- Filled Doughnuts: After frying, fill your doughnuts with jelly, cream, or custard for a delightful surprise!
Serving Suggestions for Homemade Glazed Doughnuts
- Pair your doughnuts with freshly brewed coffee or a creamy latte for the perfect morning boost.
- Serve with a side of fresh fruit, like berries or slices of citrus, to balance the sweetness.
- Present them on a beautiful platter, dusted with powdered sugar for an eye-catching effect.
- For a fun twist, drizzle caramel or chocolate over the top for an extra layer of indulgence!
FAQs about Homemade Glazed Doughnuts
Can I use whole wheat flour instead of all-purpose flour?
Yes, you can! However, keep in mind that the texture may be denser. For lighter doughnuts, use a mix of whole wheat and all-purpose flour.
How can I store leftover doughnuts?
To maintain their freshness, place your doughnuts in an airtight container. They’ll stay delicious for about 2-3 days at room temperature. For longer storage, freeze them, and reheat when you’re ready to enjoy!
Can I make the dough in advance?
Absolutely! You can prepare the dough the night before, let it rise, and then refrigerate it until you’re ready to shape and fry. Just allow it to come back to room temperature before proceeding with the recipe.
What toppings can I use besides glaze?
There are so many possibilities! You can roll your doughnuts in cinnamon sugar, dip them in chocolate, or sprinkle with chopped nuts or sprinkles for added fun!
Why is my dough not rising?
There could be a couple of reasons. Make sure your yeast is fresh and properly activated. Also, ensure your dough is kept in a warm and draft-free environment during the rising process. A cozy spot works wonders!
Final Thoughts
Making these Homemade Glazed Doughnuts is more than just baking; it’s about creating moments of joy and connection. With each fluffy bite, you not only satisfy sweet cravings, but you also craft memories that linger long after the last doughnut is gone. Whether it’s a special occasion or just a regular day that needs a sprinkle of sweetness, this recipe is your trusty companion. I can’t help but smile thinking about the laughter and happiness my family shares over these treats. So, roll up your sleeves and dive into this delightful experience—you won’t regret it!
Print
Homemade Glazed Doughnuts: Discover Your New Favorite Recipe!
- Total Time: 2 hours 30 mins
- Yield: 12 servings 1x
- Diet: Vegetarian
Description
Delicious homemade glazed doughnuts that are soft, fluffy, and topped with a sweet glaze.
Ingredients
- 1/2 cup (120ml) warm milk
- 2 1/4 tsp (7g) active dry yeast
- 1/4 cup (50g) granulated sugar
- 1 large egg
- 1/4 cup (60g) melted butter
- 1/2 tsp salt
- 2 1/2 cups (300g) all-purpose flour, plus more for dusting
- 4 cups (480g) powdered sugar
- 1/2 cup (120ml) hot water
- 1 tsp vanilla extract
Instructions
- In a large bowl, combine warm milk, yeast, and granulated sugar. Let stand for 5 minutes until foamy.
- Add egg, melted butter, and salt to the yeast mixture. Mix well. Gradually add flour, mixing until a soft dough forms.
- Turn dough out onto a lightly floured surface and knead for 5-7 minutes until smooth and elastic. Place in a greased bowl, turning to coat. Cover and let rise in a warm place for 1-1.5 hours, or until doubled in size.
- Punch down the dough and turn it out onto a lightly floured surface. Roll to 1/2-inch thickness. Use a doughnut cutter to cut out doughnuts. Place doughnuts on a baking sheet lined with parchment paper. Cover and let rise for 30 minutes.
- Heat vegetable oil in a large pot or deep fryer to 350°F (175°C). Carefully drop doughnuts into hot oil, a few at a time, and fry for 1-2 minutes per side, until golden brown. Remove doughnuts and place on a wire rack to cool slightly.
- While doughnuts are cooling, prepare the glaze. In a medium bowl, whisk together powdered sugar, hot water, and vanilla extract until smooth. Dip warm doughnuts into the glaze and place them back on the wire rack to allow the glaze to set.
Notes
- If you don’t have a doughnut cutter, use two different-sized round cookie cutters.
- For extra flavor, add a pinch of nutmeg to the dough.
- Prep Time: 30 mins
- Cook Time: 1 hour 30 mins
- Category: Dessert
- Method: Frying
- Cuisine: American
Nutrition
- Serving Size: 1 doughnut
- Calories: 250
- Sugar: 15g
- Sodium: 150mg
- Fat: 12g
- Saturated Fat: 7g
- Unsaturated Fat: 4g
- Trans Fat: 0g
- Carbohydrates: 30g
- Fiber: 1g
- Protein: 3g
- Cholesterol: 40mg