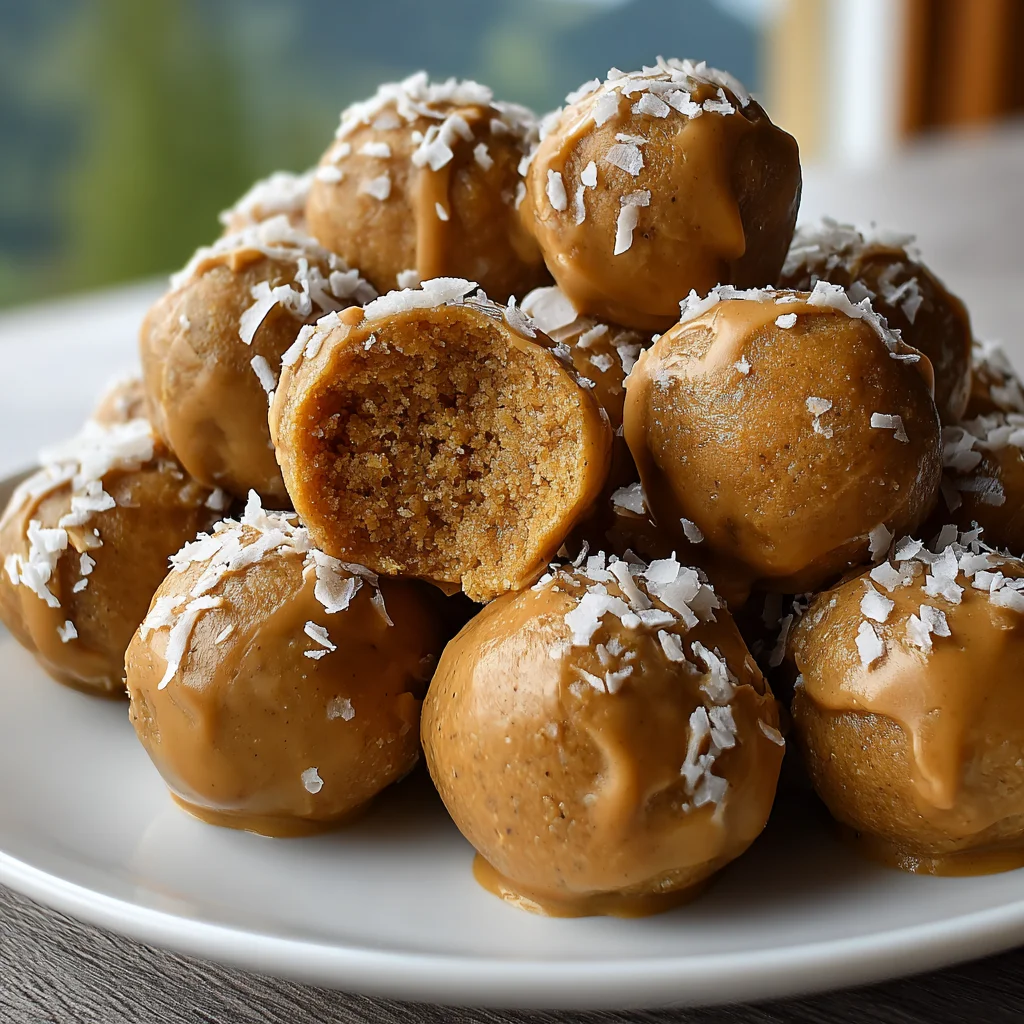
Introduction to Peanut Butter Balls
As a busy mom, I know how precious time can be, especially when you’re juggling family, work, and everything in between. That’s why I adore these Peanut Butter Balls! They’re a scrumptious no-bake treat that whips up in a flash, providing a quick solution for those sweet cravings that often sneak up on us. You’ll find they are perfect for an afternoon snack, an after-school treat, or even a mid-week pick-me-up. Best of all, they’re healthy enough to feel good about indulging your loved ones with something homemade!
Why You’ll Love This Peanut Butter Balls
These Peanut Butter Balls offer the ideal blend of convenience and taste that busy lifestyles crave. With just a few simple steps, you can create a delightful snack that’s free from baking complications. Their rich, nutty flavor meets the sweetness of maple syrup, giving you a treat that’s not just delicious but surprisingly healthy. They’re the perfect solution for your post-work cravings or a quick dessert that everyone will love!
Ingredients for Peanut Butter Balls
Making these Peanut Butter Balls is a breeze with just three main ingredients. Let’s take a closer look:
- Peanut Butter: This is the star of the show! It brings a creamy texture and rich flavor. You can use smooth or crunchy, depending on your preference.
- Maple Syrup: Sweet and natural, this golden syrup adds the perfect touch of sweetness without processed sugars. You can also substitute with honey if you prefer.
- Coconut Flour: This ingredient not only helps bind everything together but gives a subtle coconut flavor. If you’re out of coconut flour, use almond flour as a substitute.
If you want to get creative, think about adding:
- Chopped nuts for a crunchy texture.
- Chocolate chips for a decadent twist.
- Protein powder to up the nutrition factor.
You’ll find the precise amounts for each ingredient at the end of this article, which you can print out for your convenience!

How to Make Peanut Butter Balls
Now comes the fun part—making these delightful Peanut Butter Balls! With just a bit of mixing and rolling, you’ll create a delicious treat that everyone will adore. Let’s dive into the step-by-step process!
Step 1: Prepare Your Baking Sheet
First, grab a baking sheet. Line it with parchment paper to keep those Peanut Butter Balls from sticking. The parchment will also make clean-up easier, so you can enjoy the treat without worrying about extra work later. Just place a sheet of parchment flat on the baking sheet, and you’re set to go!
Step 2: Mix the Ingredients
Next, it’s time to get mixing! In a large bowl, add your peanut butter, maple syrup, and coconut flour. Use a spatula or a spoon to combine them until they’re well mixed. If the mix feels too thick and stiff, no worries! Just add a few drops of water at a time, stirring until you reach a smooth, workable consistency. The mixture should be pliable but not too runny!
Step 3: Shape the Balls
Now, let’s get our hands a little dirty! Using your hands or a cookie scoop, take the mixture and roll it into small balls. You want them to be about the size of a golf ball. If using your hands, give a gentle squeeze to ensure they hold together. This part is where the fun happens, and I always find it gives a nice break in my busy day!
Step 4: Chill the Balls
Once you’ve shaped all your Peanut Butter Balls, it’s time to chill them. Place each ball on the lined baking sheet, leaving a little space between for easy handling. Pop the tray into the refrigerator and let them chill for at least 30 minutes. This will help them firm up, making them easier to enjoy without falling apart. Trust me; it’ll be worth the wait!
Tips for Success
- Ensure your peanut butter is at room temperature for easier mixing.
- Adjust the coconut flour if the mixture seems too sticky or dry; small changes can make a big difference.
- If you’re short on time, skip the chilling step and enjoy them right away!
- Experiment with mix-ins like dried fruits or protein powder for added flavor and nutrition.
- Store any leftovers in an airtight container to keep them fresh.
Equipment Needed
- Baking sheet: A sturdy one works best; if you don’t have one, any flat tray will do.
- Parchment paper: Essential for easy clean-up; you can also use wax paper as an alternative.
- Large mixing bowl: Any bowl will work, just ensure it’s big enough to mix ingredients well.
- Spatula or spoon: A handy tool for mixing; a sturdy fork can also do the trick!
- Cookie scoop or your hands: Perfect for shaping those delightful balls!
Variations of Peanut Butter Balls
- Add dark chocolate chips for a rich, indulgent twist.
- Mix in shredded coconut for a tropical flavor that adds texture.
- Incorporate protein powder to boost the nutritional profile, perfect for post-workout snacks.
- Use almond butter instead of peanut butter for a nutty variation that caters to different tastes.
- Experiment with spices like cinnamon or nutmeg for a warm, cozy flavor profile.
- Try a drizzle of honey or agave syrup for added sweetness and a hint of floral notes.
Serving Suggestions
- Serve Peanut Butter Balls on a colorful plate for a fun presentation.
- Pair them with fresh fruit like apple slices or banana halves for a balanced snack.
- Enjoy with a warm cup of tea or a cool glass of almond milk.
- Add a sprinkle of cocoa powder or crushed nuts on top for an appealing touch.
FAQs about Peanut Butter Balls
Can I use a different nut butter?
Absolutely! You can substitute peanut butter with almond butter or cashew butter for a unique flavor. Just keep in mind that the consistency may vary slightly, so adjust your ingredients accordingly.
How long do Peanut Butter Balls last?
These tasty bites can stay fresh in the refrigerator for up to a week. Be sure to store them in an airtight container to maintain their delightful texture and flavor!
Can I freeze Peanut Butter Balls?
Yes, you can freeze them! Place them in a single layer on a baking sheet to freeze them first, then transfer to a freezer-safe container. They’ll last about 2-3 months in the freezer, making them a convenient snack option!
Are Peanut Butter Balls gluten-free?
Yes, this recipe is naturally gluten-free as long as you ensure your coconut flour is labeled as such. It’s a great sweet treat for those following gluten-free diets!
What can I add to make them more nutritious?
To up the nutrient content, consider mixing in seeds like chia or flaxseeds, or adding protein powder. These additions can boost fiber and protein levels, making them even more satisfying!
Final Thoughts on Peanut Butter Balls
Creating Peanut Butter Balls is like a little taste of joy wrapped up in each bite. This simple recipe brings together ease, flavor, and a touch of nostalgia, reminding me of cozy afternoons in the kitchen. I love how they’re perfect for satisfying cravings while being simple enough for anyone to whip up. Whether you enjoy them as a snack or a dessert, they’re a delightful treat that can brighten any busy day. Trust me; you’ll find that sharing these bites of goodness brings a smile to everyone’s face, making you the home cook hero of your family!
Print
Peanut Butter Balls
- Total Time: 40 minutes
- Yield: Approx. 24 balls
- Diet: Vegetarian
Description
A quick and easy no-bake recipe for delicious peanut butter balls perfect for a sweet treat.
Ingredients
- 2 cups peanut butter
- ½ cup maple syrup
- ¾ cup coconut flour
Instructions
- Line a baking sheet with parchment paper.
- In a large bowl, combine peanut butter, maple syrup, and coconut flour; mix well. Add water, a few drops at a time, if the mixture is too thick.
- Roll the mixture into small balls using your hands or a cookie scoop.
- Place the balls on the prepared baking sheet.
- Refrigerate for at least 30 minutes to firm up.
Notes
- Adjust the thickness of the mixture as needed with water.
- These can be stored in the refrigerator for a longer shelf life.
- Prep Time: 10 minutes
- Cook Time: 0 minutes
- Category: Dessert
- Method: No-Bake
- Cuisine: American
Nutrition
- Serving Size: 1 ball
- Calories: 150
- Sugar: 5g
- Sodium: 2mg
- Fat: 10g
- Saturated Fat: 2g
- Unsaturated Fat: 8g
- Trans Fat: 0g
- Carbohydrates: 12g
- Fiber: 3g
- Protein: 5g
- Cholesterol: 0mg