Introduction to Red Velvet Cheesecake Brownie Bars
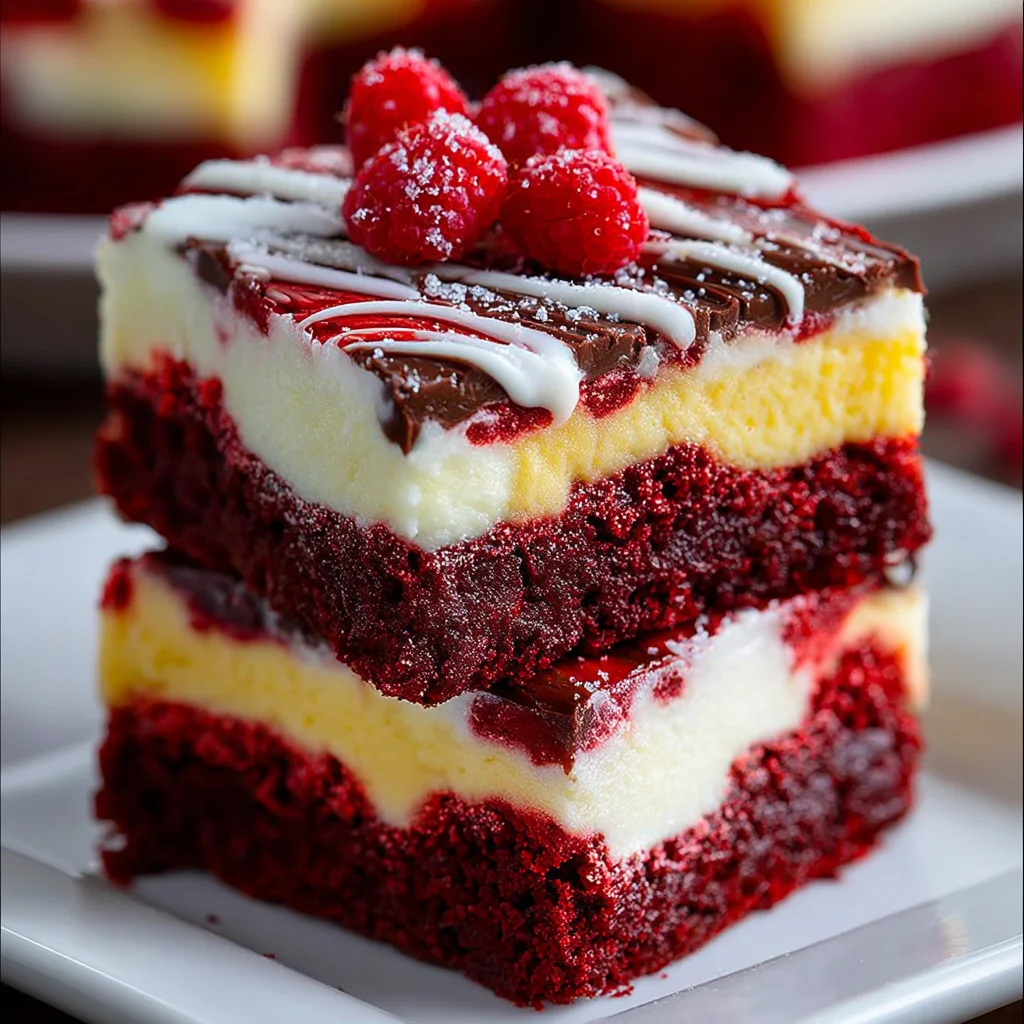
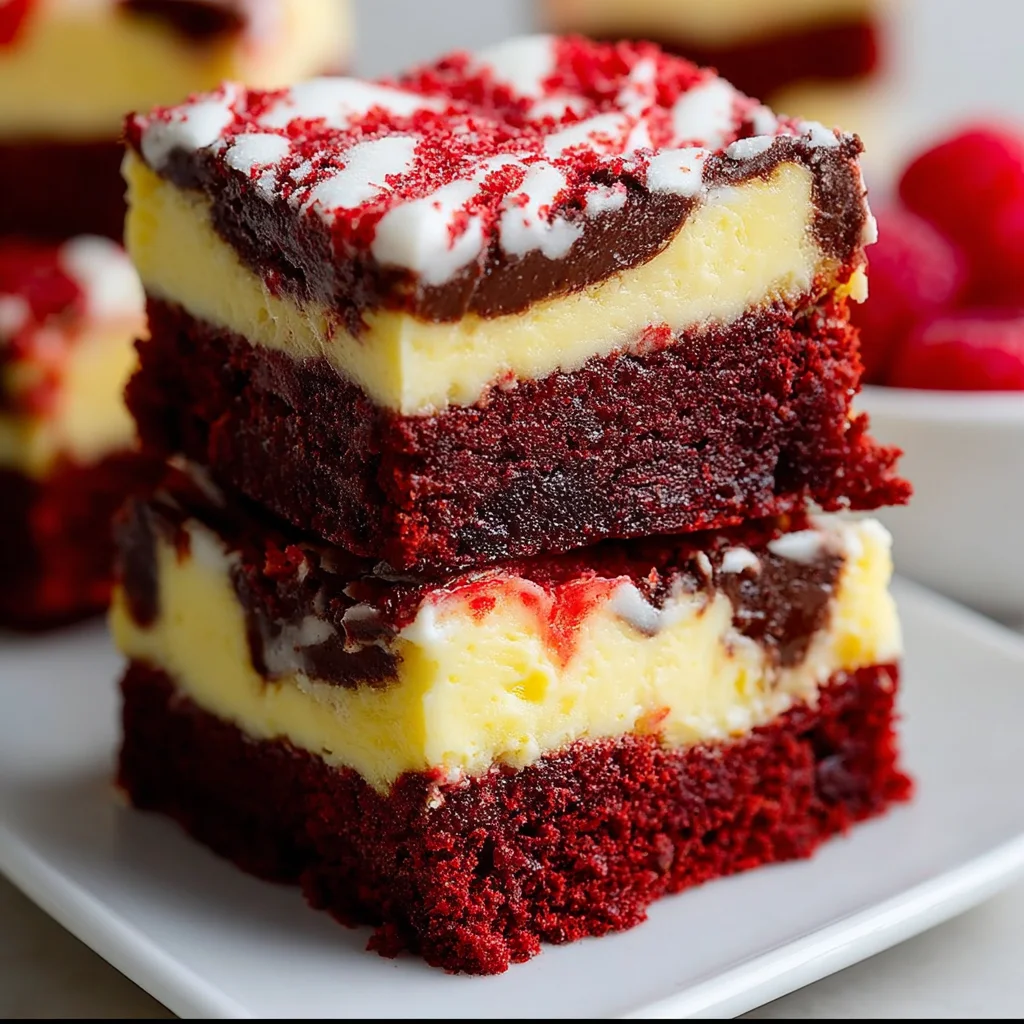
When I think of desserts that make my heart sing, Red Velvet Cheesecake Brownie Bars always come to mind. They blend rich chocolatey goodness with that signature red velvet flavor, and oh, that cheesecake layer? It’s pure heaven! I know life can get hectic, especially for busy moms and professionals, but these bars offer a delightful escape. They’re not just a treat; they’re a way to infuse a little joy into your day. With a recipe this simple, you’ll want to whip them up today and share them with those you love!
Why You’ll Love This Red Velvet Cheesecake Brownie Bars
These Red Velvet Cheesecake Brownie Bars are a dream come true for anyone short on time but big on flavor! With just a handful of ingredients, you can create a show-stopping dessert that impresses everyone around the table. The rich chocolate ganache adds a touch of luxury, turning simple ingredients into a masterpiece. Plus, they can be made ahead, making them perfect for busy weeknights or last-minute gatherings!

Ingredients for Red Velvet Cheesecake Brownie Bars
Gathering the right ingredients is half the fun of baking these Red Velvet Cheesecake Brownie Bars. Here’s what you’ll need to get started:
- Red velvet cake mix: This is the star ingredient, providing that signature vibrant color and flavor. It’s a great base, making everything else easy peasy.
- Vegetable oil: This ensures your brownie base stays soft and moist. If you prefer, you can use melted butter for a richer flavor.
- Water: It acts as a binding agent, making the cake mix come to life. You can swap it with milk for added richness.
- Eggs: You’ll need a couple of these for structure and to help everything rise. Eggs also add moisture, which is essential for a gooey brownie texture.
- Cream cheese: This is the creamy layer of goodness that makes the cheesecake swirl in your brownie bars. Opt for full-fat cream cheese for the best flavor and texture.
- Granulated sugar: It contributes sweetness to the cream cheese layer. You can substitute it with a sugar alternative if you’re watching your intake.
- Vanilla extract: A splash of this heavenly extract adds depth to the flavor profile. Always choose pure vanilla extract for the best taste.
- Heavy cream: Used for the rich chocolate ganache, it adds a luscious texture. You can use half-and-half in a pinch, but the ganache may be less creamy.
- Semi-sweet chocolate chips: Melt these for the ganache layer that crowns your bars in sweet decadence. Dark chocolate can be substituted for a deeper chocolate taste.
- Powdered sugar: This is optional but perfect for a dusting on top. It adds a lovely touch and a bit of sweetness.
- Fresh raspberries: Another optional garnish, these berries not only look great but add a burst of tartness that complements the sweetness beautifully.
For exact measurements, check the bottom of the article where you can easily print the details. Remember, each ingredient plays its role in this delicious symphony of flavors!
How to Make Red Velvet Cheesecake Brownie Bars
Now that we’ve gathered all our ingredients, let’s dive into the exciting part—making these Red Velvet Cheesecake Brownie Bars. Follow these easy steps, and you’ll have a yummy treat in no time!
Step 1: Prepare the Oven and Baking Dish
First, preheat your oven to 350°F (175°C). This ensures your bars bake evenly. While that’s warming up, take an 8×8-inch baking dish and grease it well. I like to use cooking spray or a little melted butter. This prevents sticking later, making it easier to enjoy every last bite!
Step 2: Make the Brownie Base
In a large mixing bowl, combine the red velvet cake mix, vegetable oil, water, and two eggs. Mix everything until it’s nice and smooth. I recommend using a whisk for a light and fluffy batter. You want everything combined, so no dry mix should remain. It’s like painting a canvas for our delicious masterpiece!
Step 3: Bake the Brownie Layer
Pour that luscious brownie batter into your prepared baking dish. Use a spatula to spread it evenly. Pop it in the oven for about 20-25 minutes. You know it’s done when a toothpick inserted into the center comes out clean. While it bakes, you can relish the mouthwatering aroma filling your kitchen!
Step 4: Prepare the Cheesecake Layer
While the brownie base cools, let’s prepare the cheesecake layer. In another bowl, beat the softened cream cheese and granulated sugar until it becomes smooth and creamy. Then, add one egg and a teaspoon of vanilla extract. Mix again until everything is well combined. This step gives you that creamy, dreamy texture that pairs beautifully with the brownie base!
Step 5: Bake the Cheesecake Layer
Next, spread your cheesecake mixture evenly over the cooled brownie layer. It should look like a bright, fluffy cloud on top. Return the baking dish to the oven and bake for another 20-25 minutes. The cheesecake layer should be set, but a little jiggle in the center is okay. Just be patient; the results are worth it!
Step 6: Create the Chocolate Ganache
Now for the fun part—making the chocolate ganache! In a small saucepan, heat the heavy cream over medium heat until it starts to simmer. This only takes a couple of minutes. Remove it from heat, then stir in the semi-sweet chocolate chips until they melt beautifully into a rich, velvety ganache. This is your brownie bar’s crowning glory!
Step 7: Chill and Serve
Let the ganache cool a bit before pouring it over the cheesecake layer. This keeps it from melting everything underneath. Once it’s smoothed over, chill the bars in the refrigerator for about 30 minutes. They’ll slice nicely once the ganache is set. Dust with powdered sugar or garnish with fresh raspberries if you’re feeling fancy. Enjoy!
Tips for Success
- Let the brownie base cool completely before adding the cheesecake layer; this helps prevent mixing.
- Use high-quality chocolate for the ganache to enhance the overall flavor of your bars.
- Wrap the bars tightly after they cool to keep them fresh if you’re storing them.
- Feel free to experiment by adding nuts or different toppings for a personal touch!
- Make these a day ahead; they actually taste even better after chilling overnight!
Equipment Needed
- 8×8-inch baking dish: Essential for baking the bars. A 9×9 dish works too, just adjust the baking time.
- Mixing bowls: Use two bowls for easy mixing of the brownie and cheesecake layers.
- Whisk or electric mixer: Great for getting a smooth batter without lumps.
- Spatula: Perfect for spreading batter and cheesecake evenly.
- Parchment paper: Optional, but it helps to lift the bars out for easy slicing.
Variations
- Gluten-Free Option: Substitute the red velvet cake mix with a gluten-free version for a delicious treat that everyone can enjoy.
- Lower Sugar: Use a sugar substitute in the cheesecake layer to reduce overall sweetness while keeping it tasty.
- Nutty Twist: Add chopped walnuts or pecans to the brownie base for a delightful crunch that complements the soft layers.
- Red Velvet Cheesecake Brownie Cupcakes: Transform the bars into individual servings by pouring the batter into cupcake liners. Adjust baking time to about 18-20 minutes.
- Dairy-Free Adaptation: Swap in dairy-free cream cheese and use a dairy-free chocolate for the ganache, making it a treat suitable for lactose intolerant friends!
Serving Suggestions
- Pair with Coffee: A warm cup of coffee or an espresso is a fantastic match for these bars, enhancing their rich flavors.
- Brighten with Berries: Serve with a side of fresh strawberries or blueberries for a lovely pop of color and flavor.
- Dress it Up: For a special occasion, plate the bars on elegant china and drizzle extra ganache or a fruit sauce on top.
- Ice Cream Treat: Add a scoop of vanilla or cream cheese ice cream on the side for a deliciously indulgent experience.
FAQs about Red Velvet Cheesecake Brownie Bars
As you embark on this delicious adventure with your Red Velvet Cheesecake Brownie Bars, you may have a few questions. Here are some common inquiries and my heartfelt answers:
Can I freeze these brownie bars?
Absolutely! Once they are completely cooled and the ganache is set, wrap the bars tightly in plastic wrap and store in an airtight container. They can last up to three months in the freezer. When you’re ready to indulge, just thaw them in the fridge overnight.
How can I store leftovers?
After cooling, simply cover the bars and store them in the refrigerator for up to five days. They’ll be ready to enjoy whenever a sweet craving strikes!
Can I use different cake mixes?
Sure! If you’re feeling adventurous, feel free to swap the red velvet cake mix for chocolate or even vanilla cake mix. Just remember, it won’t have that classic red velvet flair, but it will still be delicious!
What can I use if I don’t have heavy cream for ganache?
If you’re out of heavy cream, you can use half-and-half, but the ganache won’t be as rich. If you’ve got milk, you can make a simple glaze instead by heating it gently and melting chocolate chips until smooth.
Are there any dietary adjustments I can make?
Certainly! You can make these bars gluten-free using a gluten-free cake mix. For a lower-sugar version, substitute granulated sugar with a sugar alternative in both the brownie and cheesecake layers. That way, everyone can indulge without worry!
Final Thoughts
These Red Velvet Cheesecake Brownie Bars are more than just a dessert; they’re a love letter to the simple joys of baking. Each bite is a harmonious blend of flavors that brings smiles, warm memories, and perhaps a little nostalgia for childhood treats. Whether you’re preparing for a special occasion or just need a pick-me-up after a long day, these bars are your go-to solution. The process is straightforward and rewarding, making them perfect for busy moms and professionals alike. Share them with loved ones and let the indulgence create moments of joy around your table!
Print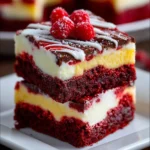
Red Velvet Cheesecake Brownie Bars
- Total Time: 1 hour 10 minutes
- Yield: 16 bars 1x
- Diet: Vegetarian
Description
Decadent red velvet cheesecake brownie bars with a rich chocolate ganache and optional raspberry garnish.
Ingredients
- 1 box (18.3 oz) red velvet cake mix
- 1/2 cup vegetable oil
- 1/4 cup water
- 2 large eggs
- 8 oz cream cheese, softened
- 1/4 cup granulated sugar
- 1 large egg
- 1 tsp vanilla extract
- 1/2 cup heavy cream
- 1/2 cup semi-sweet chocolate chips
- Powdered sugar for dusting (optional)
- Fresh raspberries for garnish (optional)
Instructions
- Preheat your oven to 350°F (175°C) and grease an 8×8-inch baking dish.
- In a large bowl, combine the red velvet cake mix, vegetable oil, water, and eggs. Mix well until fully combined.
- Pour the batter into the prepared baking dish and smooth the top with a spatula.
- Bake for about 20-25 minutes, or until a toothpick inserted into the center comes out clean.
- Let the brownie base cool completely in the dish.
- In a medium bowl, beat the softened cream cheese and granulated sugar until smooth and creamy.
- Add the egg and vanilla extract, beating until well combined.
- Spread the cheesecake mixture evenly over the cooled brownie base.
- Bake for another 20-25 minutes, or until the cheesecake layer is set.
- Let the bars cool in the baking dish for about 10 minutes, then transfer them to a wire rack to cool completely.
- In a small saucepan, heat the heavy cream over medium heat until it just begins to simmer.
- Remove the saucepan from the heat and stir in the chocolate chips until fully melted and smooth.
- Let the ganache cool slightly, then pour it evenly over the cooled cheesecake layer.
- Chill the bars in the refrigerator for about 30 minutes, or until the ganache is set.
- Optional: Dust with powdered sugar and garnish with fresh raspberries.
- Cut the bars into squares and serve them chilled. Enjoy your delicious and indulgent dessert!
Notes
- Make sure to let the brownie base cool completely before adding the cheesecake layer.
- Use a good quality chocolate for the ganache for the best flavor.
- These bars can be made a day ahead and stored in the refrigerator.
- Prep Time: 20 minutes
- Cook Time: 50 minutes
- Category: Dessert
- Method: Baking
- Cuisine: American
Nutrition
- Serving Size: 1 bar
- Calories: 260
- Sugar: 18g
- Sodium: 210mg
- Fat: 14g
- Saturated Fat: 8g
- Unsaturated Fat: 4g
- Trans Fat: 0g
- Carbohydrates: 32g
- Fiber: 1g
- Protein: 3g
- Cholesterol: 45mg