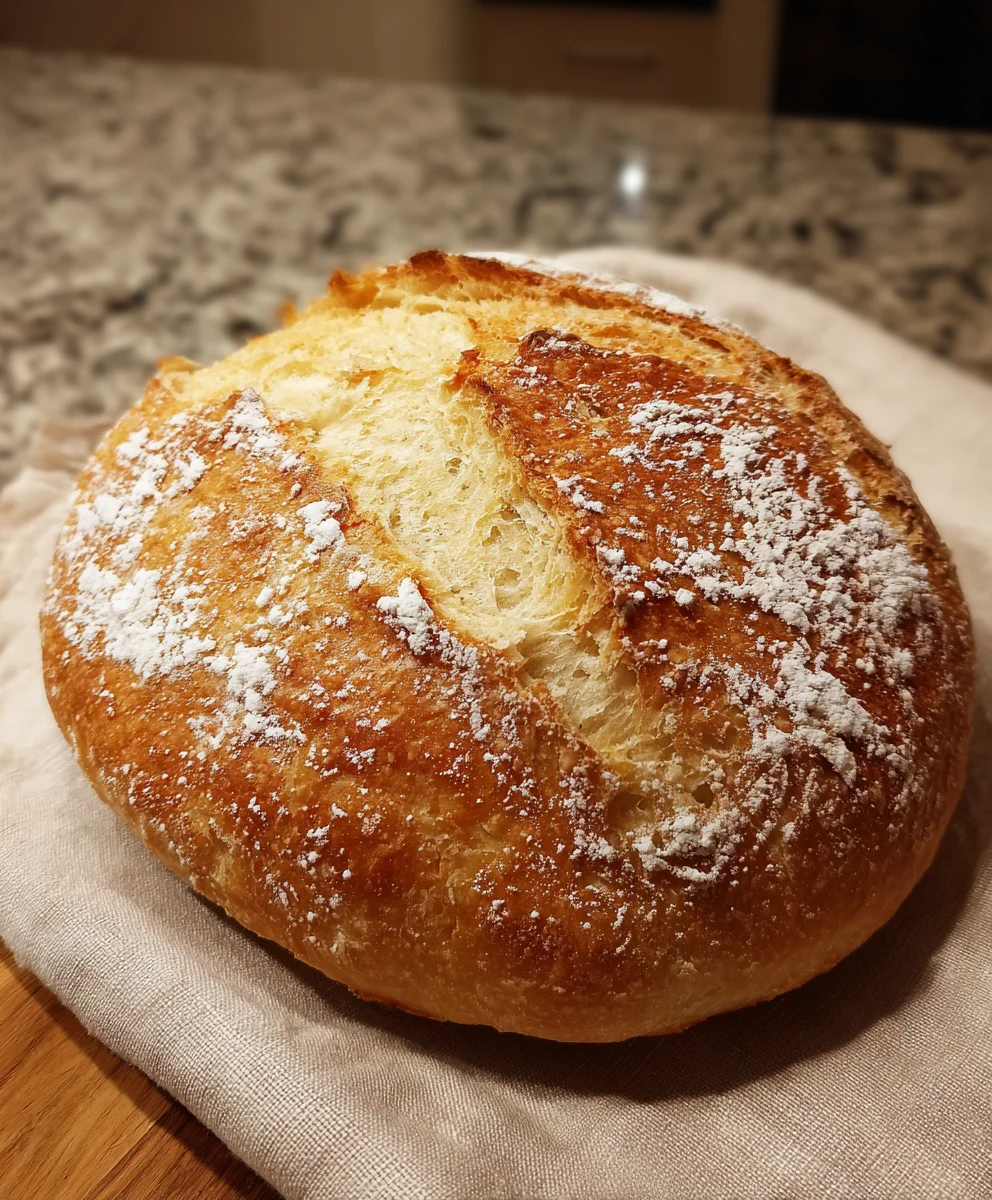
Introduction to Rustic French Bread Loaf
Life gets busy, doesn’t it? Between juggling work, family, and everything in between, it’s all too easy to forget the little joys of home-cooked meals. That’s why I’m excited to share my recipe for a Rustic French Bread Loaf. It’s not only simple but also a delightful treat that fills your kitchen with that heavenly aroma of freshly baked bread. This loaf is crispy on the outside and unbelievably soft on the inside—perfect for busy days when you need something comforting to impress your loved ones. Trust me, this bread is the kind of warm hug your dinner table deserves!
Why You’ll Love This Rustic French Bread Loaf
This Rustic French Bread Loaf is the answer to your mealtime prayers! It’s not just easy to make, but it’s also incredibly satisfying. In just a few simple steps, you can whip up a delicious loaf that will elevate any dish. Plus, the delightful crunch of the crust combined with the soft, pillowy interior makes each bite a little piece of heaven. It’s comfort food at its finest, and your family will rave about it!
Ingredients for Rustic French Bread Loaf
Gathering the right ingredients for my Rustic French Bread Loaf is the first exciting step on this baking adventure. Each component plays a vital role in creating that irresistible texture and flavor. Here’s what you’ll need:
- All-purpose flour: The backbone of your loaf, this flour provides the structure. It’s versatile and widely available, making it a kitchen staple.
- Granulated sugar: This little ingredient helps activate the yeast, giving your bread its lovely rise. Don’t worry; it won’t make the loaf sweet!
- Fine salt: This seasoning enhances the flavor of your bread. It’s essential for balancing the yeast and flour, bringing everything together harmoniously.
- Active dry yeast: The magic maker! This ingredient allows your dough to rise beautifully. Just make sure it’s fresh for the best results.
- Warm water: The soothing bath for your yeast, helping it wake up and do its job. Aim for that perfect temperature to bring your bread to life. Use a thermometer if you’re unsure!
While these ingredients are the foundation, feel free to get creative! You can explore using whole wheat or bread flour for different textures. Also, consider adding herbs or spices like rosemary or garlic for that added pizzazz. If you have leftover bread, it can be toasted for breakfast or sandwiches the next day! For precise measurements, you can find them at the bottom of this article for easy printing.
How to Make Rustic French Bread Loaf
Step 1: Activate the Yeast
Let’s get the magic started! In a mixing bowl, combine the active dry yeast, warm water, and a teaspoon of granulated sugar. Stir gently to mix it all together. This mixture is like a cozy sweater for the yeast—it helps it wake up and get bubbly. Let it sit for about 5 minutes until it gets all frothy and excited. You’ll know it’s ready when a layer of foam forms on top. That’s your signal that the yeast is working its culinary wonders!
Step 2: Mix the Dough
Now that your yeast is bursting with energy, it’s time to bring in the flour and salt. Add half the all-purpose flour and the fine salt to the yeast mixture. Attach your dough hook to the mixer and knead on medium-low speed. As you knead, gradually add the remaining flour until the dough begins to form. It should feel sticky, almost like a soft, pliable hug. Don’t be tempted to add too much flour! That stickiness is crucial for that delightful texture in your Rustic French Bread Loaf.
Step 3: First Rise
Once your dough has come together, it’s time for a little nap! Transfer the dough to a lightly floured bowl and cover it with a clean kitchen towel. Set it aside in a warm spot for about 2 hours. During this time, let it rise until it’s doubled in size. Patience is key here! Your kitchen will start to smell like a bakery, and that’s a good sign. It’s all about giving the yeast time to do its work.
Step 4: Shape the Dough
After that well-deserved rising break, it’s time to shape the dough. Gently place it on a well-floured surface or parchment paper. Using your hands, shape the dough into a smooth ball. Dust it lightly with more flour to prevent sticking. Now, cover it with a large inverted bowl and let it rise again for another 30 minutes. This second rise helps develop that perfect structure, making sure each bite is soft and airy!
Step 5: Preheat and Score
While your dough is finishing its final rise, get your oven ready! Preheat it to 220 °C (about 425 °F) and place a Dutch oven with its lid inside to heat for 20 minutes. This creates a perfect baking environment. Once the dough has risen, take a sharp knife and score the top with a few shallow slashes. This not only looks beautiful but allows the steam to escape while baking, ensuring a lovely crust.
Step 6: Bake the Bread
Carefully place the dough on the parchment paper into the hot Dutch oven. Cover with the lid and bake for 30 minutes. This traps steam, creating that stunning crust we all adore. After 30 minutes, remove the lid and bake for an additional 10 minutes to achieve a golden-brown exterior. Use a kitchen thermometer to check; the bread should reach around 99 °C (210 °F). Your kitchen will smell like a slice of heaven!
Step 7: Cool and Store
Once baked, remove the bread from the oven and transfer it to a wire rack to cool completely. This cooling step is essential to achieve the best texture. You’ll want to resist the urge to slice it while it’s hot! After it cools, slice it up and store it in an airtight container. It will stay fresh at room temperature for up to 3 to 5 days. Enjoy your homemade Rustic French Bread Loaf with your favorite spreads, soups, or just on its own!
Tips for Success
- Check the yeast expiration date to avoid flat bread.
- Measure flour accurately; spoon it into the measuring cup rather than scooping.
- Use a kitchen thermometer to ensure water is at the ideal temperature for yeast activation.
- Keep your kitchen warm during the rising processes; you can place the dough near a warm oven.
- Experiment with additional flavors, like herbs or cheese, to make it your own!
Equipment Needed for Rustic French Bread Loaf
- Mixing bowl: A large bowl is perfect; even a sturdy pot works!
- Dough hook mixer: A stand mixer makes it easy, but you can knead by hand, too.
- Sharp knife: A regular kitchen knife is fine for scoring.
- Dutch oven: If you don’t have one, a baking sheet will do.
- Wire rack: Any cooling rack or wooden board will work for cooling your bread!
Variations on Rustic French Bread Loaf
- Herbed Rustic Bread: Add dried herbs like rosemary, thyme, or oregano to the dough for an aromatic twist.
- Garlic-Infused Bread: Mix in minced garlic or roasted garlic for a savory depth that’s heavenly with butter.
- Whole Wheat Option: Substitute half of the all-purpose flour with whole wheat flour for a nuttier flavor and added fiber.
- Cheesy Delight: Incorporate shredded cheese like Parmesan or cheddar into the dough for a rich, cheesy crust.
- Sundried Tomato & Olive: Fold in chopped sundried tomatoes and olives for a Mediterranean flair that pairs beautifully with salads.
Serving Suggestions with Rustic French Bread Loaf
- Pair your loaf with a creamy butter or herb-infused olive oil for a delightful starter.
- Serve alongside a hearty soup, like tomato or butternut squash, for a comforting meal.
- Use slices for sandwiches with fresh ingredients, like sliced turkey or roasted vegetables.
- Present it in a rustic basket lined with a cloth for a charming table display.
- Enjoy with cheese and charcuterie for a delightful wine and cheese night.
FAQs about Rustic French Bread Loaf
Can I use instant yeast instead of active dry yeast?
Absolutely! You can substitute instant yeast for active dry yeast in equal amounts. There’s no need to activate it first, so just mix it straight into the dry ingredients. This can save you a few steps and time!
How do I know when the bread is done baking?
A great way to test for doneness is to use a thermometer. The internal temperature should reach about 99 °C (210 °F). Alternatively, you can tap the bottom of the loaf; it should sound hollow when fully baked.
What should I do if my bread isn’t rising?
If your bread isn’t rising, double-check the freshness of your yeast. If it’s too old, it won’t activate. Additionally, ensure your dough is in a warm place, as cooler temperatures can slow down the rising process.
Can I freeze the Rustic French Bread Loaf?
Yes! Once the bread is completely cooled, wrap it tightly in plastic wrap, then in aluminum foil. It can be frozen for up to three months. Just thaw it at room temperature and enjoy!
What toppings go well with Rustic French Bread Loaf?
This loaf pairs beautifully with a variety of toppings! Try creamy butter, homemade jams, or even savory spreads like hummus or pâté. The possibilities are endless!
Final Thoughts on Rustic French Bread Loaf
Baking this Rustic French Bread Loaf is more than just following a recipe; it’s about creating cherished moments in your home. Each knead of the dough and every rise brings a sense of accomplishment and joy. Imagine pulling a golden-brown loaf from the oven, its crust crackling as you slice into it. The warm, welcoming aroma fills your kitchen, instantly comforting everyone around. This loaf becomes the centerpiece of your meals, a canvas for spreads, or simply enjoyed with a smile. Trust me, once you master this simple recipe, it will become a family favorite that you cherish for years to come!
Print
Rustic French Bread Loaf
- Total Time: 2 hours 55 minutes
- Yield: 1 loaf 1x
- Diet: Vegetarian
Description
Learn how to make a Rustic French Bread Loaf that’s crispy on the outside and soft on the inside with this easy recipe.
Ingredients
- 410 grams all-purpose flour
- 1 teaspoon granulated sugar
- 1 teaspoon fine salt
- 1.5 teaspoons active dry yeast
- 300 milliliters warm water (38 – 46 °C)
Instructions
- Combine active dry yeast, warm water, and sugar in the mixing bowl. Allow to rest for 5 minutes to activate the yeast until foamy.
- Add half of the flour and salt to the yeast mixture. Attach the dough hook to the mixer and knead on medium-low speed. Gradually add the remaining flour while kneading until the dough just begins to form and is sticky to the touch.
- Transfer the dough to a lightly floured bowl and cover with a clean towel. Let it rise at room temperature for 2 hours until doubled in size.
- Place the dough on a well-floured surface or parchment paper. Shape gently into a smooth ball, dust with additional flour, then cover with a large inverted bowl and let rise for 30 minutes.
- Preheat the oven to 220 °C and place a Dutch oven with its lid inside to heat for 20 minutes. Score the top of the dough with a sharp knife.
- Carefully place the dough on parchment into the heated Dutch oven. Bake covered for 30 minutes, then remove the lid and bake for an additional 10 minutes until golden brown. If using a baking sheet, bake for 35 minutes. Ensure the internal temperature reaches approximately 99 °C.
- Remove bread from oven and transfer to a wire rack to cool completely before slicing. Store in an airtight container at room temperature for up to 3–5 days.
Notes
- Ensure the water temperature is between 38 – 46 °C for optimal yeast activation.
- For a crustier bread, place ice cubes in the oven while baking.
- Let the bread cool completely before slicing for better texture.
- Prep Time: 15 minutes
- Cook Time: 40 minutes
- Category: Bread
- Method: Baking
- Cuisine: French
Nutrition
- Serving Size: 1 slice
- Calories: 150
- Sugar: 0.5 grams
- Sodium: 260 milligrams
- Fat: 1 gram
- Saturated Fat: 0 grams
- Unsaturated Fat: 0 grams
- Trans Fat: 0 grams
- Carbohydrates: 30 grams
- Fiber: 1 gram
- Protein: 4 grams
- Cholesterol: 0 milligrams