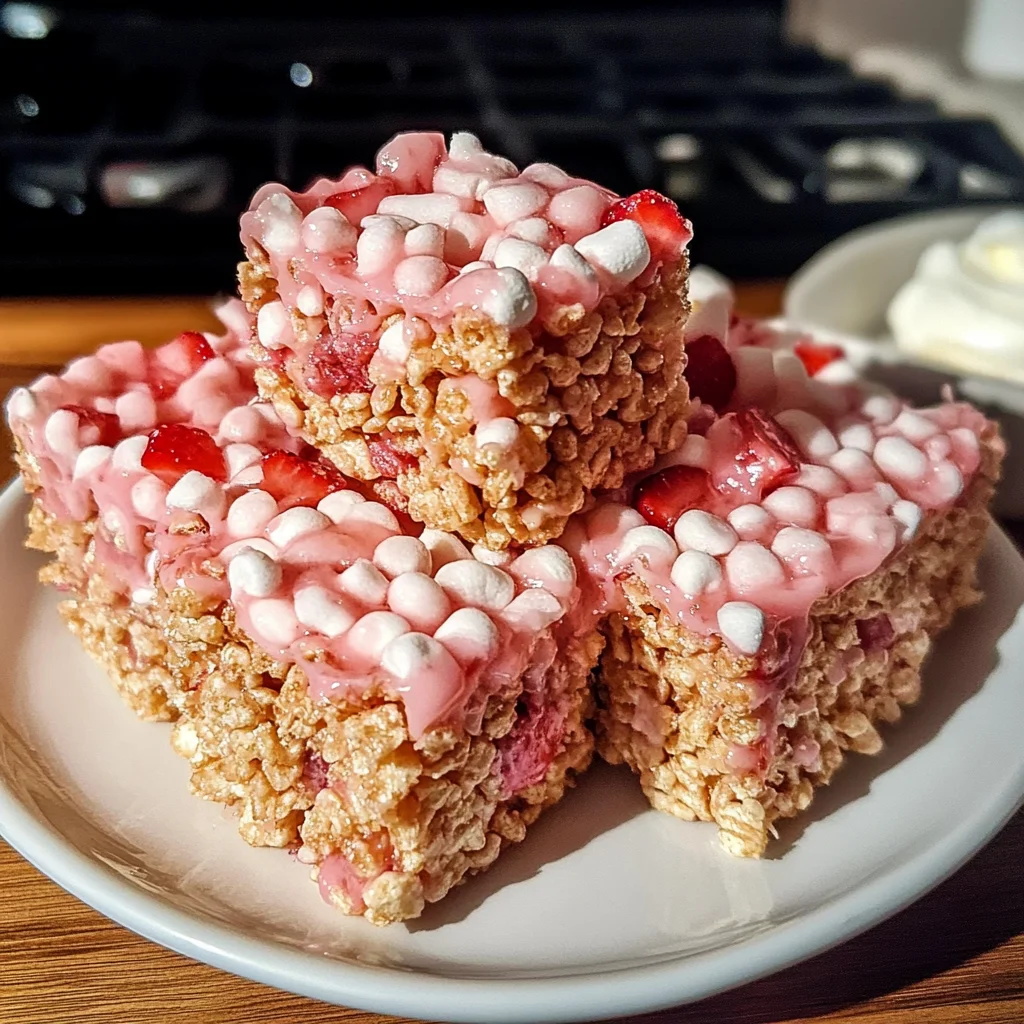
Introduction to Strawberry Crunch Rice Krispie Treats
Hey there, fellow home cooks! If you’re on the lookout for a sweet treat that resonates with
the joy of nostalgia, then Strawberry Crunch Rice Krispie Treats are calling your name.
These delightful little squares are not just a quick solution for a busy day but also a way to
bring a smile to your loved ones. With their crunchy layers and luscious sweetness, they’re perfect
for busy moms like us who want to whip up something magical without spending hours in the kitchen.
Trust me, your family will thank you for this fun, scrumptious snack that’s as easy to make as it
is delicious to eat!
Why You’ll Love This Strawberry Crunch Rice Krispie Treats
Let’s be real: life gets busy, and we need treats that don’t require a culinary degree!
These Strawberry Crunch Rice Krispie Treats are incredibly simple to whip up, making them ideal
for hectic afternoons or surprise gatherings. Plus, the combination of strawberry sweetness with that
satisfying crunch will have your tastebuds dancing! They’re a surefire hit for kids and grown-ups alike,
and they lend themselves beautifully to so many occasions.
Ingredients for Strawberry Crunch Rice Krispie Treats

Let’s gather the delicious ingredients that will craft our Strawberry Crunch Rice Krispie Treats.
You’ll find that each one plays an essential role in creating this delightful dessert.
- Rice Krispies cereal: This is the star of the show! Its crispy texture provides the perfect base for our treats.
- Mini marshmallows: These little puffs are key to achieving that gooey goodness that binds everything together.
- Unsalted butter: Adding richness, butter enhances flavor and helps in the melting process. I recommend using room temperature for easier mixing.
- Vanilla extract: A splash of vanilla brings warmth and depth to the flavor profile, making the treats even more inviting.
- Marshmallow fluff: This sweet, sticky goodness is the perfect topping to give a beautiful finish to your treats.
- Strawberry jello powder: This is where the magic happens! It infuses a delightful strawberry flavor and vibrant color throughout the treats.
- Vanilla instant pudding powder: This adds creaminess and helps create that irresistible chewy texture.
- All-purpose flour: A small amount of flour helps to bind our crunch mixtures together, adding just a hint of substance.
Remember, exact quantities are provided at the bottom of the article, making it easy for you to print out the full recipe!
How to Make Strawberry Crunch Rice Krispie Treats
Preparing the Crunch Mixture
Let’s kick things off by creating the crunchy layers that define these treats.
In a small bowl, combine strawberry jello powder, 4 tablespoons of softened unsalted butter,
and 1/4 cup of flour. Mix everything until it resembles coarse crumbs.
Don’t skip the mixing—this is what brings that delightful taste.
Repeat this process with the vanilla pudding powder. In another bowl, combine it
with the remaining 4 tablespoons of softened butter and the last 1/4 cup of flour.
Mix until nice and smooth. Remember, these layers add an exciting taste and texture!
Baking the Crunch Layers
Preheat your oven to 350°F (175°C). Line a baking sheet with parchment paper—it
makes cleanup so much easier later. Spread both mixtures onto the sheet, ensuring
you press down slightly to form an even layer. This is where the texture starts to take shape!
Bake for 7-8 minutes. Keep a close eye on them; you want them just bubbly around the edges.
Once they’re out of the oven, let them cool for about 10 minutes and then pop them in the fridge
for 2 hours. The cooling is the key to making those crunch layers divine!
Preparing the Marshmallow Mixture
While your crunch layers are chilling, let’s whip up the marshmallow mixture.
Melt 8 tablespoons of butter in a medium saucepan over medium-low heat.
Add in 5 cups of mini marshmallows and stir until they melt into a smooth, gooey mixture.
The smell will be absolutely heavenly!
Once melted, stir in the vanilla extract, providing that delightful aroma, and
then remove it from heat. You need to act quickly now, as the next step requires speed.
Combining the Rice Krispies
Now, it’s time to add the Rice Krispies. Pour in the cereal and remaining mini marshmallows,
folding everything together until it’s all beautifully coated. You want every morsel covered in that
marshmallow goodness—it’s what makes the Strawberry Crunch Rice Krispie Treats so enjoyable!
Gently add 1 cup of your strawberry crunch mixture, folding it in carefully.
This will give your treats their unique crunch and vibrant flavor.
Don’t rush this part; a gentle touch makes all the difference.
Assembling the Treats
Line a 9×13 inch baking dish with parchment paper, making it easy to remove the treats later.
Transfer your mixture into the dish, pressing it down gently to form an even layer.
Remember, pressing too hard can lead to tough treats, so be gentle!
For the finishing touch, heat your marshmallow fluff until it’s smooth and drizzlable.
Drizzle it over the top of your treats for that extra sweetness and visual appeal.
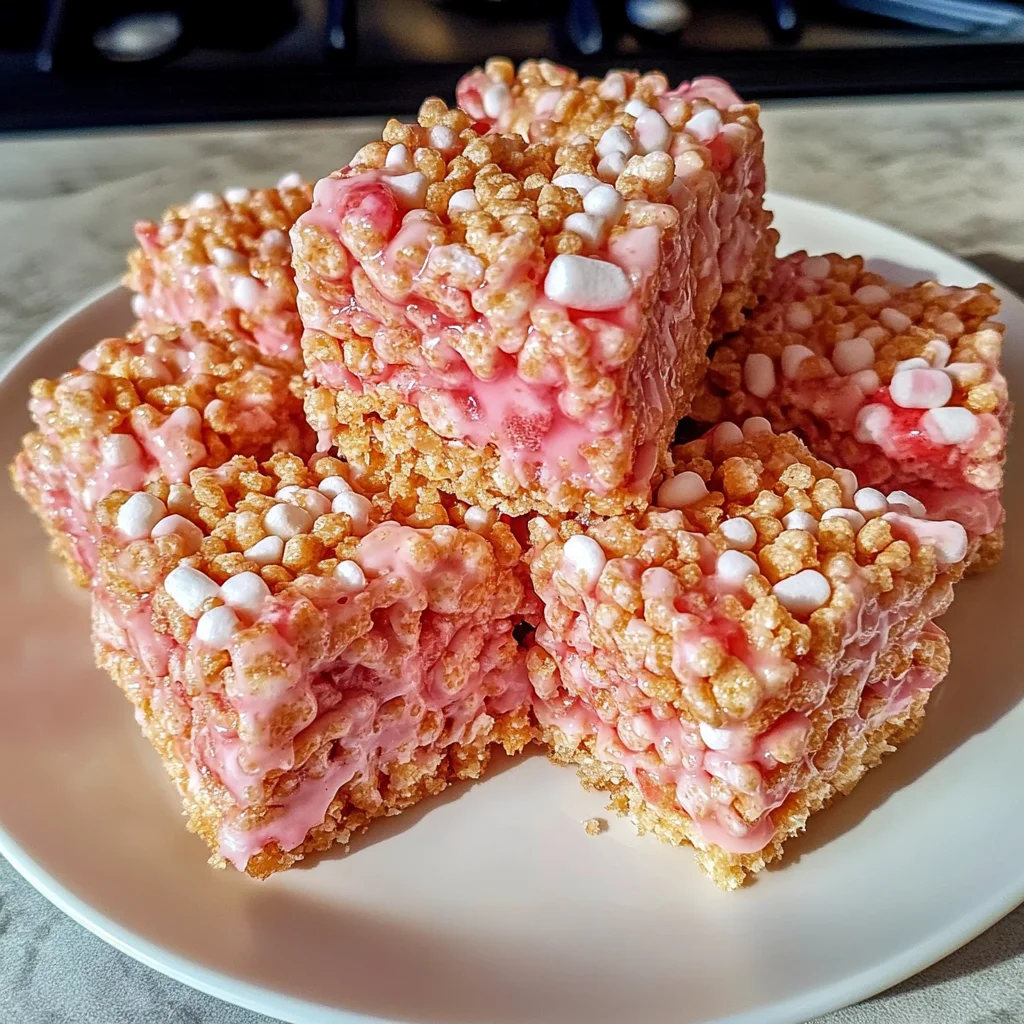
Sprinkle the remaining strawberry crunch on top, creating a gorgeous finish.
Allow your delicious creation to cool and set for 30 minutes. Then, slice it into squares,
and you’re ready to serve. Everyone will be clamoring for a taste of these Strawberry Crunch Rice Krispie Treats!
Tips for Success
- Press the mixture gently into the pan; this avoids hard treats that can be tough to chew.
- Use butter on your hands or parchment paper to prevent the mixture from sticking while you press.
- For cleaner cuts, butter your knife between slices; it makes a world of difference!
- Let the treats cool completely before wrapping or serving; this helps them hold their shape.
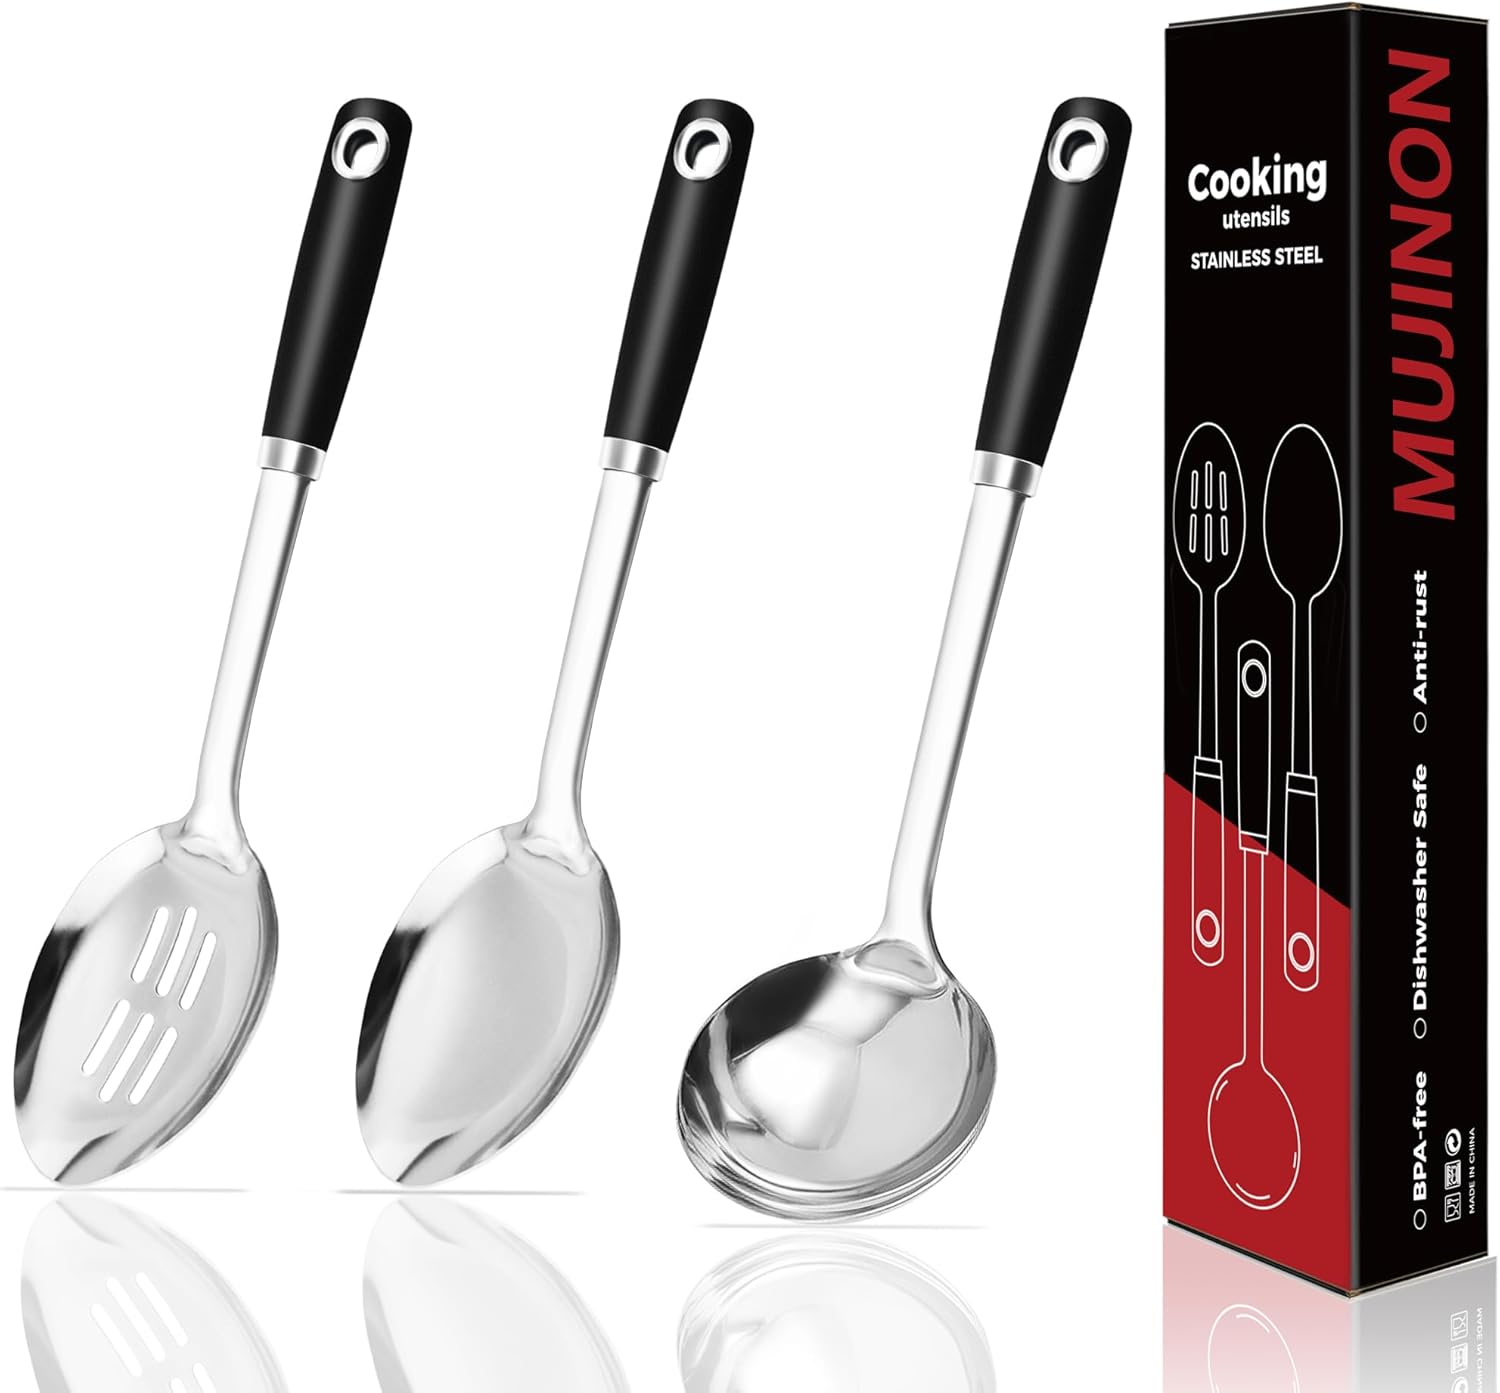
Equipment Needed
- Baking sheet: A simple cookie sheet works great if you don’t have a specific baking sheet.
- Parchment paper: Or use aluminum foil for lining your baking dish.
- Medium saucepan: Any pot will do, just ensure it’s large enough for melting marshmallows.
- Mixing bowls: A set of various sizes is handy; even a large measuring cup can work.
- Food processor: If you don’t have one, breaking the crunch layers by hand will suffice!
Variations
- Chocolate Strawberry Crunch: Swap out the strawberry jello powder for chocolate pudding mix and add chocolate chips for a delicious twist.
- Nutty Delight: Fold in chopped nuts like almonds or pecans for a crunchy texture that complements the sweetness beautifully.
- Gluten-Free Option: Use gluten-free Rice Krispies and cornstarch instead of all-purpose flour to make this treat safe for those with gluten sensitivities.
- Vegan Variation: Substitute coconut oil for butter and use vegan marshmallows to create a plant-based version of these delightful treats.
- Fruit Explosion: Incorporate dried fruits like cranberries or chopped dates for an extra burst of flavor and chewy texture.
Serving Suggestions
- Pair your Strawberry Crunch Rice Krispie Treats with a refreshing glass of lemonade for a delightful summer treat.
- Serve alongside fresh strawberries or a scoop of vanilla ice cream to elevate the dessert experience.
- For a fun presentation, stack the squares on a colorful platter with some sprinkles for added flair.
- Gift them in a clear bag tied with a ribbon for thoughtful party favors or school treats!
FAQs about Strawberry Crunch Rice Krispie Treats
Have questions about making these delightful Strawberry Crunch Rice Krispie Treats?
I’ve got you covered! Here are some common queries that might pop up while you whip these up.
Can I make Strawberry Crunch Rice Krispie Treats ahead of time?
Absolutely! You can prepare the treats a day in advance. Just store them in an airtight container, and they’ll stay fresh and delicious.
Can I use a different flavor of jello?
Yes! Feel free to get creative with different jello flavors. Berry, cherry, or even tropical fruit options can add a fun twist to your treats.
How do I store leftover treats?
To keep your treats fresh, store them in an airtight container at room temperature. They can last for about a week—if they last that long!
What can I do if the treats are too hard?
If your treats turn out too hard, try microwaving them for a few seconds to soften them. Alternatively, ensure you’re pressing them gently into the pan to maintain that perfect chew.
Can I make these treats without marshmallows?
Marshmallows are key for that gooey consistency, but you can use a homemade marshmallow recipe or explore alternatives like rice cereal treats made with a syrup base. Just keep in mind the texture may vary!
Final Thoughts
There’s something truly special about making Strawberry Crunch Rice Krispie Treats.
As you gather the ingredients and mix everything together, you’re not just creating a dessert;
you’re crafting memories. These treats bring smiles to faces young and old, reminding us that
fun and sweetness can be found even in our busiest days. With a little effort and a lot of love,
you can transform simple ingredients into a delightful snack. I hope you enjoy making these
as much as I do, and that they become a family favorite in your home!
Strawberry Crunch Rice Krispie Treats
- Total Time: 30 minutes plus chilling time
- Yield: 20 squares 1x
- Diet: Vegetarian
Description
Deliciously sweet and crunchy Strawberry Crunch Rice Krispie Treats, perfect for a delightful snack or dessert.
Ingredients
- 6 cups Rice Krispies cereal
- 5 cups mini marshmallows, plus 1 extra cup for folding in
- 8 tablespoons unsalted butter (1 stick)
- 1 teaspoon vanilla extract
- 1/2 cup marshmallow fluff (for topping)
- 1 package (3 oz) strawberry jello powder (not prepared)
- 1 package (3.4 oz) vanilla instant pudding powder (not prepared)
- 8 tablespoons unsalted butter (1 stick), divided
- 1/2 cup all-purpose flour, divided
Instructions
- In a small bowl, combine the strawberry jello powder, 4 tablespoons of softened unsalted butter, and 1/4 cup of flour. Mix until the mixture resembles coarse crumbs.
- In a separate bowl, combine the vanilla pudding powder, the remaining 4 tablespoons of softened butter, and the remaining 1/4 cup of flour; mix until combined.
- Preheat your oven to 350°F (175°C) and line a baking sheet with parchment paper. Spread both mixtures onto the sheet, pressing down slightly.
- Bake for 7-8 minutes until edges start to bubble. Cool for 10 minutes, then refrigerate for 2 hours.
- Break the cooled mixtures into pieces and pulse in a food processor until resembling coarse crumbs. Freeze until ready to use.
- Melt 8 tablespoons of butter in a saucepan over medium-low heat. Add 5 cups of mini marshmallows and stir until melted and smooth.
- Stir in the vanilla extract, then remove from heat. Quickly add Rice Krispies and remaining mini marshmallows, folding until coated.
- Add 1 cup of the strawberry crunch mixture and fold gently.
- Line a 9×13 inch baking dish with parchment paper and transfer the mixture, pressing gently into an even layer.
- Heat the marshmallow fluff until smooth and drizzle over the treats. Sprinkle remaining strawberry crunch on top.
- Allow to cool and set for 30 minutes, then cut into squares and serve.
Notes
- Press gently to avoid hard treats.
- Use butter on hands or parchment paper to prevent sticking.
- For cleaner cuts, butter the knife between slices.
- Prep Time: 20 minutes
- Cook Time: 8 minutes
- Category: Dessert
- Method: Baking
- Cuisine: American
Nutrition
- Serving Size: 1 square
- Calories: 180
- Sugar: 12g
- Sodium: 70mg
- Fat: 6g
- Saturated Fat: 4g
- Unsaturated Fat: 1g
- Trans Fat: 0g
- Carbohydrates: 30g
- Fiber: 1g
- Protein: 2g
- Cholesterol: 15mg