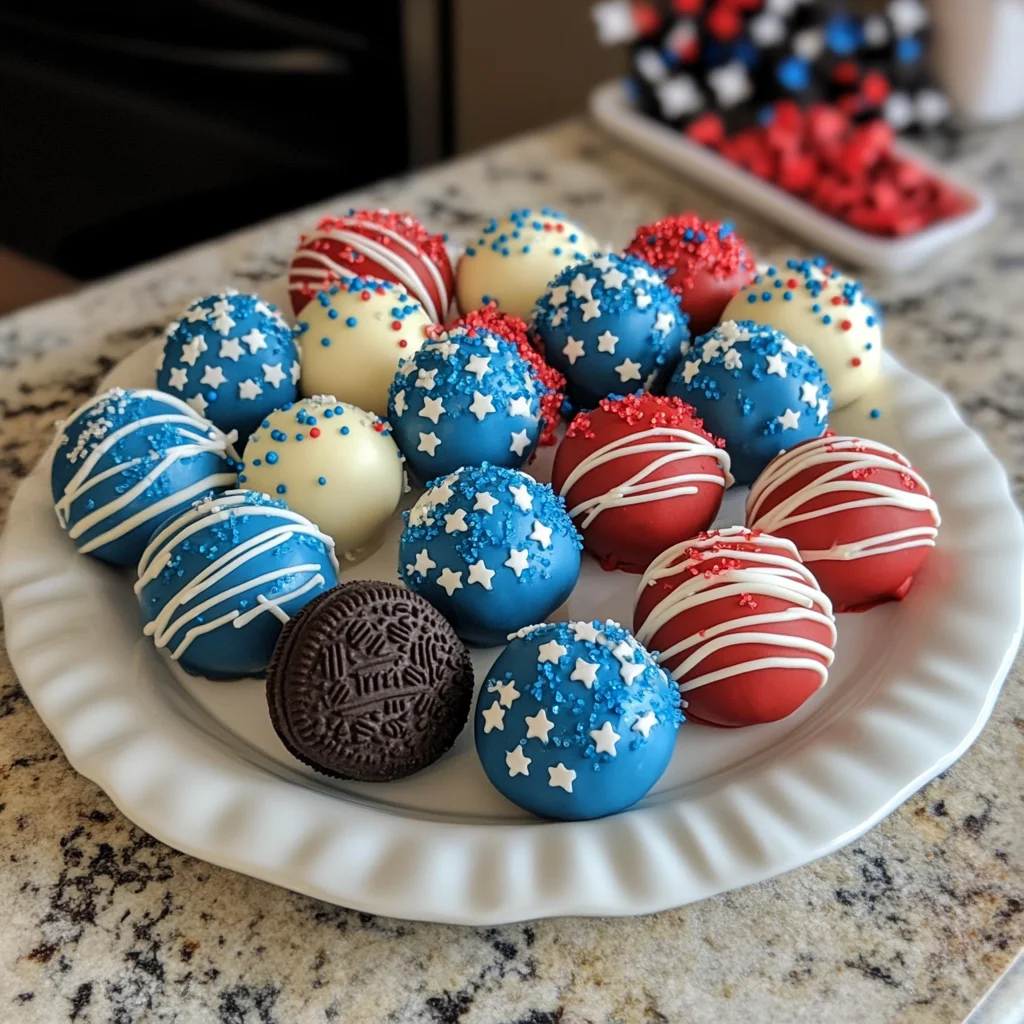
Introduction to 4th of July Oreo Cream Cheese Balls
As the 4th of July approaches, I find myself in a delightful whirlwind, preparing for barbecues, fireworks, and family gatherings. If you’re like me, you want a dessert that’s festive, delicious, and easy to whip up. That’s where these delightful 4th of July Oreo Cream Cheese Balls come in! They’re a quick solution for busy days, combining rich flavors and vibrant colors into one bite-sized treat. Plus, they’re sure to impress your loved ones, making your celebrations even sweeter. Let’s dive into this spectacular dessert that captures the spirit of the season!
Why You’ll Love This 4th of July Oreo Cream Cheese Balls
These 4th of July Oreo Cream Cheese Balls are a dream come true for busy moms and professionals alike! With their easy no-bake preparation, you can whip them up in no time. Not only are they delicious and visually stunning, but they also offer a fun way to involve the kids in festive cooking. Trust me, their luscious flavors combined with a festive flair will delight everyone at your celebration!
Ingredients for 4th of July Oreo Cream Cheese Balls

Gathering the right ingredients makes this delightful no-bake dessert even easier to create. Here’s what you’ll need:
- Oreo Cookies: The star of the show! These chocolatey biscuits provide the perfect base for our cream cheese mixture.
- Cream Cheese: Softened to room temperature, it adds richness and creaminess to balance the sweetness.
- Red Candy Melts: Used for coating one set of the cream cheese balls, they bring that festive red color!
- Blue Candy Melts: Coating the other set, these add a beautiful hue for our patriotic look.
- White Melting Wafers: A simple drizzle of these on top creates a charming finishing touch.
- White Star Confetti Sprinkles: These little decorations elevate the holiday spirit, making every bite feel like a celebration!
You can find all these ingredients at your local grocery store, or even online if you’re short on time. For those on a gluten-free diet, look for gluten-free cookie alternatives. Remember, exact measurements are listed at the bottom of the article for easy printing!
How to Make 4th of July Oreo Cream Cheese Balls
Now comes the fun part! Making the 4th of July Oreo Cream Cheese Balls is simple, and I promise it’s worth every second. You’ll find the steps easy to follow, even on your busiest days. Let’s get started!
Prepare Your Work Station
First things first, let’s clear your countertop. Make sure you have all your ingredients and tools at hand. Line two baking trays with parchment paper and set them aside. This will allow you to move fluidly from one step to the next, minimizing that chaotic kitchen vibe we sometimes face.
Make Oreo Cream Cheese Mixture
Next, it’s time to create that delectable Oreo cream cheese mixture. In a food processor, pulse the Oreo cookies until they turn into fine crumbs. The aroma of crushed Oreos will make your kitchen feel like a dessert wonderland!
Then, take a large mixing bowl and beat the softened cream cheese with a hand mixer on high speed until smooth. Incorporate the Oreo crumbs into the cream cheese mixture and mix on medium speed until everything is well combined. Remember, patience is key here; a perfect blend will yield the best flavor!
Shape the Balls
With your mixture ready, it’s time to shape those adorable little dessert balls! Using a 1.5-inch cookie scoop, scoop out evenly sized portions and roll them between your palms to form perfect balls. Fun tip: if your hands are slightly damp, it can help prevent the mixture from sticking to your palms!
Place the rolled balls onto the prepared baking trays. Keep them spaced out to give them room to breathe. Think of it as a little dance floor for your festive treats.
Chill the Balls
Now, we need to let our little balls chill out for a bit. Pop the trays into the refrigerator for about 2 hours, or if you’re in a hurry, freeze them for 15 to 20 minutes. Chilling is crucial because it firms them up, making coating them a breeze!
Coat with Blue Candy Melts
Ready for a splash of color? Remove one tray from the fridge. Melt the blue candy melts in a double boiler or microwave until smooth. Dip each chilled ball into the blue melts using a fork, allowing excess coating to drip off. Immediately sprinkle those adorable white star confetti right on top for an extra festive touch!
Coat with Red Candy Melts
Once you’ve coated the first batch, it’s time to dip the second tray! Repeat the same process using the red candy melts. This dual-color approach adds beautiful layers, making your dessert eye-catching and fun. Just like before, be sure to let the excess melt drip off.
Drizzle with White Melting Wafers
Now for that final flourish! Melt the white melting wafers in a small piping bag. Drizzle this creamy goodness over the red-coated balls for a beautiful finishing touch. After that, return the entire tray to the fridge for about 10 minutes, allowing everything to set perfectly.
Final Thoughts on Preparation
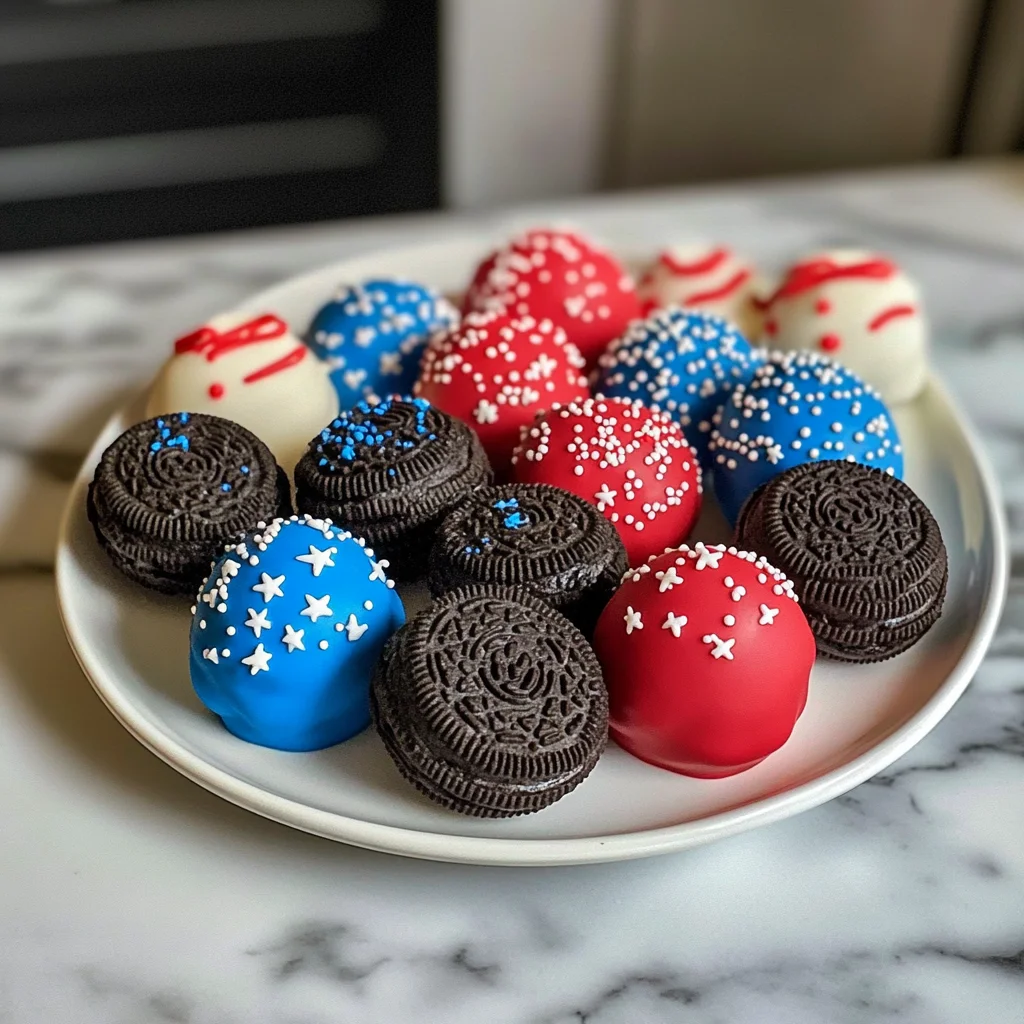
And voilà! You now have a tray of stunning 4th of July Oreo Cream Cheese Balls, bursting with celebration-ready flavor. Just keep these beauties in the refrigerator until you’re ready to serve. Trust me, they make the perfect statement for any festive gathering.
Tips for Success
- Always chill the Oreo balls before coating, ensuring a smooth finish.
- Use separate bowls for melting each candy color to avoid mixing.
- If the coating gets too thick, reheat gently to make it easier to dip.
- Involve the kids in decorating; it makes the process more fun!
- Store leftovers in an airtight container to maintain freshness.
Equipment Needed
- Food Processor: A blender works too if you don’t have one.
- Hand Mixer: You can also use a sturdy whisk, but it’ll take longer.
- Baking Trays: Any flat surface will do, like a large plate.
- Parchment Paper: Wax paper is a fine substitute.
- Scoop: Use a spoon if you don’t have a cookie scoop handy.
Variations
- Gluten-Free: Substitute regular Oreo cookies with gluten-free Oreos for a tasty alternative.
- Dairy-Free: Use dairy-free cream cheese and coconut oil in place of melting wafers for a vegan-friendly version.
- Flavor Twist: Add a teaspoon of peppermint extract to the cream cheese mixture for a refreshing minty flavor.
- Nutty Addition: Fold in finely chopped nuts, like almonds or walnuts, to add some crunch to the creamy centers.
- Chocolate Lovers: Use chocolate melting wafers instead of candy melts for a richer chocolate flavor.
Serving Suggestions
- Pair these 4th of July Oreo Cream Cheese Balls with a refreshing fruit salad for a light contrast.
- Serve alongside cold beverages like lemonade or iced tea to balance the sweetness.
- Present them on a festive platter with American flags for an attractive display.
FAQs about 4th of July Oreo Cream Cheese Balls
Can I make these Oreo Cream Cheese Balls ahead of time?
Absolutely! In fact, making them a day in advance allows the flavors to meld beautifully. Just store them in the refrigerator until you’re ready to serve. They’ll still taste fresh and delicious!
How long do these treats last in the fridge?
These 4th of July Oreo Cream Cheese Balls can last about a week in the refrigerator when stored in an airtight container. But I guarantee they’ll disappear much faster!
What chocolate can I use for coating besides candy melts?
If you’re not a fan of candy melts, you can use chocolate chips instead! Just melt them gently and dip your Oreo balls for a delightful twist. Dark, milk, or even white chocolate work beautifully.
Can I freeze the Oreo Cream Cheese Balls?
Yes, you can! Freeze them before coating. Place them on a baking tray to freeze individually, then transfer them to an airtight container. When you’re ready to enjoy, remove them from the freezer and coat them once slightly softened.
What can I substitute for cream cheese?
If you’re looking for a dairy-free option, try using cashew cream or nut-based cream cheese. Both will yield a deliciously creamy texture without dairy!
Final Thoughts
Creating these 4th of July Oreo Cream Cheese Balls is more than just whipping up a dessert; it’s about making memories. The joy on my family’s faces as they dive into these vibrant treats always brings a smile to my heart. These little balls of chocolatey goodness embody the spirit of celebration, bringing together loved ones for a sweet bite of joy. As you gather around the table, watching those smiles, you’ll realize that food has the incredible power to create lasting moments. Enjoy celebrating with this easy and festive treat that everyone will adore!
Print
4th of July Oreo Cream Cheese Balls
- Total Time: 50 minutes
- Yield: Approximately 24 balls 1x
- Diet: Vegetarian
Description
Delicious and festive 4th of July Oreo Cream Cheese Balls that are easy to make and perfect for celebrating.
Ingredients
- 1 lb 2.12 oz Family Size package Oreo Cookies
- 8 ounce block cream cheese, softened to room temperature
- 12 ounce bag red candy melts
- 12 ounce bag blue candy melts
- 1/3 cup Ghirardelli white melting wafers
- White star confetti sprinkles for topping
Instructions
- Line two baking trays with parchment and set it aside.
- Place the Oreo cookies in a food processor or high speed blender and pulse into fine crumbs.
- In a large mixing bowl with a hand mixer on high speed, beat the softened cream cheese until smooth.
- Add the Oreo crumbs to the bowl and mix on medium speed until well combined.
- Using a 1.5” cookie scoop, scoop up even sized balls and roll them in your palms for a smooth finish. Place the rolled balls on the prepared baking trays.
- Chill the trays in the refrigerator for 2 hours or freeze for 15-20 minutes.
- Remove one tray from the refrigerator. Melt the blue candy melts in a double boiler or microwave until smooth.
- Use a fork to dip each ball into the blue melts, removing excess coating before placing back on the tray. Sprinkle with white star confetti immediately.
- Remove the second tray from the refrigerator and melt the red candy melts in a clean double boiler or microwave.
- Dip each ball into the red melts, removing excess before placing back on the tray.
- Melt the white melting wafers in a small piping bag, drizzle over red coated balls, and return them to the refrigerator to set for 10 minutes.
- Keep refrigerated until ready to eat. Enjoy!
Notes
- For best results, chill the balls thoroughly before coating them.
- Use a clean bowl and utensils to avoid mixing colors when melting candy melts.
- Store any leftovers in the refrigerator for freshness.
- Prep Time: 20 minutes
- Cook Time: 30 minutes
- Category: Dessert
- Method: No-Bake
- Cuisine: American
Nutrition
- Serving Size: 1 ball
- Calories: 150
- Sugar: 10g
- Sodium: 60mg
- Fat: 8g
- Saturated Fat: 3.5g
- Unsaturated Fat: 2.5g
- Trans Fat: 0g
- Carbohydrates: 17g
- Fiber: 0g
- Protein: 1g
- Cholesterol: 5mg