Introduction to Halloween Cheesecake Brownies
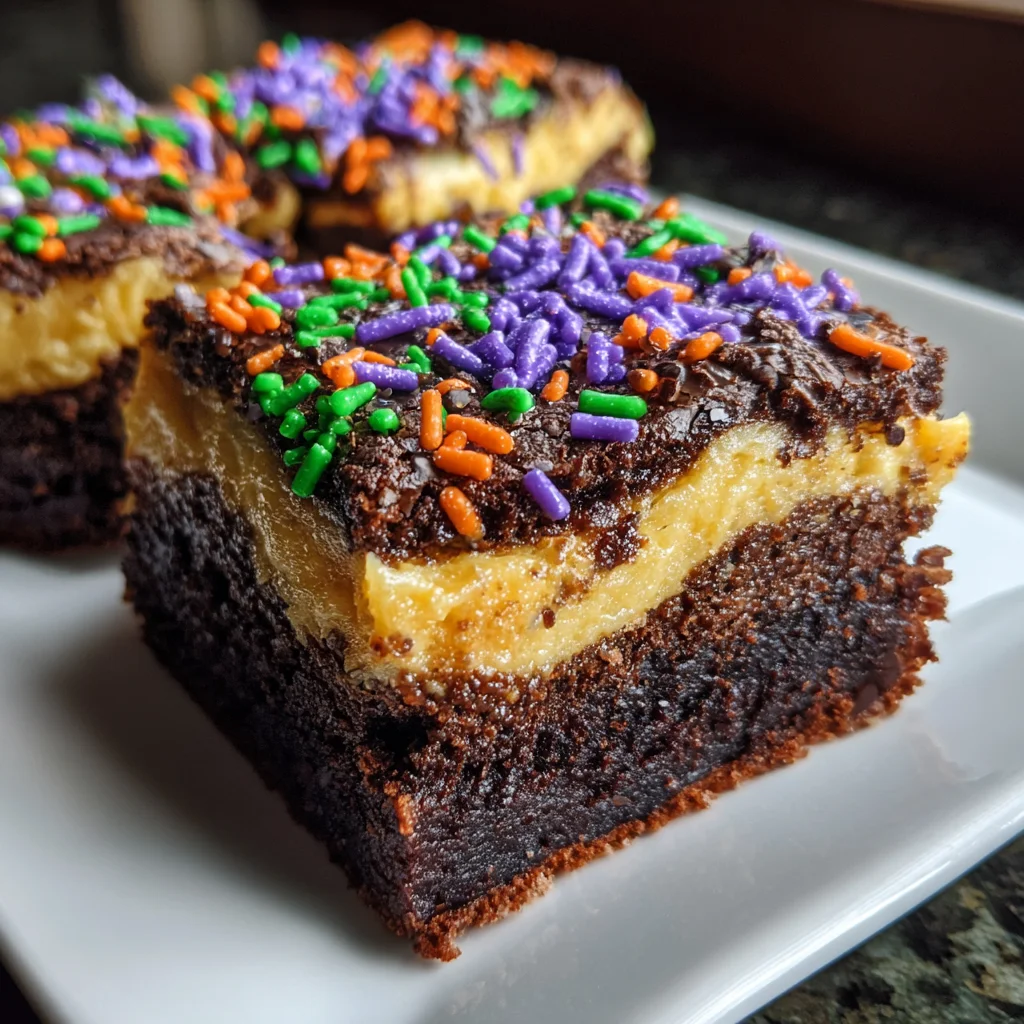
We’re walking through the park as the leaves under our feet make a loud crunch; we breathe in the cool, crisp fall air, and everybody knows what time of year it is—Halloween! This year, I’ve got a special recipe that I know is going to turn into a family tradition: Halloween Cheesecake Brownies. A rich, fudgy brownie base with colorful cheesecake swirls adorning the top, these treats aren’t just a wonder for the eyes but the mouth too. Cut in single bite-sized squares, they promise to be the most-quick-solution-to-my-problems ever for my fellow busy mommies who want something so festival-ish for dessert but also easy on work!
Why You’ll Love This Halloween Cheesecake Brownies
Delicious things and these Halloween Cheesecake Brownies go together perfectly, as the deep, chocolaty flavor of brownies cohabits well with the velvet smoothness of dreamsicle cheesecake in every bite. Not only fast and easy but friendly for little helpers to make in the kitchen with vibrant colors and festive sprinkles to ensure a smile-inducing brownie for any celebration!
Ingredients for Halloween Cheesecake Brownies
Before we dive into the delightful world of Halloween Cheesecake Brownies, let’s gather our ingredients. These will help us conjure up a treat that’s both spooky and scrumptious! While I won’t be sharing exact measurements just yet, you can find those at the bottom of the article, ready for printing.
- Sugar: This sweetener is crucial for enhancing the flavors and adding a delightful sweetness to both the brownie and cheesecake layers.
- All-purpose flour: The backbone of our brownie base, it provides structure to hold everything together. If you’re looking for a gluten-free option, try a 1:1 gluten-free flour blend!
- Special dark cocoa powder: This gives the brownies their rich, chocolatey flavor and a deep color. If you can’t find it, unsweetened cocoa powder works just as well.
- Salt: A pinch of salt balances the sweetness and enhances the overall taste, making the flavors pop.
- Baking powder: It’s our leavener, giving the brownies a slight lift and helping them to be soft and chewy.
- Vegetable oil: I love using oil for brownies; it keeps them tender and moist. You can also replace it with melted butter for a richer flavor.
- Vanilla extract: This aromatic ingredient adds depth to both the brownie and cheesecake layers—don’t skip it!
- Eggs: They’re essential for binding everything. We’ll need two for the brownies and one more for the cheesecake layer.
- Cream cheese: The star of our cheesecake layer! It brings that luscious creaminess we all adore. Make sure it’s softened for easy mixing.
- Granulated sugar: This is used specifically for the cheesecake layer to sweeten the cream cheese.
- Food coloring: Orange, green, and purple food coloring will add festive colors to your cheesecake swirls. Get creative; it’s Halloween after all!
- Halloween sprinkles: These are optional, but let’s be real—who can resist a little sprinkle magic? They elevate the spookiness and charm of your brownies!
How to Make Halloween Cheesecake Brownies
Now that we’re armed with all our ingredients, it’s time to bring this spooky treat to life! Follow my steps closely, and you’ll create Halloween Cheesecake Brownies that are as fun to make as they are to devour. Let’s dive in!
Step 1: Preheat and Prepare the Baking Pan
First things first: preheat your oven to 350°F (175°C). This ensures that our brownies bake evenly. While the oven heats up, grab an 8×8 inch baking pan and coat it with non-stick cooking spray. This will keep our spooky brownies from sticking and make cleanup a breeze!
Step 2: Make the Brownie Batter
In a medium mixing bowl, whisk together the sugar, flour, special dark cocoa powder, baking powder, and salt until well combined. It’s like a dark, delicious hug in a bowl! Next, add the eggs, vegetable oil, and vanilla extract. Mix everything together until it’s smooth and shiny. Don’t be afraid to really get in there—it builds character!
Step 3: Create the Cheesecake Filling
In a separate bowl, beat your softened cream cheese with granulated sugar, one egg, and half a teaspoon of vanilla extract. Use an electric mixer for a creamy texture. Once smooth, divide this mixture into three small bowls. Add orange food coloring to one bowl, green to another, and purple to the last. Mix until the colors are vibrant and inviting!
Step 4: Layer the Brownie and Cheesecake Mixture
Now, it’s time to assemble our masterpiece! Start by spreading two-thirds of the brownie batter evenly into the bottom of the prepared pan. Next, spoon dollops of each colored cheesecake mixture on top of the brownie layer. Let the colors dance together; it’s like crafting a festive canvas before painting!
Step 5: Swirl and Sprinkle
With the reserved brownie batter, drop generous teaspoons over the cheesecake swirls. Take a butter knife and gently swirl it through the layers. You want to create a beautiful marbled effect, but be careful not to overmix. Finally, sprinkle Halloween sprinkles over the top to add some spooky cheer!
Step 6: Baking Instructions
Now, it’s time to bake our delicious layers! Place the pan in the preheated oven and bake for about 35 minutes. Keep an eye on them! When a toothpick inserted into the center comes out clean, they’re ready. The aroma will have your mouth watering—it’s pure magic!
Step 7: Cooling
Once baked, remove the brownies from the oven and place them on a wire cooling rack. Patience is key here! Let them cool completely before cutting into squares. This step ensures you get clean, beautiful slices that showcase all your hard work. Trust me, it’s worth the wait!
Tips for Success
- Set out ingredients beforehand for smooth sailing.
- Use room temperature cream cheese for easier mixing.
- Don’t rush the cooling process—waiting results in better texture!
- For clean cuts, use a sharp knife and wipe it between slices.
- Feel free to experiment with different food colors to match your Halloween theme!
Equipment Needed
- 8×8 inch baking pan: A square pan is perfect; a round pan works too, just adjust baking time.
- Mixing bowls: Use a couple of medium bowls; they’re essential for mixing different layers.
- Electric mixer: This makes creaming the cheese a breeze; a whisk works if you’re up for a workout!
- Baking spatula: Great for spreading the batter evenly; a silicone spatula is my favorite.
- Wire cooling rack: Helps brownies cool evenly; if you don’t have one, just use a plate!
Variations for Halloween Cheesecake Brownies
- Nutty Twist: Add chopped walnuts or pecans to the brownie batter for a delightful crunch that contrasts beautifully with the creamy cheesecake.
- Swap the Colors: Use food colors like black or spooky pastel shades to create a unique look that fits your Halloween theme!
- Dairy-Free Delight: Substitute creamy coconut cream for the cream cheese and use non-dairy milk and margarine to make a dairy-free version that’s just as delicious!
- Low-Sugar Option: Replace regular sugar with a sugar substitute for a lower-calorie dessert that doesn’t skimp on sweetness.
- Chocolate Chip Brownies: Mix in a handful of chocolate chips to the brownie batter for an extra chocolatey experience that chocolate lovers will adore!
Serving Suggestions
- Pair with Ice Cream: A scoop of vanilla or pumpkin ice cream takes these brownies to another level of indulgence.
- Spooky Presentation: Serve your brownies on a Halloween-themed platter with some candy corn scattered around for a festive touch.
- Coffee or Hot Chocolate: Balance the sweetness with a warm cup of coffee or creamy hot chocolate for cozy fall vibes.
- Grateful Gatherings: These brownies make perfect bites for Halloween parties or family gatherings—always a hit!
FAQs about Halloween Cheesecake Brownies
Can I make Halloween Cheesecake Brownies ahead of time?
Absolutely! In fact, these brownies taste even better the next day as the flavors meld together. Just be sure to store them in an airtight container in the fridge, and let them come to room temperature before serving.
Can I freeze Halloween Cheesecake Brownies?
Yes, these brownies freeze wonderfully! Just cut them into squares, wrap them tightly in plastic wrap, and place them in an airtight container. They’ll keep for up to three months. Perfect for a future spooky treat!
How do I know when the brownies are done baking?
For perfect doneness, insert a toothpick into the center. If it comes out with a few moist crumbs but not wet batter, your brownies are ready! Remember, they will continue to set as they cool off.
What if I don’t have food coloring?
No worries! You can leave your cheesecake layer plain or use natural coloring options like beet juice for red, spirulina for green, or even cocoa powder for a delicious chocolatey twist. The flavors will still shine through!
How can I adjust this recipe for dietary restrictions?
For gluten-free brownies, substitute regular flour with a gluten-free blend. To make them dairy-free, replace cream cheese with a dairy-free cream cheese alternative. Use sugar alternatives if you’re reducing sugar intake. Customize it to fit your needs!
Final Thoughts
As Halloween approaches, it’s time for these great-looking Halloween Cheesecake Brownies to make their way onto the table. That surprise with every bite of chewy chocolate brownie and smooth cheesecake swirls all dancing in sync together. This recipe bonds loved ones to reap those sweet moments. So tie your aprons on, get the kids going, and make some magic! I guarantee that with a dash of love and laughter, these little beauties will be your new Halloween tradition.
Print
Halloween Cheesecake Brownies
- Total Time: 1 hour 15 minutes
- Yield: 16 brownies 1x
- Diet: Vegetarian
Description
Delightfully spooky Halloween Cheesecake Brownies featuring a rich brownie base topped with colorful cheesecake swirls.
Ingredients
- 1 cup sugar
- 1/2 cup all-purpose flour
- 1/2 cup special dark cocoa powder
- 1/2 teaspoon salt
- 1/4 teaspoon baking powder
- 1/3 cup vegetable oil
- 1 teaspoon vanilla extract
- 2 large eggs
- 8 oz cream cheese, softened
- 1/4 cup granulated sugar
- 1 large egg
- 1/2 teaspoon vanilla extract
- Orange food coloring
- Green food coloring
- Purple food coloring
- Halloween sprinkles (optional)
Instructions
- Preheat oven to 350°F and coat an 8×8 inch baking pan with non-stick cooking spray.
- Whisk together the sugar, flour, cocoa powder, baking powder, and salt in a medium mixing bowl.
- Add eggs, oil, and vanilla, and mix until well combined.
- Reserve 1/3 cup of the brownie batter, then spread the rest into the bottom of your prepared pan.
- Beat together the softened cream cheese, sugar, egg, and vanilla with an electric mixer until smooth.
- Divide the cheesecake mixture into 3 bowls; color one bowl orange, one bowl green, and one bowl purple.
- Scoop the different colors of cheesecake on top of the brownie batter in the pan.
- Using the brownie batter that you set aside, drop a teaspoon at a time on top of the cheesecake layer and swirl gently with a butter knife.
- Top with Halloween sprinkles and bake at 350°F for 35 minutes, until a toothpick inserted in the middle comes out clean.
- Let cool completely on a wire cooling rack.
Notes
- For a richer chocolate flavor, consider adding chocolate chips to the brownie batter.
- Feel free to use any food coloring that fits your Halloween theme.
- Make sure to let the brownies cool completely before cutting for clean slices.
- Prep Time: 20 minutes
- Cook Time: 35 minutes
- Category: Dessert
- Method: Baking
- Cuisine: American
Nutrition
- Serving Size: 1 brownie
- Calories: 250
- Sugar: 18g
- Sodium: 150mg
- Fat: 12g
- Saturated Fat: 2g
- Unsaturated Fat: 8g
- Trans Fat: 0g
- Carbohydrates: 32g
- Fiber: 1g
- Protein: 3g
- Cholesterol: 40mg