Introduction to The Best Mini Pumpkin Pies
As the leaves turn and the air gets crisp, there’s something magical about the arrival of fall. I can practically smell the spices wafting through the air as I think of cozy gatherings with loved ones. That’s why I love making The Best Mini Pumpkin Pies. These delightful little treats are ideal for busy moms like us, providing a quick solution to satisfy sweet cravings without spending hours in the kitchen. Plus, they’re perfect for sharing at gatherings, bringing smiles to everyone’s faces. Trust me, one bite of these mini pies, and you’ll feel that autumn warmth, wherever you are.
Why You’ll Love This The Best Mini Pumpkin Pies
These mini pumpkin pies are the epitome of autumn simplicity. They’re quick to whip up, making them perfect for busy days when you crave a taste of fall.
With their airy crusts and velvety filling, every bite is a delightful experience.
Plus, they’re a hit with both kids and adults, transforming any get-together into a cherished memory. You’ll find yourself wanting to make them again and again!
Ingredients for The Best Mini Pumpkin Pies
Gathering the right ingredients is the first step toward creating The Best Mini Pumpkin Pies. Here’s what you’ll need:
- Refrigerated pie crusts: These save time and effort. You can easily find them in the grocery freezer aisle.
- Canned pumpkin puree: The star of the show! Opt for 100% pumpkin puree for the richest flavor and smoothest texture.
- Sweetened condensed milk: This adds creaminess and sweetness that perfectly balances the spices.
- Brown sugar: The secret to that warm, caramel-like flavor! You can substitute with coconut sugar for a healthier twist.
- Large egg: This helps bind the filling and gives it that perfect custard-like consistency.
- Ground cinnamon: A must-have spice for any pumpkin dessert! It brings that classic fall flavor to the filling.
- Ground nutmeg: This adds warmth and depth. A pinch goes a long way in enhancing the pumpkin taste.
- Ground ginger: It provides a sweet and spicy zing, balancing the sweetness beautifully.
- Ground cloves: Just a hint of clove adds a rich, aromatic quality to the filling.
- Salt: A tiny bit enhances all the flavors and makes them pop.
- Whipped cream (optional): A dollop on top transforms the pies into a dreamy dessert!
- Ground cinnamon (optional for garnish): A sprinkle adds a lovely touch to the presentation.
For exact measurements, don’t forget to check out the bottom of the article, where you’ll find everything neatly laid out for printing.
How to Make The Best Mini Pumpkin Pies
Now that we have our ingredients ready, let’s dive into crafting The Best Mini Pumpkin Pies. Follow these step-by-step instructions, and soon you’ll be savoring these delightful morsels straight from your oven!
Step 1: Prepare the Pie Crusts
Start by unrolling the refrigerated pie crusts on a lightly floured surface. Using a 3.5 to 4-inch cutter, cut out circles from the crust. These little rounds will be the perfect base for your mini pumpkin pies.
Next, gently press each circle into the greased muffin tin wells. Be sure to create a little edge, so the filling has a cozy little home. Have fun with this step; it’s where the magic begins!
Step 2: Blind Bake the Crusts
Preheat your oven to 375°F (190°C). Blind baking the crusts is crucial for avoiding those soggy bottoms. Bake them for about 5 minutes.
This simple step gives the crust a head start in becoming beautifully golden and crispy. Trust me on this one; your taste buds will thank you!
Step 3: Make the Filling
While the crusts are baking, it’s time to make the luscious filling. In a mixing bowl, whisk together the pumpkin puree, sweetened condensed milk, brown sugar, and egg.
Then, sprinkle in the cinnamon, nutmeg, ginger, cloves, and salt. Keep whisking until everything is smooth and well combined.
This filling is the heart of your mini pumpkin pies, so take your time and enjoy the process!
Step 4: Fill the Crusts
Once your crusts are out of the oven and slightly cooled, it’s filling time! Carefully pour or spoon the pumpkin filling into each pie crust until they are about 3/4 full.
Don’t worry if some of the filling looks a little uneven; it will settle as it bakes. Plus, who doesn’t love a little rustic charm?
Step 5: Bake to Perfection
Pop those beauties back into the oven and bake for 20 to 25 minutes. Keep an eye on them.
You’ll know they’re ready when the filling is set and the crusts are golden brown. If the filling jiggles a bit in the center, that’s okay! It will firm up as they cool.
Step 6: Cool and Serve
After baking, let the mini pumpkin pies rest in the tin for about 10 minutes. Then, carefully transfer them to a wire rack to cool completely.
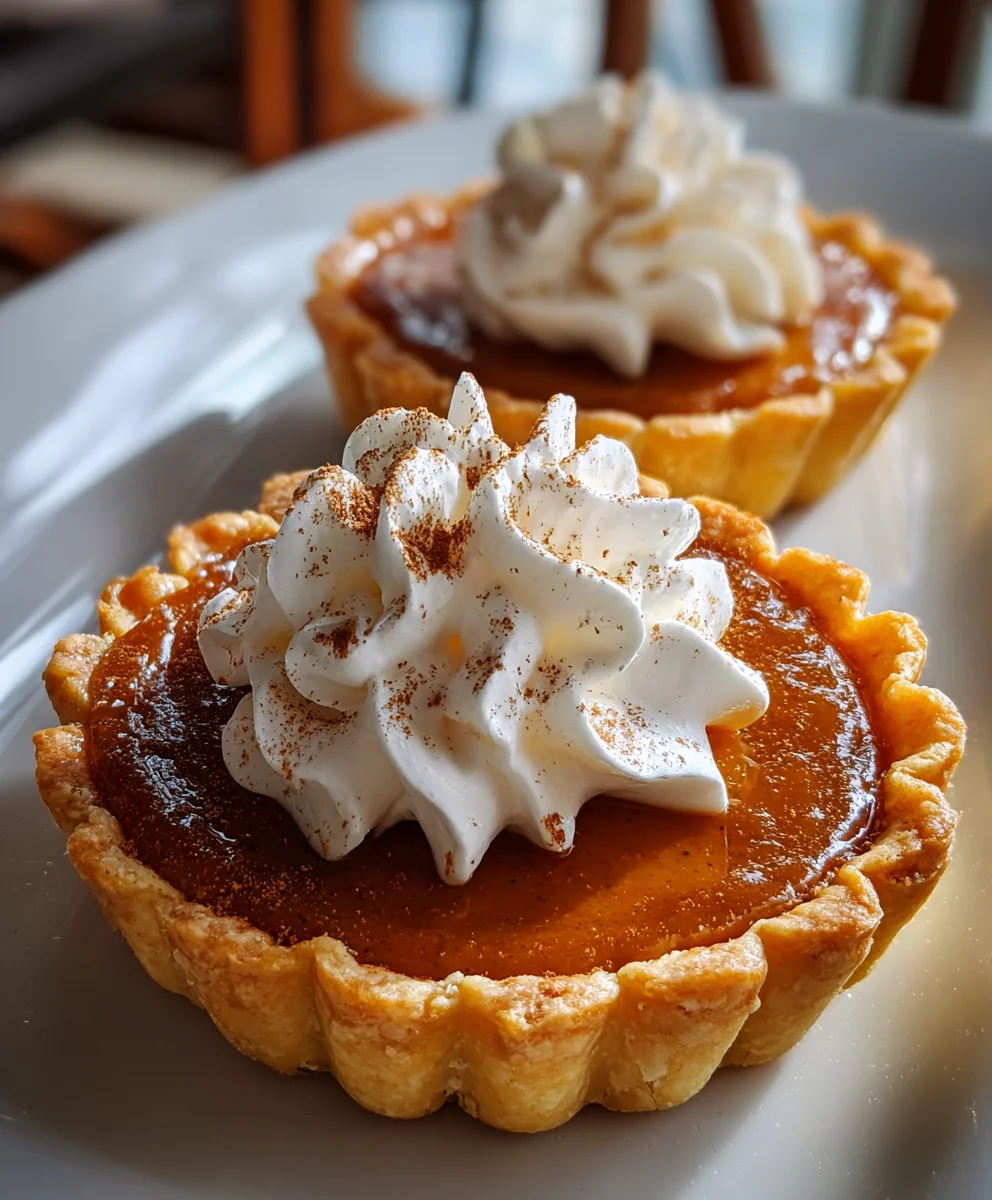
Once cooled, they’re ready for the finishing touches. Top them with whipped cream and a sprinkle of cinnamon for that perfect autumn flair. Enjoy every bite, and perhaps share with loved ones—if you can resist!
Tips for Success
- Always keep your pie crusts cold until you’re ready to use them for a flakier texture.
- For the best flavor, choose high-quality canned pumpkin puree without any additives.
- Don’t rush the cooling process; allowing them to cool properly ensures a perfect texture.
- Experiment with spices to customize the filling to your taste—more cinnamon, anyone?
- Consider making a double batch—trust me, they’ll disappear quickly!
Equipment Needed for The Best Mini Pumpkin Pies
- Muffin tin: Essential for shaping your mini pies. A cupcake holder can be a great alternative.
- Rolling pin: For rolling out the pie crusts. A clean bottle will work in a pinch!
- Mixing bowls: Needed for combining your filling ingredients. Use any medium-size bowl you have on hand.
- Whisk: Perfect for mixing the filling until smooth. A fork can do the job, too!
- Measuring cups and spoons: For accurate ingredient quantities. Or simply eyeball it if you’re feeling adventurous!
Variations of The Best Mini Pumpkin Pies
- Spiced Maple Mini Pumpkin Pies: Replace half the brown sugar with pure maple syrup for an earthy sweetness that enhances the fall flavors.
- Chocolate Chip Pumpkin Pies: Stir in some mini chocolate chips into the filling for a delightful contrast of flavors. The kids will love this twist!
- Nutty Crust Mini Pumpkin Pies: Swap out the traditional pie crust for a nut-based crust made from crushed almonds or pecans mixed with melted butter for a gluten-free option.
- Vegan Mini Pumpkin Pies: Use coconut cream instead of sweetened condensed milk and a flax egg in place of the large egg for a dairy-free treat that doesn’t skimp on flavor.
- Cheesecake Pumpkin Pies: Incorporate soft cream cheese into the filling for a rich, cheesecake-like texture that elevates your mini pies to a whole new level!
Serving Suggestions for The Best Mini Pumpkin Pies
- Pair with Coffee: A warm cup of spiced coffee enhances the cozy vibes of these mini pies.
- Fall-Themed Platter: Arrange them on a rustic wooden board with some apples and cinnamon sticks for a charming presentation.
- Seasonal Ice Cream: Serve with a scoop of vanilla or caramel ice cream for a delightful treat.
- Garnish Ideas: Dust with powdered sugar or drizzle caramel sauce for an extra special touch.
FAQs about The Best Mini Pumpkin Pies
Can I make the filling ahead of time?
Absolutely! You can prepare the pumpkin filling a day in advance. Just store it in the fridge until you’re ready to fill and bake your mini pumpkin pies.
Can I use fresh pumpkin instead of canned?
Yes, you can! Just make sure to cook and puree the pumpkin until smooth. Canned pumpkin is convenient, but fresh adds a lovely flavor.
How do I store leftover mini pumpkin pies?
To keep your mini pumpkin pies fresh, store them in an airtight container in the fridge. They’ll last for about 3-4 days. Reheat in the oven for a cozy reminder of fall!
Can I freeze mini pumpkin pies?
Definitely! After baking, let your pies cool completely. Then, freeze them in a single layer on a baking sheet. Once frozen, transfer them to a freezer-safe bag for up to 2 months. Just reheat when you’re ready to enjoy!
What can I do if the crust gets too brown?
If you find your crust browning too quickly, simply cover the edges with tin foil during the baking process. This will protect them while allowing the filling to cook through. Happy baking!
Final Thoughts
Making The Best Mini Pumpkin Pies brings so much joy to my fall season. The aroma fills my home, making it feel cozy and welcoming. Each bite transports me back to cherished moments shared with family and friends, celebrating life’s simple pleasures together. Whether it’s a casual gathering or a festive occasion, these mini pies add a special touch that sparks happiness.
I hope you find as much delight in baking and sharing these treats as I do. So roll up your sleeves, let the sweetness of the season envelop you, and create some delicious memories!
Print
The Best Mini Pumpkin Pies
- Total Time: 45 minutes
- Yield: 12 mini pies 1x
- Diet: Vegetarian
Description
Delicious mini pumpkin pies perfect for fall gatherings.
Ingredients
- 1 package (14 oz) refrigerated pie crusts
- 1 cup canned pumpkin puree
- 1/2 cup sweetened condensed milk
- 1/4 cup brown sugar, packed
- 1 large egg
- 1/2 teaspoon ground cinnamon
- 1/4 teaspoon ground nutmeg
- 1/4 teaspoon ground ginger
- 1/8 teaspoon ground cloves
- 1/4 teaspoon salt
- Whipped cream (optional, for topping)
- Ground cinnamon (optional, for garnish)
Instructions
- Unroll the pie crusts on a lightly floured surface and cut out circles using a 3.5-4 inch cutter. Press into greased muffin tin wells.
- Preheat oven to 375°F (190°C). Blind bake crusts for 5 minutes to avoid soggy bottoms.
- In a bowl, whisk pumpkin puree, condensed milk, brown sugar, egg, cinnamon, nutmeg, ginger, cloves, and salt until smooth.
- Fill each crust 3/4 full with pumpkin filling using a measuring cup or spoon.
- Bake for 20-25 minutes until filling is set and crusts are golden.
- Cool in the tin for 10 minutes, then transfer to a wire rack to cool fully. Top with whipped cream and cinnamon if desired.
Notes
- For a spicier filling, adjust the amount of spices to taste.
- These pies can be made ahead of time and refrigerated.
- Use a different topping like caramel sauce for variation.
- Prep Time: 15 minutes
- Cook Time: 30 minutes
- Category: Dessert
- Method: Baking
- Cuisine: American
Nutrition
- Serving Size: 1 mini pie
- Calories: 160
- Sugar: 9g
- Sodium: 150mg
- Fat: 8g
- Saturated Fat: 3g
- Unsaturated Fat: 4g
- Trans Fat: 0g
- Carbohydrates: 20g
- Fiber: 1g
- Protein: 2g
- Cholesterol: 25mg