Introduction to Homemade No-Knead Sandwich Bread
I know that life can get a tad hectic. Between school runs, work deadlines, and family time, who has the luxury of kneading bread for hours? That’s where my Homemade No-Knead Sandwich Bread shines! This recipe is your quick solution for delicious, fresh bread without the fuss. Just imagine pulling a warm loaf out of the oven, the aroma wafting through your kitchen, as your loved ones’ faces light up. Trust me, it’s a simple way to impress everyone at your table, while also saving your precious time.
Why You’ll Love This Homemade No-Knead Sandwich Bread
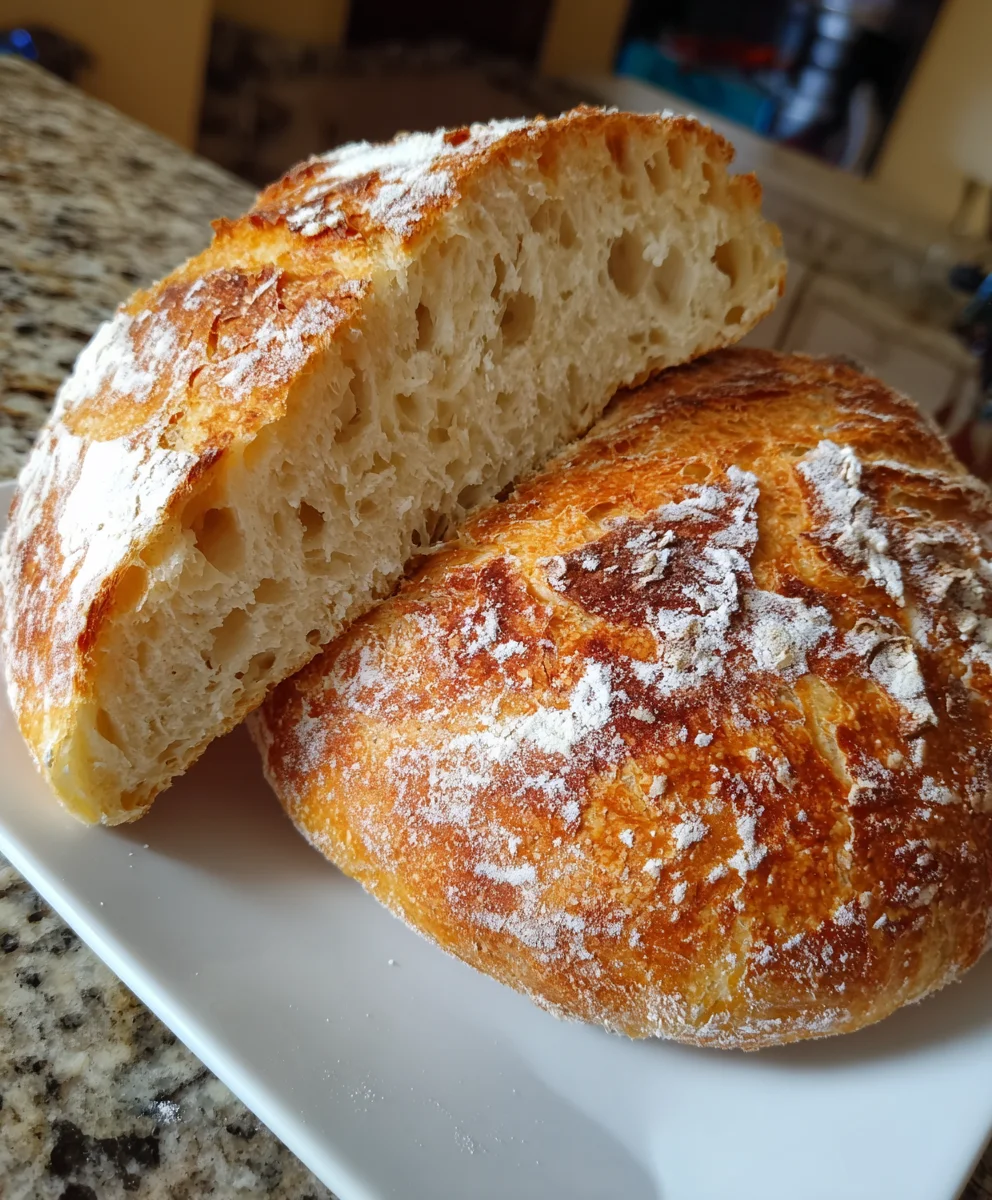
This recipe is a true lifesaver for busy days. With just a few simple ingredients, you’ll have a warm, homemade loaf ready to enjoy without the hassle of tedious kneading. Plus, the taste is simply divine—crispy on the outside, soft on the inside, and perfect for sandwiches or toast. It’s a comforting staple that brings joy to any meal, making it a must-try for every home cook!
Ingredients for Homemade No-Knead Sandwich Bread
For this delightful Homemade No-Knead Sandwich Bread, you’ll need a few essential ingredients. First, all-purpose flour serves as the foundation for your loaf, offering that classic bread texture. You’ll also require warm water, which activates the yeast, bringing your dough to life. A touch of sugar adds a hint of sweetness and fuels the yeast, while salt enhances the flavor overall. Lastly, we’ll use instant yeast for a quick rise. Feel free to experiment with higher protein flour for a chewier crust. Measurements for each ingredient are provided at the bottom of the article for your convenience.
How to Make Homemade No-Knead Sandwich Bread
Step 1: Combine Water, Sugar, and Yeast
Start by taking a large bowl and adding warm water. The warmth should feel like a gentle hug—not too hot, just cozy. Stir in the sugar and sprinkle the yeast over the top. Give it a little stir with a wooden spoon or spatula, and let it sit for 5 to 10 minutes. You’ll see the mixture become frothy, which means the yeast is awake and ready to work its magic. This bubbly mixture is the beginning of your Homemade No-Knead Sandwich Bread adventure!
Step 2: Mix Flour and Salt
Once your yeast mixture is ready, it’s time to add the flour and salt. Measure out the all-purpose flour and pour it into the bowl. Sprinkle the salt over the top. Now, using that trusty wooden spoon or spatula, stir until everything is combined. You want a cohesive dough here, so don’t be shy! The dough will be a bit sticky—that’s perfectly okay! Embrace the sticky goodness; it’s part of the no-knead charm!
Step 3: Allow the Dough to Rise
After mixing, it’s time for the dough to get cozy. Cover the bowl with plastic wrap or a clean towel, and place it in a warm spot. Let it rise for about an hour. During this time, the dough will double in size, developing those lovely air bubbles that give your bread that light, fluffy texture. Just think of it as a little nap for your dough!
Step 4: Prepare the Loaf Pan
While your dough is rising, prepare your loaf pan. Grease it gently with butter or oil, or you can line it with parchment paper for easy removal. This will help ensure your Homemade No-Knead Sandwich Bread slides out like a dream later. You want to create a welcoming home for your warm, fluffy dough, so get that pan ready for its new resident!
Step 5: Second Rise in the Pan
Once the dough has risen, transfer it to your prepared loaf pan. Carefully scoop it out with a spatula, and gently smooth the top with your fingers. Now, cover it again with a towel and let it rise for another 30 minutes. This second rise is crucial for that perfect crumb structure, and you’ll be rewarded with a lovely loaf that’s soft in texture.
Step 6: Preheat and Bake
As the dough completes its second rise, preheat your oven to 375°F (190°C). When it’s nice and hot, pop the loaf into the oven. Bake for 30 to 35 minutes until the top is golden brown and sounds hollow when tapped. Watching it puff up and turn golden is like witnessing a culinary miracle; it’s a sight that warms the heart—and the kitchen!
Step 7: Cooling and Slicing
Once your bread is baked, carefully remove it from the oven. Let it cool in the pan for about 10 minutes to avoid scorching your fingers. Then, carefully transfer it to a wire rack. Now comes the hardest part: waiting! Allow it to cool completely before slicing. Trust me, proper cooling makes a world of difference, ensuring those perfect slices for your sandwiches. The aroma will beckon you, but the wait will be worth it!
Tips for Success
- Always use warm water; too hot can kill the yeast.
- For best results, let your dough rise in a warm, draft-free location.
- If your dough is sticky, resist the urge to add extra flour; it’s meant to be that way!
- Don’t rush the cooling process; it helps with slicing your Homemade No-Knead Sandwich Bread.
- Experiment with spices or herbs to customize the flavor!
Equipment Needed
- Large mixing bowl: A sturdy bowl for combining ingredients; a pot can work too!
- Wooden spoon or spatula: Perfect for mixing; use any sturdy spoon in your kitchen.
- Loaf pan: A regular loaf pan works best; alternatively, use a baking dish.
- Plastic wrap or towel: For covering dough; a clean kitchen cloth does the trick!
- Wire rack: Ideal for cooling; you can use any flat surface if needed.
Variations of Homemade No-Knead Sandwich Bread
- Add herbs like rosemary or thyme for an aromatic twist.
- Incorporate garlic powder or minced garlic for a flavor boost.
- Substitute part of the all-purpose flour with whole wheat flour for added nutrition.
- Mix in seeds such as sunflower or chia seeds for a delightful crunch.
- Try incorporating shredded cheese like cheddar or mozzarella for a cheesy delight.
- For a sweeter loaf, integrate honey or cinnamon and raisins.
- Experiment with different types of yeast such as sourdough for a tangy flavor.
Serving Suggestions for Homemade No-Knead Sandwich Bread
- Pair slices with a warm bowl of homemade soup for a comforting meal.
- Top with avocado and a sprinkle of salt for a simple snack.
- Present sandwiches with vibrant side salads for a balanced lunch.
- Serve with your favorite jam or butter for a delightful breakfast treat.
- Enjoy alongside a nice cup of tea or coffee for the perfect afternoon pick-me-up.
FAQs about Homemade No-Knead Sandwich Bread
Are you curious about making Homemade No-Knead Sandwich Bread? Here are some common questions I often hear!
Can I use whole wheat flour? Absolutely! Just replace part of the all-purpose flour with whole wheat flour for added nutrition. It may slightly change the texture, but it’ll still be delicious!
How long does this bread last? Your Homemade No-Knead Sandwich Bread can be stored at room temperature for up to three days. If you want to keep it longer, slice it and freeze it!
What can I add for flavor? You can mix in herbs, spices, or even cheese! Adding ingredients like garlic powder or fresh herbs can elevate the taste significantly.
Why is my dough too sticky? Don’t worry! A sticky dough is normal for this no-knead method. Just embrace it; it’ll create a lovely texture!
Final Thoughts
Embracing the art of baking with my Homemade No-Knead Sandwich Bread has truly been a delightful journey. It’s amazing how simple ingredients transform into a warm loaf that brings smiles to my family’s faces. Each slice reminds me of cozy moments, whether it’s gathering around the dinner table or enjoying a quiet evening snack. The effortless process and mouthwatering results make this recipe not just a meal, but a cherished memory maker. So, roll up your sleeves, gather your ingredients, and let’s create something beautiful together—because nothing beats the aroma of fresh bread wafting through your home!
Print
Homemade No-Knead Sandwich Bread
- Total Time: 1 hour 50 minutes
- Yield: 1 loaf 1x
- Diet: Vegetarian
Description
This Homemade No-Knead Sandwich Bread is easy to make and requires no kneading, perfect for a delicious loaf with minimal effort.
Ingredients
- 3 ½ cups (440g) all-purpose flour
- 1 ½ cups (360ml) warm water
- 2 teaspoons sugar
- 1 ½ teaspoons salt
- 2 ¼ teaspoons instant yeast (1 packet)
Instructions
- In a large bowl, combine the warm water, sugar, and instant yeast. Stir gently and let the mixture sit for 5 to 10 minutes.
- Add the flour and salt into the yeast mixture. Stir everything together using a wooden spoon or spatula until fully combined.
- Cover the bowl with plastic wrap or a clean towel and let the dough rise in a warm spot for about one hour.
- Grease a loaf pan or line it with parchment paper. Transfer the dough to the prepared pan and smooth the top.
- Allow the dough to rise in the pan for an additional 30 minutes.
- Preheat your oven to 375°F (190°C) and bake for 30 to 35 minutes.
- Remove the bread from the oven and let it cool in the pan for 10 minutes, then transfer to a wire rack to cool completely before slicing.
Notes
- Using a higher protein flour can yield a chewier crust.
- Letting the bread cool completely is crucial for proper slicing.
- This bread can be stored at room temperature for up to 3 days.
- Prep Time: 15 minutes
- Cook Time: 35 minutes
- Category: Bread
- Method: No-Knead
- Cuisine: American
Nutrition
- Serving Size: 1 slice
- Calories: 120
- Sugar: 0.5g
- Sodium: 150mg
- Fat: 1g
- Saturated Fat: 0g
- Unsaturated Fat: 0.5g
- Trans Fat: 0g
- Carbohydrates: 24g
- Fiber: 1g
- Protein: 4g
- Cholesterol: 0mg