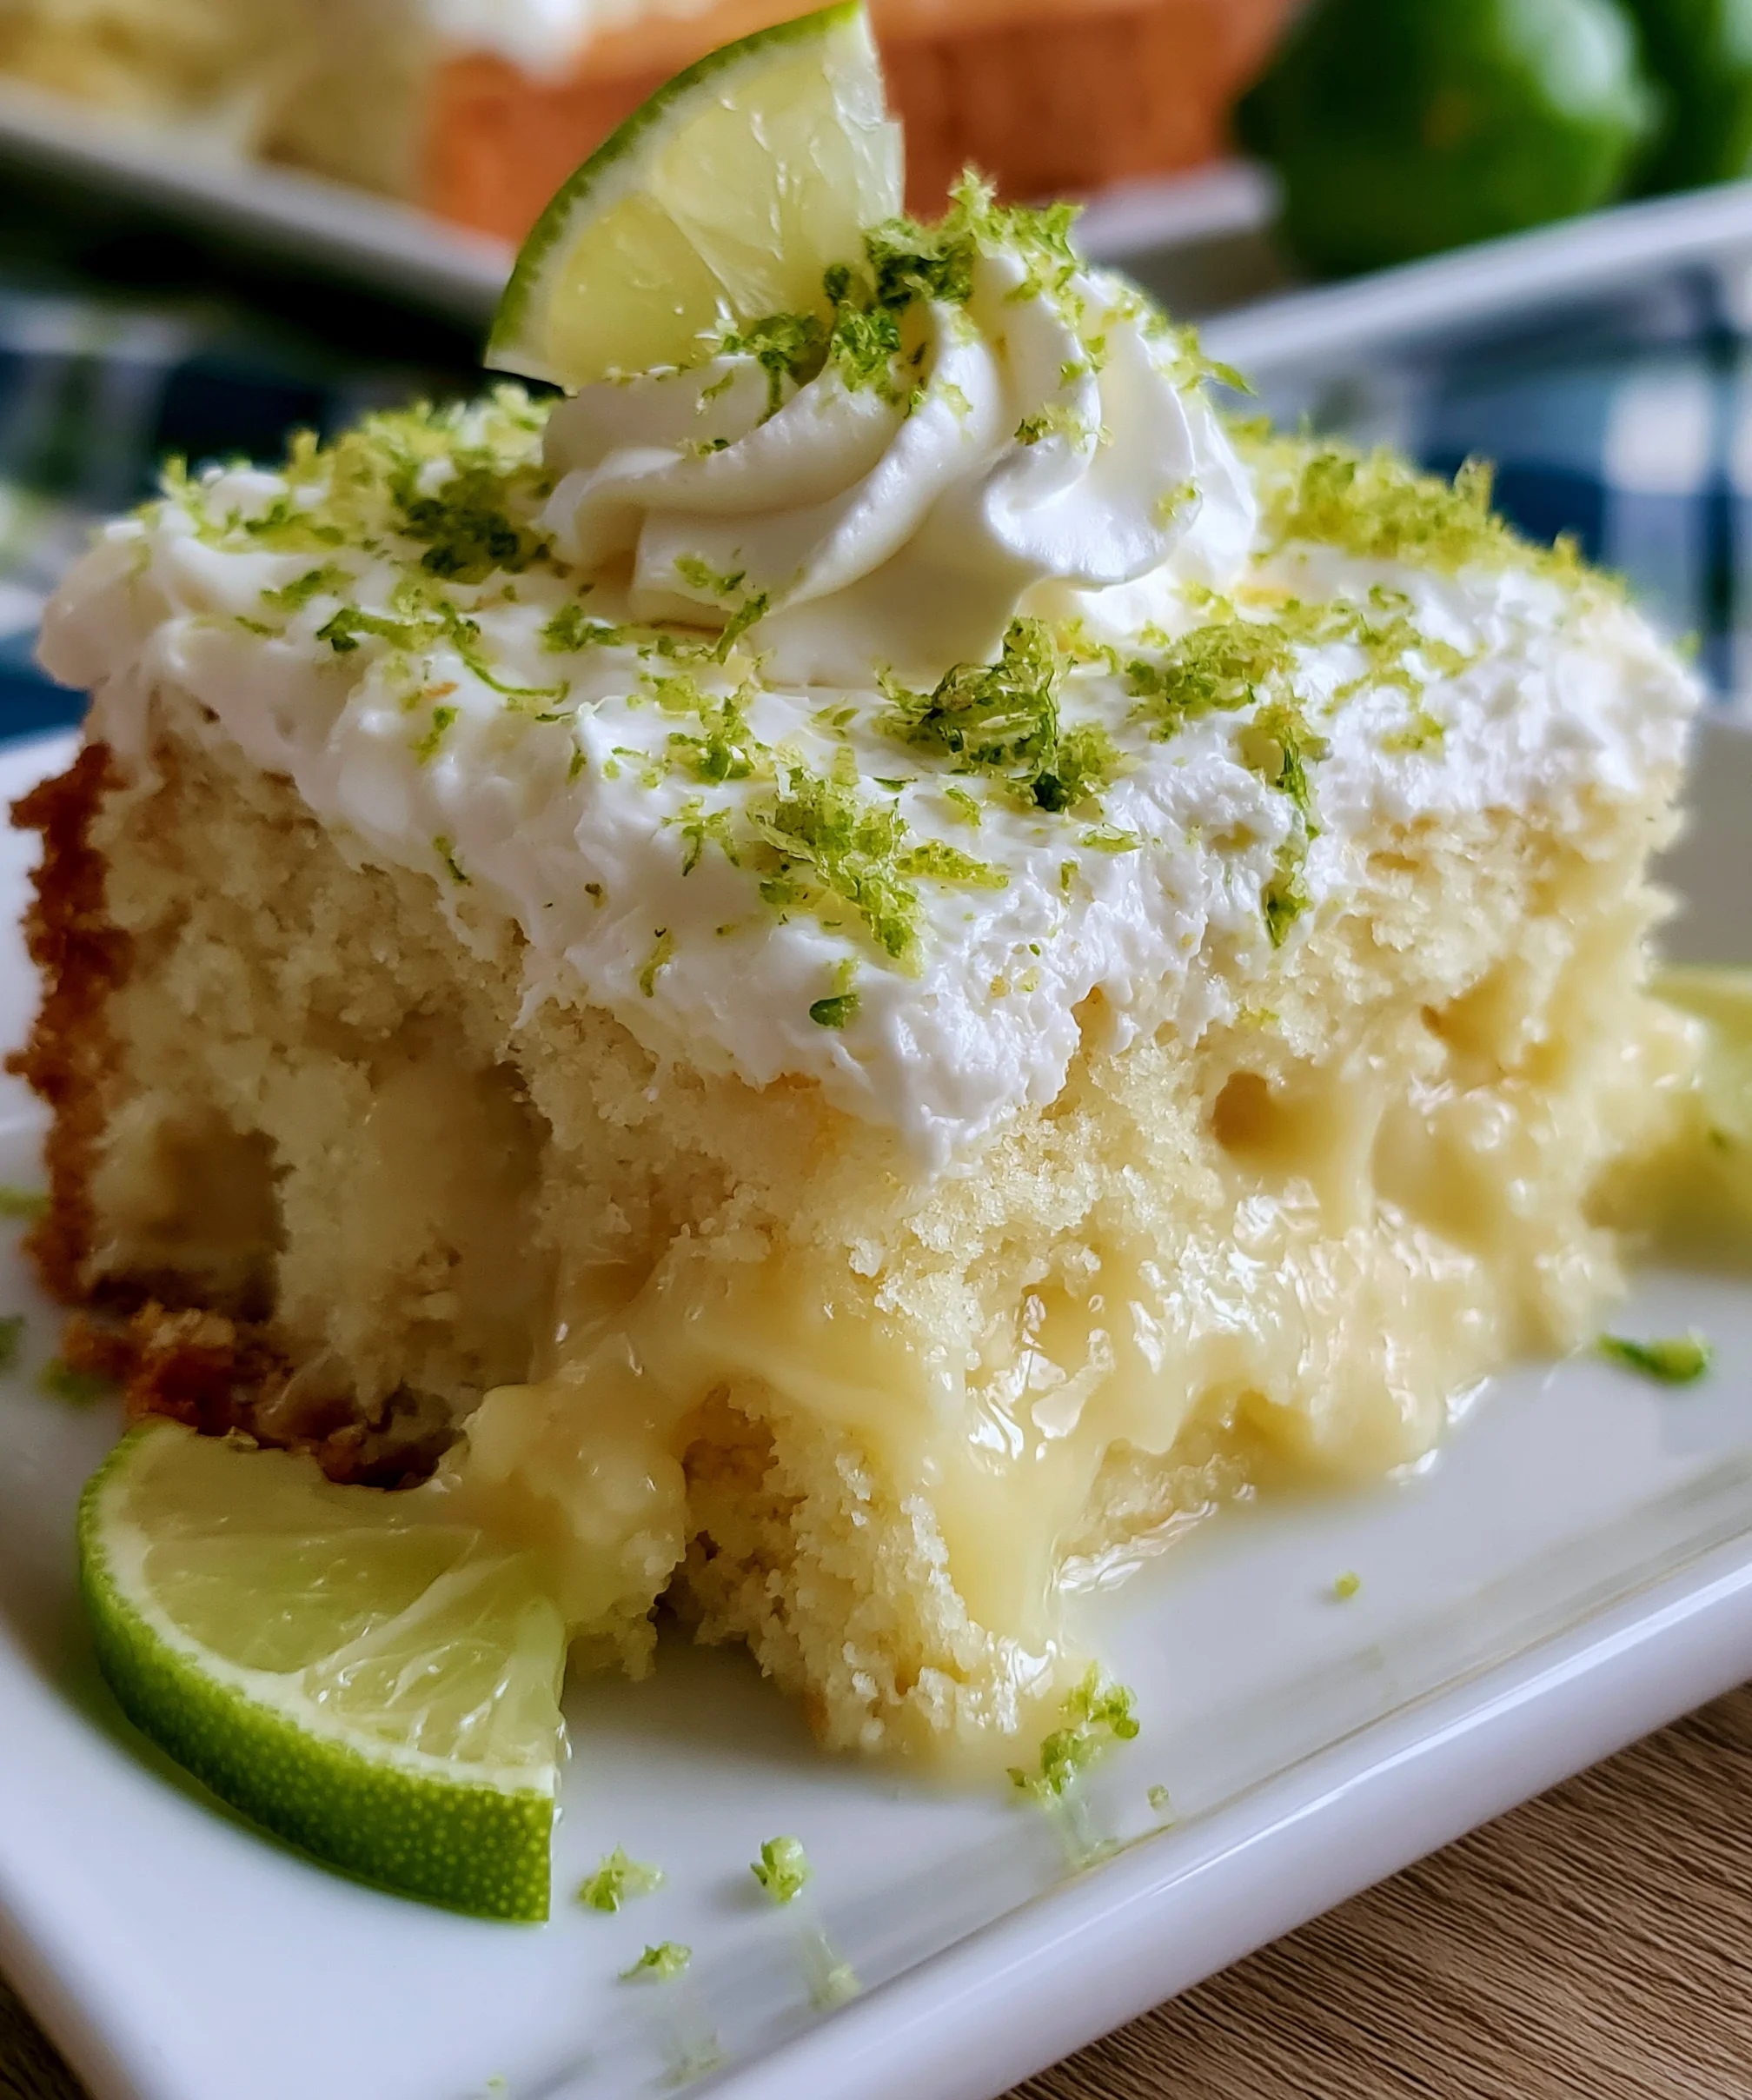
Introduction to Key Lime Poke Cake
There’s something truly special about the warm sun, a gentle breeze, and a slice of refreshing dessert to top it all off. That’s why I love making a Key Lime Poke Cake! It’s light, zesty, and oh-so-satisfying. As a busy mom, I know time can slip away between juggling work and family. This delightful cake is my go-to recipe when I need a quick solution for a dessert that wows everyone. Whether it’s for a family gathering, a potluck, or just because, this cake brings smiles and happy hearts to the table. Let’s dive into making something lovely!
Why You’ll Love This Key Lime Poke Cake
This Key Lime Poke Cake is the perfect combination of ease and flavor. In no time, you’ll have a stunning dessert that’s sure to impress. With minimal prep required, busy folks like us can whip it up without a hitch. Plus, the bright, zesty flavors are like a tropical vacation in every bite! Your family and friends will be begging for seconds. What’s not to love?
Ingredients for Key Lime Poke Cake
Let’s gather our ingredients and get ready to bake this lovely Key Lime Poke Cake! The beauty of this recipe lies not just in its taste but also in the simplicity of its components. You can find everything you need right at your local grocery store. Here’s what you’ll need:
- White cake mix: This is the base of our cake, offering a light texture that pairs perfectly with zesty flavors.
- Eggs: They add structure and moisture, helping the cake rise beautifully.
- Water: To nurture the cake mix, ensuring it merges smoothly into a delightful batter.
- Vegetable or canola oil: A touch of this oil enhances the cake’s moistness and richness.
- Sweetened condensed milk: This magical ingredient creates a lush, creamy filling that seeps into the cake.
- Key lime juice: Essential for that bright, tangy flavor we all adore, bringing a taste of the tropics!
- Heavy whipping cream: Perfect for making our topping fluffy and indulgent.
- Key lime zest: It adds a fresh, aromatic punch to the whipped topping.
- Whipped topping: Light and airy, this elevates the cake to dessert heaven.
If you can’t find key limes, regular limes are a great substitute. And don’t worry if you prefer a lighter version; using a low-fat whipped topping works just as well. For the complete list of ingredients with exact measurements, scroll down to the bottom of the article, where you’ll find them ready for printing!
How to Make Key Lime Poke Cake
Step 1: Preheat and Prepare
Before we dive into mixing, let’s set the stage for our wonderful Key Lime Poke Cake! Preheat your oven to 350°F. While that warmth fills your kitchen, grab a 9×13-inch baking pan. I like to line it with aluminum foil for easy cleanup—trust me, it’s a game-changer! After lining, give it a light spray of cooking spray. This small step helps the cake slide out effortlessly when it’s time to serve. Having everything prepped makes the process feel smooth and seamless. Plus, you’ll feel like a kitchen pro as you prepare your workspace! Let’s get ready for some baking magic!
Step 2: Mix It Up
Now it’s time to combine our ingredients and create a delightful batter. In a large mixing bowl, throw in the white cake mix, eggs, water, and oil. Grab your handheld electric mixer and beat the mixture for about two minutes. This part is crucial to achieve a fluffy texture. Remember to start mixing slowly to avoid a floury cloud that could settle in your hair! Scrape down the sides of the bowl if needed. Once your batter is smooth and velvety, it’s time to pour it into the prepared pan. This step is where the excitement builds as we create the base for our refreshing cake!
Step 3: Bake the Cake
Slide that pan into the preheated oven and let it work its magic! Bake the cake for 20 to 25 minutes. It’s important to check the cake periodically to prevent burning. A handy tip is to rotate the pan halfway through baking for even cooking. When time is up, insert a toothpick in the center—if it comes out clean, your cake is done. Remember, a bit of moisture is okay; we’re looking for a perfectly baked cake! Once done, take it out and let it cool slightly before moving on to the next exciting step!
Step 4: Poke and Pour
After cooling, the fun really begins! Using the blunt end of a wooden spatula, poke holes all over the surface of the cake. This allows our luscious filling to seep into every nook and cranny. Next, in a medium bowl, whisk together the sweetened condensed milk, key lime juice, and zest until fully combined. Gradually pour this zesty mixture over the cake, ensuring it seeps beautifully into the holes. Don’t worry if some filling pools on top; it just means more deliciousness! This step is festive and adds an exciting twist to our cake. Are you ready to chill?
Step 5: Chill and Top
The chilling step may be my favorite because it allows those flavors to marry beautifully! Cover the cake with plastic wrap and let it rest in the fridge for at least one hour, but overnight is best for full flavor absorption. When you’re ready to serve, evenly spread the thawed whipped topping over the cake’s surface. You can sprinkle additional key lime zest generously on top for that fresh pop. This final touch makes the Key Lime Poke Cake look professional and gorgeous. Enjoy the anticipation as you prepare to delight your loved ones with this refreshing dessert!
Tips for Success
- Make sure your ingredients are at room temperature for better mixing.
- Monitor your oven closely, as baking times can vary.
- Use a toothpick to check for doneness; a few crumbs are okay.
- Feel free to switch up the toppings—try crushed graham crackers for crunch!
- Let the cake chill longer for an even more pronounced flavor.
Equipment Needed for Key Lime Poke Cake
- 9×13-inch baking pan: Alternatively, you can use two smaller round pans.
- Handheld electric mixer: A whisk works in a pinch, but it’ll take longer.
- Wooden spatula: You can also use the handle of a sturdy spoon for poking.
- Mixing bowls: Having a variety of sizes helps with meal prep.
Variations of Key Lime Poke Cake
- Coconut Twist: Add shredded coconut to the topping or the cake mix for an irresistible tropical flair!
- Fruit Infusion: Toss in fresh berries like raspberries or strawberries for a burst of color and added flavor.
- Graham Cracker Crust: Before pouring the batter, sprinkle crushed graham crackers in the pan for a crusty base.
- Gluten-Free Option: Substitute the white cake mix with a gluten-free version for a deliciously inclusive dessert.
- Dairy-Free Delight: Use coconut cream instead of the heavy whipping cream for a dairy-free whipped topping.
Serving Suggestions for Key Lime Poke Cake
- Pair with fresh whipped cream for an extra layer of fluffiness.
- Serve alongside a scoop of vanilla ice cream for a creamy contrast.
- A light iced tea or sparkling water enhances the refreshing zing of the cake.
- Garnish with lime slices or mint leaves for a beautiful presentation.
FAQs about Key Lime Poke Cake
What’s the best way to store Key Lime Poke Cake?
To keep your Key Lime Poke Cake fresh, store it covered in the refrigerator. It lasts for up to five days. This chilling time actually enhances the flavors, making every bite even more delightful!
Can I make Key Lime Poke Cake ahead of time?
Absolutely! I often prepare this cake a day in advance. Just follow all the steps and let it chill overnight in the fridge. It’ll be ready to shine at your next gathering!
What if I can’t find key limes?
No worries! Regular limes work just perfectly. The flavor will be slightly different, but it’s still delicious. You might even find that you enjoy this twist!
Can I use a different cake mix?
Yes, you can! While I love the lightness of white cake mix, you can experiment with yellow cake mix or even a gluten-free option if you need to cater to dietary preferences.
How do I know when the cake is done baking?
Check your Key Lime Poke Cake by inserting a toothpick into the center. If it comes out clean or with just a few crumbs, it’s ready. Remember, a little moisture is acceptable because we want a fluffy end result!
Final Thoughts on Key Lime Poke Cake
There’s something magical about the way this Key Lime Poke Cake brings joy to any gathering. It’s not just a dessert; it’s an experience filled with laughter, warm smiles, and the zest of life itself. Every slice showcases a delightful blend of tangy and creamy flavors that transport you to a sunny beach, even if you’re just enjoying it in your kitchen. I love watching faces light up at the first bite, knowing it’s a recipe worth sharing. So, grab your ingredients, unleash your inner baker, and let this cake bring sunshine to your table!
Print
Key Lime Poke Cake
- Total Time: 1 hour 45 minutes (including chilling time)
- Yield: 12 servings 1x
- Diet: Vegetarian
Description
A refreshing key lime poke cake that combines a light and fluffy cake with a creamy key lime filling and a whipped topping, perfect for any occasion.
Ingredients
- one 15.25-ounce box white cake mix
- 4 large eggs
- 1 cup plus 2 tablespoons water
- 2 tablespoons vegetable or canola oil
- one 14-ounce can sweetened condensed milk
- ½ cup key lime juice
- ½ cup heavy whipping cream
- ½ teaspoon key lime zest
- one 8-ounce container whipped topping, thawed
- ½ teaspoon key lime zest
Instructions
- Preheat oven to 350F, line a 9×13-inch pan with aluminum foil for easier cleanup, spray with cooking spray; set aside.
- To a large bowl, add all ingredients and beat with a handheld electric mixer for about 2 minutes. Turn batter out into prepared pan and bake for about 20 to 25 minutes, or until done.
- After cake comes out of the oven, poke holes all over the surface of the cake using the blunt end of a wooden spatula.
- To a medium bowl, add all filling ingredients, and whisk until combined.
- Slowly and evenly pour filling mixture over the surface of the cake, allowing it to seep into the holes.
- Cover the cake and allow it to rest in the fridge for about 1 hour, or overnight.
- Evenly smooth the whipped topping over the surface and sprinkle the zest on top before serving.
Notes
- Check the cake often while baking to prevent burning.
- Rotate the pan midway through baking for even cooking.
- Some pooling of the filling on the surface is normal.
- The cake can be stored in the fridge for up to 5 days.
- Prep Time: 20 minutes
- Cook Time: 25 minutes
- Category: Dessert
- Method: Baking
- Cuisine: American
Nutrition
- Serving Size: 1 slice
- Calories: 250
- Sugar: 22g
- Sodium: 200mg
- Fat: 10g
- Saturated Fat: 5g
- Unsaturated Fat: 3g
- Trans Fat: 0g
- Carbohydrates: 35g
- Fiber: 0g
- Protein: 3g
- Cholesterol: 50mg