Introduction to Butterbeer Cheesecake
Welcome to an enchanting dessert experience that will whisk you away! If you’re a fan of Harry Potter, you’ll fall in love with this Butterbeer cheesecake. Picture this: a creamy, dreamy cheesecake that captures the warm, buttery flavors of the iconic drink.
It’s the perfect sweet treat for busy moms and professionals who’ve got a million things on their plate but still want to indulge in something special. This recipe is your golden ticket to delight not only your taste buds but also the hearts of your loved ones. Let’s dive in!
Why You’ll Love This Butterbeer Cheesecake
This Butterbeer cheesecake is a true gem!
First, it’s a breeze to whip up, making it a perfect solution for hectic days.
The rich, luscious flavor transports you straight to Hogwarts, evoking cozy memories.
With just a handful of steps, you can impress family and friends, leaving them clamoring for seconds.
Trust me, once you serve this delightful dessert, you’ll be the superstar in your kitchen!
Ingredients for Butterbeer Cheesecake

As we embark on this culinary adventure, let’s gather our magical ingredients for Butterbeer cheesecake! This delightful dessert requires some familiar staples and a few special additions to create that iconic flavor.
- Graham cracker crumbs: These form the buttery, crunchy crust. You can substitute with digestive biscuits or even Oreo crumbs for a twist.
- Granulated sugar: Sweetness is key! It balances the rich flavors and adds to the cheesecake’s creamy texture.
- Unsalted butter: Melted butter brings the crust together and enhances the richness of the dessert. Don’t use salted butter to keep the flavor profile just right.
- Cream cheese: The star ingredient! It gives the cheesecake its creamy and decadent texture. Make sure it’s softened for easy blending.
- Sour cream: Adds tanginess and creaminess, ensuring your cheesecake is never dry.
- Large eggs: Essential for binding the ingredients and providing a lovely texture. Be sure they’re at room temperature for best results.
- Vanilla extract: A flavor enhancer that complements the sweetness. Use pure vanilla for a more robust taste.
- Butter flavoring: This little whisper of flavor elevates the buttery aroma synonymous with Butterbeer.
- Butterscotch sauce: It infuses the cheesecake with that iconic, sweet-butterscotch flavor. You can use store-bought or homemade if you’re feeling adventurous!
- Butterscotch chips: These tiny morsels add pockets of sweetness throughout the cheesecake. If you’re a chocolate lover, try substituting with chocolate chips!
- Cool whip: A fluffy topping that completes the dessert with a light finish. You can also use homemade whipped cream, which elevates the dessert even more!
- Cream soda: The effervescent ingredient that mimics the essence of Butterbeer. It’s the secret touch that makes this cheesecake truly magical!
You can find the exact measurements for these ingredients at the bottom of the article, ready for your next baking escapade. Now, let’s get cooking!
How to Make Butterbeer Cheesecake
Ready to embark on this delicious journey? Making Butterbeer cheesecake is easier than you think. Follow these steps to create a dessert that will leave everyone enchanted!
Preparing the Crust
Combining Ingredients
First things first, let’s tackle that crust!
In a mixing bowl, combine the graham cracker crumbs, the 1/4 cup of granulated sugar, and the melted butter.
Stir until it resembles damp sand.
Once everything is mixed, press this mixture firmly into the bottom of your 8-inch springform pan.
Make sure it’s even—this provides the perfect base for our cheesecake!
Making the Cheesecake Filling
Blending the Cream Cheese
Now for the fun part—the cheesecake filling!
In a large mixing bowl, beat the softened cream cheese with an electric mixer until it’s super smooth.
This step is crucial; a creamy texture equals perfection.
Next, blend in the sour cream until well combined.
Gradually add in the 2 cups of granulated sugar while mixing, allowing it to dissolve completely.
Then, add in the eggs one at a time, ensuring each one is well incorporated before moving to the next.
Stir in the vanilla extract and butter flavoring for that rich taste.
Finally, add the butterscotch sauce, cream soda, and butterscotch chips.
Mix until everything is beautifully blended.
Baking the Cheesecake
Ensuring Proper Baking Technique
Preheat your oven to 325°F (160°C) now if you haven’t already.
Pour that luscious cheesecake mixture over the graham cracker crust in the springform pan.
Smooth the top with a spatula.
Place the pan in your preheated oven, but here’s a trick—place a pan of water on the rack below.
This helps with humidity, preventing cracks.
Bake for about 60 minutes, or until the edges are set but the center is still slightly jiggly.
When the timer goes off, turn off the oven, leaving the cheesecake inside with the door ajar for about an hour to cool down without shocking it.
Cooling and Setting
Refrigeration Tips
After that hour, it’s time to remove the cheesecake from the oven.
Refrigerate it for at least 4 hours, but overnight is best.
This allows it to set completely, which creates that dreamy, creamy texture.
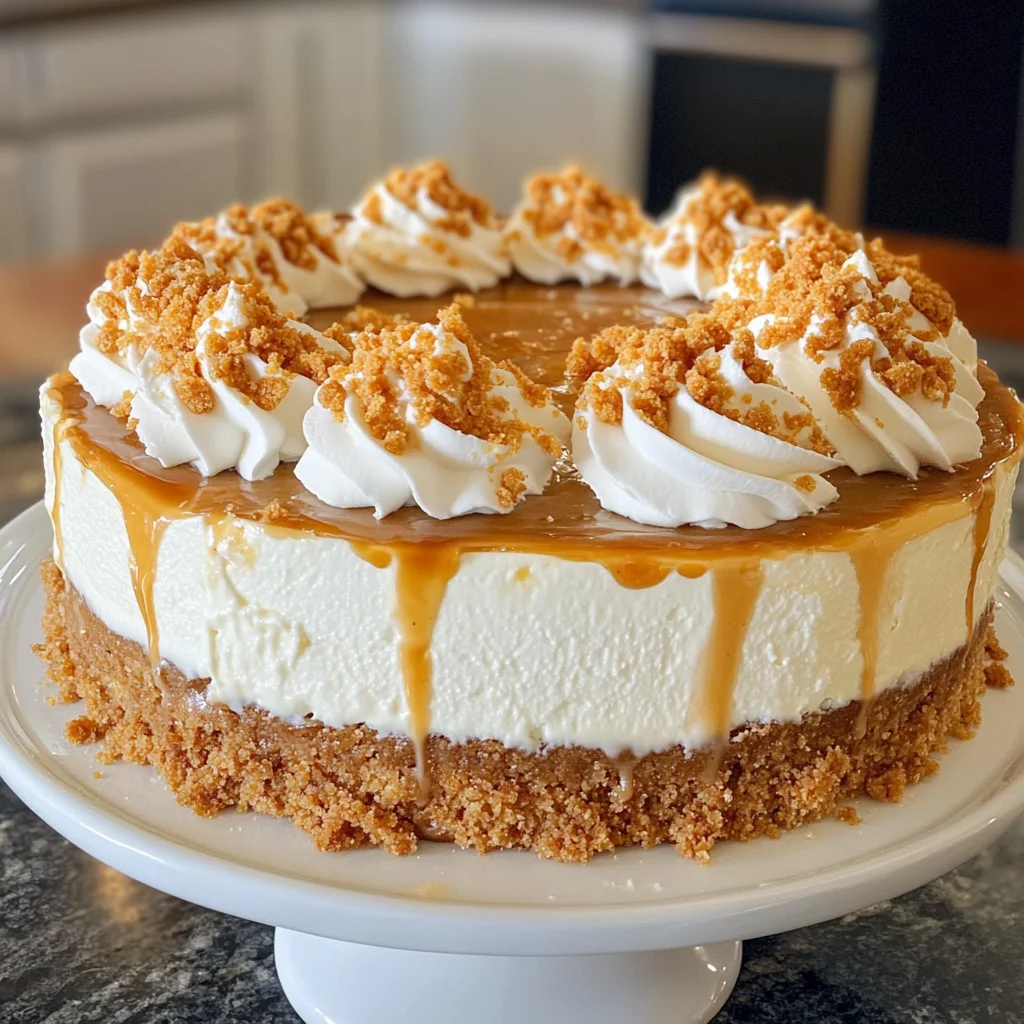
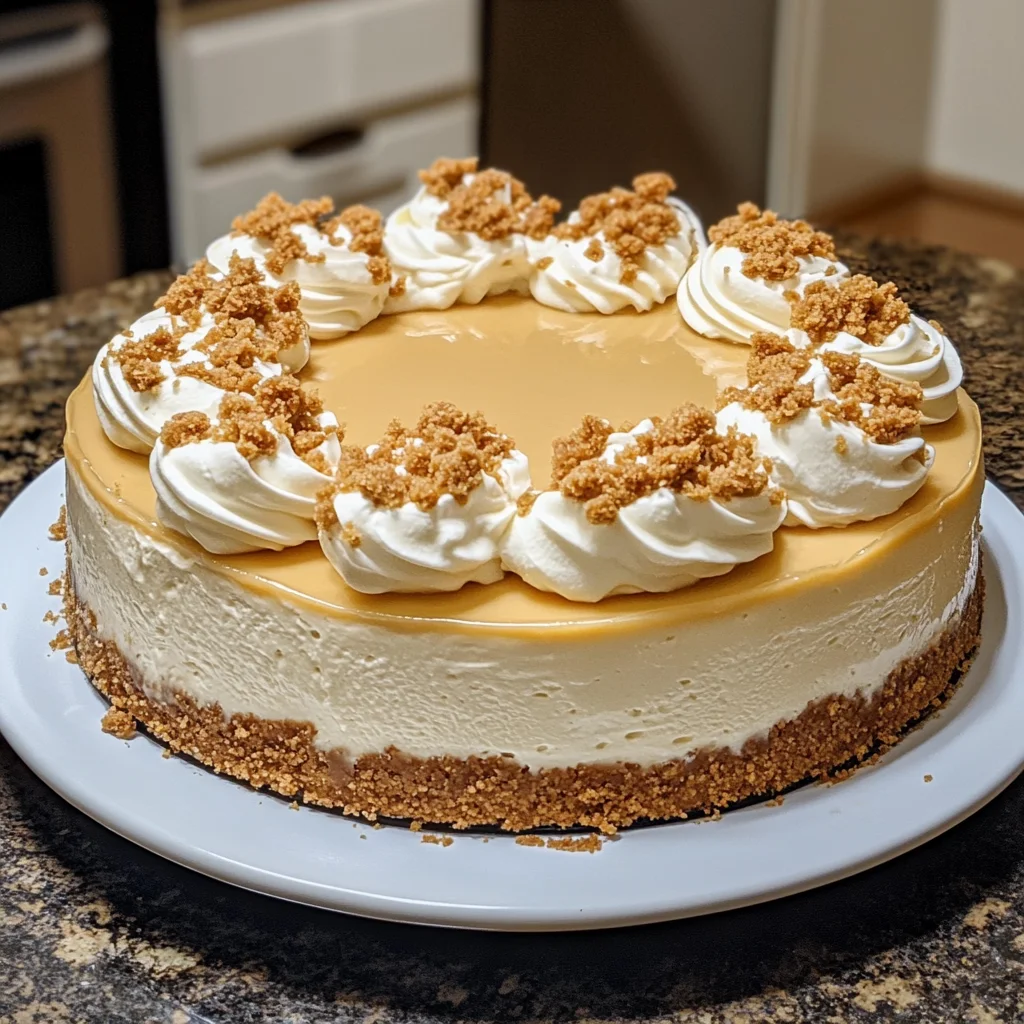
When ready to serve, add a generous dollop of Cool Whip on top.
Feel free to get creative with fun swirls or even drizzle extra butterscotch sauce.
Your Butterbeer cheesecake is now ready to dazzle your family and friends!
Tips for Success
- Ensure all ingredients are at room temperature to blend seamlessly.
- Use a springform pan for easy removal and presentation.
- Don’t skip the water bath; it prevents cracks in your cheesecake.
- Let the cheesecake cool gradually in the oven to maintain its texture.
- For the best flavor, refrigerate the cheesecake overnight before serving.
Equipment Needed
- 8-inch springform pan: Essential for easy removal. If unavailable, a regular cake pan works, but make sure to line it well.
- Mixing bowls: Use large bowls for blending—plastic or glass will do the trick!
- Electric mixer: For smooth, creamy filling. A whisk can work, just be prepared for a workout!
- Spatula: Perfect for smoothing the top and scraping down the sides.
- Oven-safe pan: Needed for the water bath to ensure a crack-free bake.
Variations for Butterbeer Cheesecake
- Gluten-Free Option: Substitute graham cracker crumbs with gluten-free cookie crumbs to accommodate gluten sensitivities.
- Chocolate Lovers: Add a layer of chocolate ganache on top or mix chocolate chips into the batter for an extra twist.
- Vegan Version: Use a plant-based cream cheese and replace eggs with flaxseed meal mixed with water. Opt for coconut whipped cream for a dairy-free topping.
- Add Spices: Incorporate a pinch of cinnamon or nutmeg to the filling for a warm, spiced flavor that adds depth.
- Fruit Fusion: Top the cheesecake with fresh fruit, such as berries or caramelized bananas, to brighten the flavor and presentation.
Serving Suggestions
- Pair with a hot cup of coffee: The bitterness of coffee complements the sweetness of the cheesecake beautifully.
- Serve with a drizzle of caramel: A touch of warm caramel sauce elevates the dessert further.
- Top with chocolate shavings: For a decorative touch, sprinkle some chocolate shavings over the Cool Whip.
- Presentation is key: Use colorful plates or arrange slices on a tiered cake stand for a stunning display.
FAQs about Butterbeer Cheesecake
As I share my Butterbeer cheesecake recipe, I know you might have a few questions buzzing in your mind. Let’s address some common ones to make your baking journey smoother!
Can I make Butterbeer cheesecake ahead of time?
Absolutely! In fact, making it a day before serving enhances the flavors. Just keep it well-covered in the fridge. It’ll be even more delightful the next day!
What can I use instead of cream cheese?
If you’re looking for alternatives, try using mascarpone or ricotta cheese. They won’t provide the exact same texture but will create a creamy dessert nonetheless.
How do I know when my cheesecake is done baking?
Look for the edges to be set while the center still has a slight jiggle. It’ll firm up as it cools and sets in the fridge.
Can I freeze Butterbeer cheesecake?
Yes, you can! Just ensure it’s well-wrapped in plastic wrap and then in foil. It can last in the freezer for up to two months, but trust me, it probably won’t last that long!
What if I can’t find butter flavoring?
No worries! You can use extra vanilla extract instead. It may change the flavor slightly, but it’ll still be luscious and tasty!
Final Thoughts
There’s something truly magical about whipping up a Butterbeer cheesecake in your kitchen. The moment you take that first bite, you’ll feel like you’re part of an enchanting world! This dessert not only satisfies sweet cravings but also creates cherished memories with family and friends.
Every layer of creamy goodness tells a story, one that adds warmth to your gatherings.
So grab your apron and make this delightful treat for your next get-together or just as a well-deserved treat for yourself. Trust me, your taste buds will thank you, and you’ll revel in the joy this recipe brings!
Print
Butterbeer cheesecake
- Total Time: 6 hours 30 minutes
- Yield: 10 servings 1x
- Diet: Vegetarian
Description
A delightful dessert that combines the unique flavors of butterbeer with creamy cheesecake, perfect for any Harry Potter fan.
Ingredients
- 2 cups graham cracker crumbs
- 1/4 cup granulated sugar
- 1/2 cup unsalted butter, melted
- 4 (8 oz.) packages cream cheese, softened
- 1/2 cup sour cream
- 3 large eggs
- 2 cups granulated sugar
- 1/2 tablespoon vanilla extract
- 1/2 tablespoon butter flavoring
- 1/2 cup butterscotch sauce
- 1/2 cup butterscotch chips
- 8oz. tub of cool whip
- 1/4 cup cream soda
Instructions
- Preheat your oven to 325°F (160°C).
- In a mixing bowl, combine the graham cracker crumbs, 1/4 cup of sugar, and melted butter until well mixed.
- Press the mixture evenly into the bottom of an 8-inch springform pan.
- In a large mixing bowl, beat the cream cheese until smooth using an electric mixer.
- Add in the sour cream and continue beating until well combined.
- Gradually add the sugar while beating, ensuring it’s fully incorporated.
- Beat in the eggs, one at a time, making sure each egg is fully mixed into the cream cheese mixture.
- Stir in the vanilla extract and butter flavoring, and stir until the mixture is smooth and creamy.
- Add the butterscotch sauce, cream soda, and butterscotch chips, and stir until well blended.
- Pour the cream cheese mixture over the graham cracker crust in the springform pan.
- Smooth out the top with a spatula to ensure it’s even.
- Place the cheesecake in the preheated oven, with a pan of water placed on the rack below, and bake for 60 minutes, or until the edges are set and the center is slightly jiggly.
- Turn off the oven and leave the cheesecake inside with the door slightly ajar for about an hour to cool gradually.
- Remove the cheesecake from the oven and refrigerate for at least 4 hours, preferably overnight, to allow it to set completely.
- When you are ready to serve, top with cool whip. You can pipe swirls around the edge and fill the center with a heaping mound of cool whip and top with butterscotch sauce.
Notes
- For best results, refrigerate overnight.
- Ensure all ingredients are at room temperature before mixing.
- Prep Time: 30 minutes
- Cook Time: 60 minutes
- Category: Dessert
- Method: Baking
- Cuisine: American
Nutrition
- Serving Size: 1 slice
- Calories: 450
- Sugar: 35g
- Sodium: 300mg
- Fat: 30g
- Saturated Fat: 18g
- Unsaturated Fat: 10g
- Trans Fat: 0g
- Carbohydrates: 40g
- Fiber: 1g
- Protein: 5g
- Cholesterol: 100mg