Introduction to Black Forest Cheesecake
Being able to prepare something special at times with the hectic schedules of a mom can sometimes feel like a bit of a juggling act. And for me, that’s where that Black Forest Cheesecake love comes in. Heaven on a plate, rich chocolate, sweet cherries, and fluffy whipped cream make for perfect summation components to toast to many little life moments or bring delight to your dinner table. Every bite feels like an indulgent escape, and I’m telling you, it’s easier to make than you think. So let us dive and create something extraordinary together!
Why You’ll Love This Black Forest Cheesecake
The Black Forest Cheesecake is more like a kiss for your taste buds. Super simple to prepare to help you spend more time shining in the kitchen than slaving over the stove. Let’s party with those luscious chocolate and cherry layers and enjoy every bite of it. This one surely keeps your loved ones happy. A busy woman’s solution, the taste of homemade heaven is no longer only for special occasions but an easy-to-achieve routine.
Ingredients for Black Forest Cheesecake
Gathering the right ingredients sets the stage for your Black Forest Cheesecake masterpiece. Here’s what you’ll need:
- Chocolate cookie crumbs: These create a rich, flavorful crust. You can use store-bought or make your own by crushing chocolate cookies.
- Unsalted butter: Melted butter binds the cookie crumbs together, giving the crust a delightful crunch.
- Cream cheese: This is the heart of the cheesecake—a creamy base that adds richness.
- Powdered sugar: A touch of sweetness to balance the rich flavors; it dissolves easily for a smooth texture.
- Vanilla extract: Adds a warm, aromatic flavor that enhances the overall taste of the cheesecake.
- Heavy whipping cream: Freshly whipped, it brings a lightness and airy texture to the filling.
- Sour cream: This adds tanginess, balancing the sweetness of the cheesecake perfectly.
- Cherry pie filling: The star of the dish, bringing juicy bursts of sweet-tart flavor in every bite!
- Cocoa powder: Deepens the chocolate flavor in the cheesecake, giving it that luxurious richness.
- Dark chocolate: Grated as garnish, it provides an elegant finish along with extra chocolatey goodness.
- Fresh cherries: For an extra pop of color and freshness, they make a lovely garnish.
You can find all these ingredients easily at your local grocery store. For exact measurements, check at the bottom of the article for easy printing!
How to Make Black Forest Cheesecake
Now, let’s roll up our sleeves and create this Black Forest Cheesecake! The steps are straightforward, so don’t worry—you’ve got this. Just follow along, and we’ll have a delicious dessert ready in no time.
Step 1: Preheat and Prepare
First, we need to set the stage for baking. Preheat your oven to 325°F (163°C).
While it’s warming up, grab a 9-inch springform pan and grease it well. This makes sure our cheesecake slides out easily later without any drama! Trust me; a well-greased pan is a kitchen hero.
Step 2: Create the Crust
Next, let’s make that delightful crust. In a mixing bowl, combine your chocolate cookie crumbs and melted butter. Stir them together until the crumbs are evenly coated. It should resemble wet sand.
Now, press this mixture firmly into the bottom of your prepared pan. I like to use the back of a measuring cup to ensure it’s nice and even. This crust is the base for all that creamy goodness to come!
Step 3: Make the Cheesecake Filling
With the crust done, it’s time to whip up the filling. In a large mixing bowl, beat the softened cream cheese until it’s creamy and smooth. I usually use an electric mixer for this; it speeds things up!
Gradually add the powdered sugar and vanilla extract. Keep mixing until everything’s well combined and smooth. Now, in a separate bowl, whip the heavy cream until stiff peaks form. This gives our cheesecake that light, airy texture we crave!
Gently fold in the whipped cream into the cream cheese mixture. Take your time with this; we want to keep that fluffiness. Then whisk in the sour cream and cocoa powder, folding carefully. You’re looking for a beautiful, rich chocolate batter!
Step 4: Layering the Cheesecake
Time to assemble! Pour half of the cheesecake filling over the crust. Spread it out evenly.
Now, take half of your cherry pie filling and spoon it over the cheesecake layer, letting those juicy cherries shine.
Repeat this process with the remaining cheesecake filling and cherry filling—layer upon layer of deliciousness. Don’t be shy; it should look pretty as well!
Step 5: Baking and Cooling
Now, carefully place your springform pan in the preheated oven. Bake it for about 50 to 60 minutes. You want the center to be set but still a little jiggly—that’s the mark of a perfect cheesecake.
Once it’s done, turn off the oven and let the cheesecake sit inside for one hour. This gentle cooling prevents cracks from forming. After that, remove it from the oven and let it cool completely on the counter.
Step 6: Final Touch and Chill
To wrap things up, cover the cheesecake with plastic wrap and pop it in the fridge for at least 4 hours—or overnight if you can wait! This chilling time lets the flavors deepen.
When you’re ready to serve, sprinkle on that grated dark chocolate and adorn with fresh cherries. You’ve just created a showstopper that’s sure to impress everyone!
Tips for Success
- Ensure your cream cheese is softened for easy mixing—leave it out for about an hour before you start.
- Use a whisk to fold in whipped cream gently; this keeps your filling light and airy.
- For best flavor, let the cheesecake chill overnight—it’s worth the wait!
- Don’t skip the cooling period in the oven—this helps prevent cracks.
- Use a sharp knife, warmed in hot water, for smooth slicing.
Equipment Needed
- 9-inch springform pan: Essential for easy removal, but a regular cake pan works in a pinch.
- Mixing bowls: Various sizes help with different stages; a large bowl for mixing and a smaller one for whipping cream.
- Electric mixer: Speeds up beating cream cheese; a whisk can substitute, though it’s more work.
- Spatula: For folding gently; a wooden spoon can work as well.
- Measuring cups and spoons: Necessary for precision; they help ensure great taste.
Variations of Black Forest Cheesecake
- Gluten-Free Option: Use gluten-free chocolate cookies for the crust to keep this dessert accessible for everyone.
- Chocolate Lovers Delight: Add extra melted chocolate into the cheesecake filling for an even more indulgent version.
- Fruit Swap: Consider using other fruits like raspberries or strawberries instead of cherry pie filling for a twist!
- Vegan Version: Substitute cream cheese with cashew cream and use coconut cream in place of heavy cream for a plant-based delight.
- Cheesecake Bars: Make mini cheesecake bars by using a larger pan and cutting into squares after chilling; perfect for parties!
Serving Suggestions
- Pair your Black Forest Cheesecake with a dollop of whipped cream for extra richness.
- Serve alongside a scoop of vanilla ice cream for a delightful contrast.
- A cup of freshly brewed coffee or espresso complements the chocolate perfectly.
- Garnish with mint leaves for a fresh pop of color and flavor.
- Present on a beautiful cake stand to elevate your dessert’s appearance!
FAQs about Black Forest Cheesecake
Got questions? Don’t worry, I’ve got answers! Here are some frequently asked questions about my beloved Black Forest Cheesecake:
Can I make Black Forest Cheesecake in advance?
Absolutely! In fact, making it a day ahead enhances the flavors. Just let it chill overnight in the fridge.
What can I substitute for cherries?
If cherries aren’t your thing, feel free to use raspberries or strawberries! They’ll bring a different yet delicious taste.
Can I freeze the cheesecake?
Yes, you can freeze slices of Black Forest Cheesecake. Just wrap them tightly in plastic wrap and store in an airtight container. Thaw in the fridge before serving.
What’s the best way to cut cheesecake?
Warm your knife in hot water, wipe it dry, and then slice. This trick gives you clean, beautiful pieces of cheesecake!
How can I make my cheesecake less sweet?
Simply reduce the amount of powdered sugar in the filling. You can also use less cherry pie filling, as that adds sweetness too.
Final Thoughts
Making this Black Forest Cheesecake is not just about creating a dessert; it’s about crafting memories. Each slice brings joy and indulgence, reminding us that life is worth celebrating, one delicious bite at a time. It’s a perfect way to share love with family and friends, turning everyday moments into something special. When I see the smiles on my loved ones’ faces after they taste my cheesecake, it warms my heart. So roll up your sleeves, embrace the process, and enjoy the delightful journey of baking this heavenly treat. You’ll be so glad you did!
Print
Black Forest Cheesecake
- Total Time: 5 hours 20 minutes
- Yield: 10 servings 1x
- Diet: Vegetarian
Description
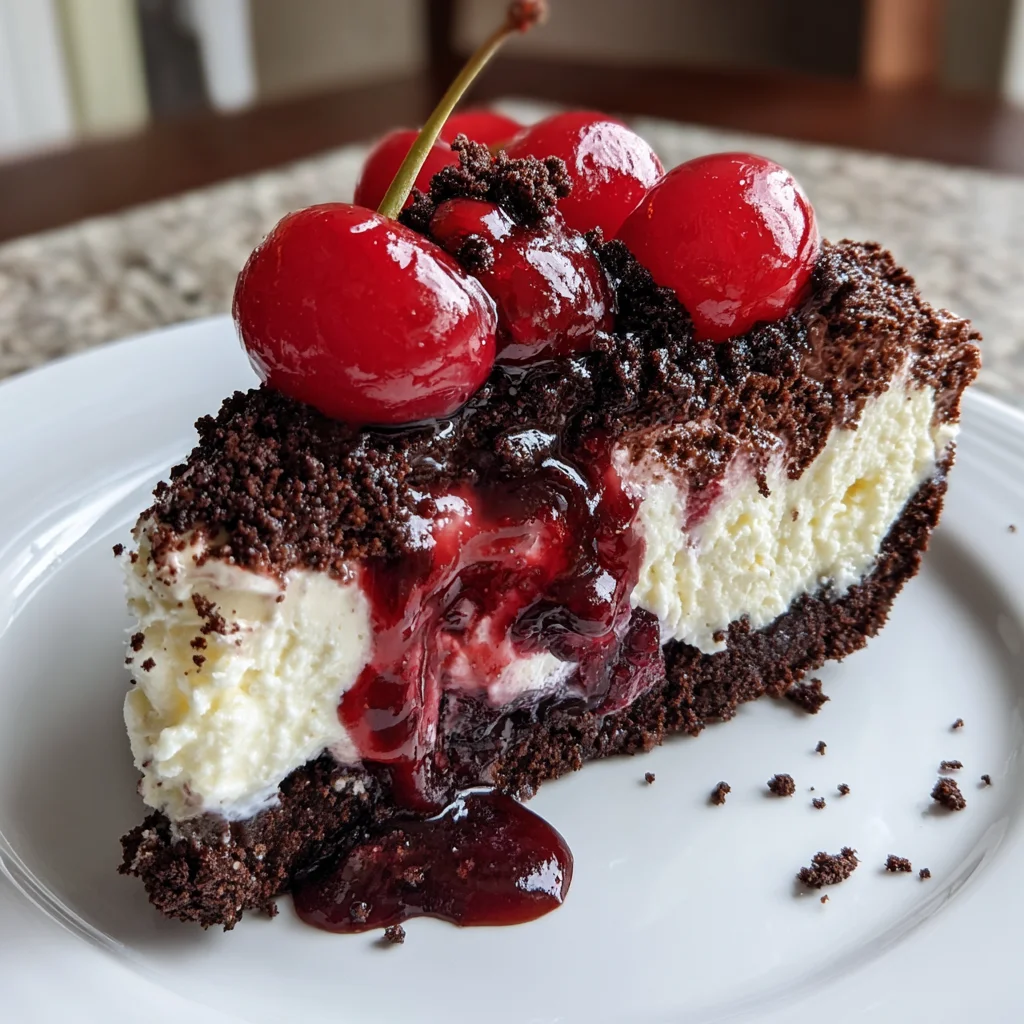
Indulge in this heavenly Black Forest Cheesecake with layers of chocolate, cherry, and whipped cream.
Ingredients
- 1 ½ cups chocolate cookie crumbs
- ½ cup unsalted butter, melted
- 2 cups cream cheese, softened
- 1 cup powdered sugar
- 1 teaspoon vanilla extract
- 2 cups heavy whipping cream
- 1 cup sour cream
- 1 cup cherry pie filling
- ¼ cup cocoa powder
- 1 ounce dark chocolate, grated (for garnish)
- Fresh cherries (for garnish)
Instructions
- Preheat the oven to 325°F (163°C). Grease a 9-inch springform pan.
- In a bowl, mix chocolate cookie crumbs and melted butter until well combined. Press the mixture into the bottom of the prepared pan to form a crust.
- In a large mixing bowl, beat the cream cheese, powdered sugar, and vanilla extract until smooth and creamy.
- In another bowl, whip the heavy cream until stiff peaks form. Gently fold the whipped cream into the cream cheese mixture.
- Add the sour cream and cocoa powder, folding until fully incorporated.
- Pour half of the cheesecake mixture over the crust, then layer with half of the cherry pie filling. Repeat with the remaining cheesecake mixture and cherry filling.
- Bake for 50-60 minutes, or until the center is set but still slightly jiggly. Turn off the oven and leave the cheesecake inside for an hour.
- Remove from the oven and let it cool completely. Refrigerate for at least 4 hours or overnight.
- Before serving, garnish with grated chocolate and fresh cherries.
Notes
- For a richer flavor, use a high-quality dark chocolate for the crust.
- Letting the cheesecake chill overnight enhances the flavors.
- Prep Time: 20 minutes
- Cook Time: 1 hour
- Category: Dessert
- Method: Baking
- Cuisine: American
Nutrition
- Serving Size: 1 slice
- Calories: 450
- Sugar: 20g
- Sodium: 300mg
- Fat: 32g
- Saturated Fat: 18g
- Unsaturated Fat: 10g
- Trans Fat: 0g
- Carbohydrates: 40g
- Fiber: 1g
- Protein: 6g
- Cholesterol: 90mg