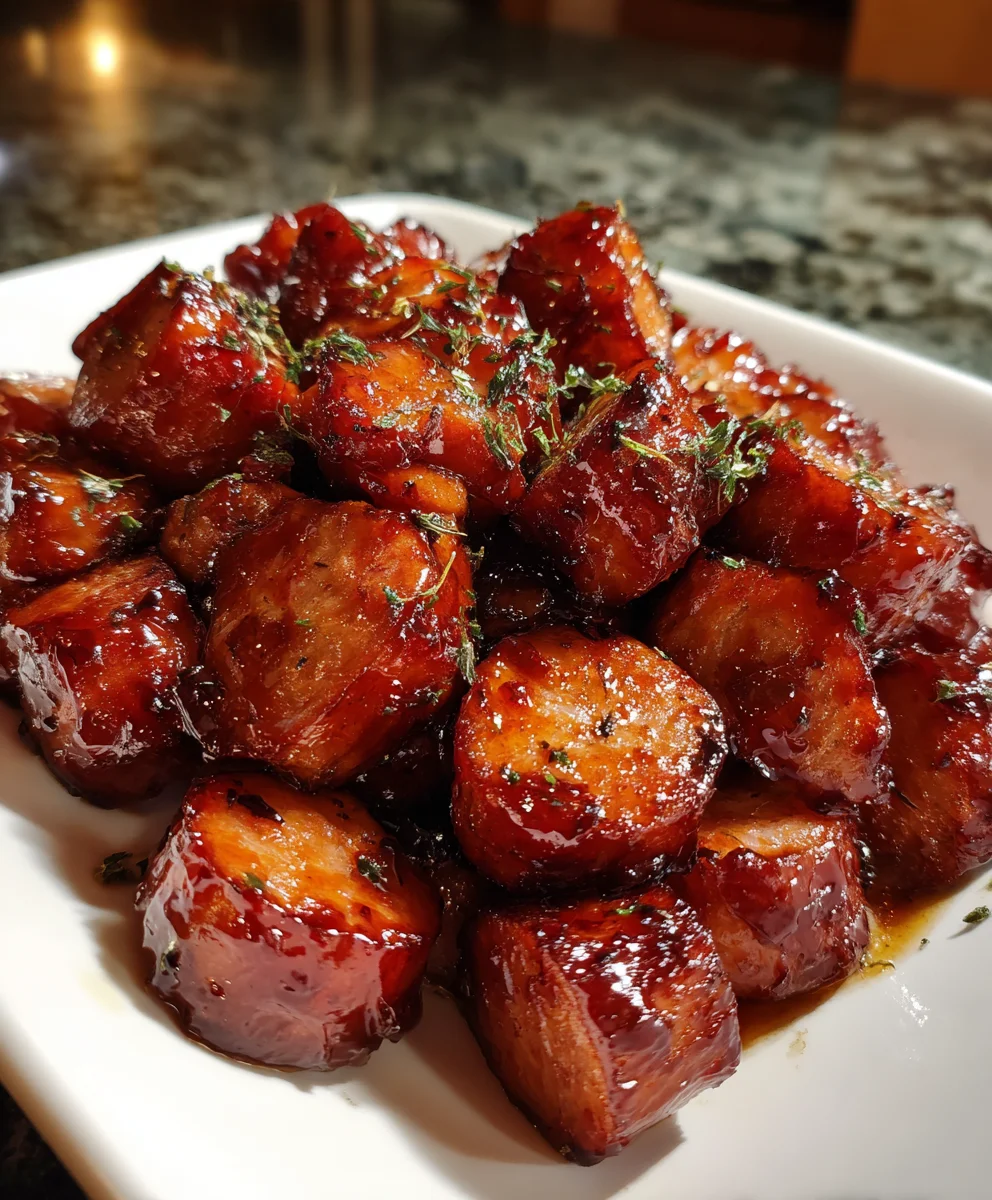
Introduction to Glazed Kielbasa Bites
Ah, the delightful aroma of Glazed Kielbasa Bites wafting from the oven! It’s like a warm hug in the heart of your kitchen. Whether you’re hosting a last-minute gathering or simply need a satisfying snack after a long day, this recipe is a lifesaver. As a busy mom, I understand the struggle of whipping up something delicious in no time. These little bites are the perfect blend of sweet and savory, making them irresistible for both kids and adults alike. Let’s dive into how you can make these scrumptious morsels in a flash!
Why You’ll Love This Glazed Kielbasa Bites
One of the best things about Glazed Kielbasa Bites is how simple they are to make. With just a handful of ingredients, you can whip up a delicious appetizer in under 35 minutes! They’re great for busy moms like me who want something satisfying without spending hours in the kitchen. Plus, the sweet and savory flavors appeal to everyone, making them a hit at any gathering!
Ingredients for Glazed Kielbasa Bites
Creating Glazed Kielbasa Bites is a breeze, thanks to the simplicity of the ingredients. Here’s what you’ll need:
- Pre-cooked kielbasa sausage: The star of the show! This savory sausage adds a satisfying flavor, and using pre-cooked saves you cooking time.
- Brown sugar: Adds a touch of sweetness, balancing the savory elements beautifully. You can use light or dark brown sugar depending on your preference.
- Low-sodium soy sauce: This gives that signature umami flavor. Using low-sodium helps keep the dish healthier while still providing great taste.
- Minced garlic: Infuses freshness and depth of flavor. You can increase the amount if you’re a garlic lover like me!
- Ground ginger: Offers a slight warmth and fragrance. Fresh ginger can also be used for a bolder taste.
- Black pepper: A sprinkle of black pepper adds just the right amount of spice. Feel free to adjust to your liking!
Optional additions include a pinch of red pepper flakes if you like a spicy kick or even some honey for extra sweetness. If you’re looking for ingredient swaps, turkey kielbasa works well for a lighter option. All exact quantities are listed below and available for printing, ensuring you have everything at your fingertips as you embark on this culinary adventure!
How to Make Glazed Kielbasa Bites
Step 1: Preheat Your Oven
First things first, you’ll want to preheat your oven to 400°F (200°C). This step ensures your Glazed Kielbasa Bites cook evenly and caramelize beautifully. While the oven warms up, you can get everything else ready. Multitasking is the name of the game, right?
Step 2: Slice the Kielbasa
Now, grab your pre-cooked kielbasa and start slicing it into 1-inch bite-sized pieces. These smaller pieces make it easy to snack on during any gathering. Plus, they soak up the delicious glaze perfectly. You can use a sharp knife for clean cuts—be careful, though! Kitchen safety first!
Step 3: Prepare the Glaze
In a large bowl, it’s time to whisk together your ingredients for that delightful glaze. Combine the brown sugar, low-sodium soy sauce, minced garlic, ground ginger, and black pepper. Mix until the brown sugar dissolves. The sweet and salty blend will brighten up your kielbasa bites, elevating them from good to mouth-watering!
Step 4: Coat the Kielbasa
Take those sliced kielbasa pieces and toss them in the glaze until they are nice and coated. Make sure each piece gets its share of that flavorful mixture. This step is where the magic happens—each bite will be a delightful explosion of flavors!
Step 5: Arrange on Baking Sheet
Next, line a baking sheet with parchment paper for easy clean-up. Carefully arrange the glazed kielbasa bites in a single layer, making sure they aren’t crowded. This spacing allows them to caramelize beautifully. Trust me, you want that crispy, sticky goodness!
Step 6: Bake to Perfection
Slide the baking sheet into the oven and let those bites bake for 20-25 minutes. Make sure to turn them halfway through. This way, they brown evenly and get that irresistible caramel finish. The scent wafting through your kitchen will make it hard to resist sneaking a taste!
Step 7: Serve and Enjoy
Once they’re golden and caramelized, take them out and let them cool slightly. Serve your Glazed Kielbasa Bites warm on a platter for your family or guests to enjoy. Pair them with toothpicks for easy snacking, and watch them disappear—trust me, they will!
Tips for Success
- Prep everything before starting. It saves time and stress!
- Keep an eye on the baking time to avoid burning. Every oven is different!
- Switch up the glaze ingredients for a new twist. Add honey or even maple syrup for sweetness!
- Don’t overcrowd the baking sheet. Space is key for crispy bites!
- Let them cool for a few minutes before serving to prevent burns.
Equipment Needed
- Baking sheet: A standard sheet works well, or use a rimmed one to catch any drips.
- Parchment paper: Perfect for easy cleanup. If you don’t have it, aluminum foil does the trick!
- Mixing bowl: Any large bowl will do for whisking the glaze.
- Sharp knife: Essential for slicing kielbasa; make sure it’s well-sharpened!
Variations of Glazed Kielbasa Bites
- Vegetarian option: Substitute kielbasa for plant-based sausage or even cubed tofu marinated in the glaze for a tasty vegetarian treat.
- Pineapple twist: Add chunks of pineapple to the baking sheet for a sweet and tangy contrast to the savory sausage.
- Herb-infused: Sprinkle fresh or dried herbs like rosemary or thyme into the glaze for an aromatic touch.
- Sticky BBQ version: Replace soy sauce with your favorite BBQ sauce for a finger-licking variation that your family will love.
- Spicy kick: Toss in some chopped jalapeños or a dash of hot sauce to the glaze for those who prefer a little heat.
Serving Suggestions for Glazed Kielbasa Bites
- Serve with toothpicks for easy snacking at parties or game day!
- Pair with a fresh side salad to balance out the savory bites.
- Offer a variety of dipping sauces like mustard or ranch for added flavor.
- Complement with a cold beverage like lemonade or a light beer.
- Enhance presentation by garnishing the platter with fresh herbs or sliced green onions.
FAQs about Glazed Kielbasa Bites
Can I make Glazed Kielbasa Bites ahead of time? Absolutely! You can prepare the kielbasa and the glaze a day in advance. Just coat the kielbasa pieces and store them in the refrigerator. When you’re ready, simply bake them as directed!
How do I store leftovers? If you have any Glazed Kielbasa Bites left, store them in an airtight container in the refrigerator for up to three days. Reheat in the oven for optimal crispiness. Microwaving might leave them a little soggy.
Can I use fresh kielbasa instead of pre-cooked? While pre-cooked kielbasa is best for this recipe, you can use fresh kielbasa. Just make sure to cook it through before adding it to the glaze, as this recipe is designed for pre-cooked sausage.
What’s a good side dish to serve with these bites? Glazed Kielbasa Bites pair wonderfully with a side salad or roasted vegetables for a well-rounded meal. You can also serve them with a warm, hearty bread for a filling snack!
Can I make these bites in a slow cooker? Yes! Combine the sliced kielbasa and glaze in a slow cooker and cook on low for 2-3 hours. You can finish them under the broiler for a few minutes to get that delicious caramelized effect!
Final Thoughts
Making Glazed Kielbasa Bites brings an undeniable joy to my kitchen. It’s more than just a recipe; it’s about sharing delicious moments with family and friends. The sweet and savory combination is a crowd-pleaser that never fails to impress. Whether it’s a casual weeknight dinner or a festive gathering, these bites add a touch of warmth and comfort to any occasion. Plus, they are quick and easy to prepare, fitting seamlessly into my busy life. I hope you find the same happiness and satisfaction in making these delightful morsels!
Print
Glazed Kielbasa Bites
- Total Time: 35 minutes
- Yield: 6 servings 1x
- Diet: Gluten Free
Description
Glazed Kielbasa Bites are a simple yet irresistible treat, perfect for any gathering or as a delicious snack.
Ingredients
- 1 lb pre-cooked kielbasa sausage
- 1/2 cup brown sugar
- 1/4 cup low-sodium soy sauce
- 2 cloves garlic, minced
- 1/2 tsp ground ginger
- 1/2 tsp black pepper
Instructions
- Preheat your oven to 400°F (200°C).
- Slice kielbasa into 1-inch bite-sized pieces.
- In a large bowl, whisk together brown sugar, soy sauce, minced garlic, ground ginger, and black pepper.
- Toss kielbasa pieces in the glaze until well-coated.
- Arrange on a parchment-lined baking sheet.
- Bake for 20-25 minutes, turning halfway through, until caramelized.
- Serve warm on a platter.
Notes
- Adjust the amount of garlic based on your preference.
- You can add a pinch of red pepper flakes for a spicy kick.
- These bites are great as appetizers for parties or game day snacks.
- Prep Time: 10 minutes
- Cook Time: 25 minutes
- Category: Appetizer
- Method: Baking
- Cuisine: American
Nutrition
- Serving Size: 1 serving
- Calories: 210
- Sugar: 10g
- Sodium: 700mg
- Fat: 15g
- Saturated Fat: 5g
- Unsaturated Fat: 8g
- Trans Fat: 0g
- Carbohydrates: 10g
- Fiber: 0g
- Protein: 10g
- Cholesterol: 30mg