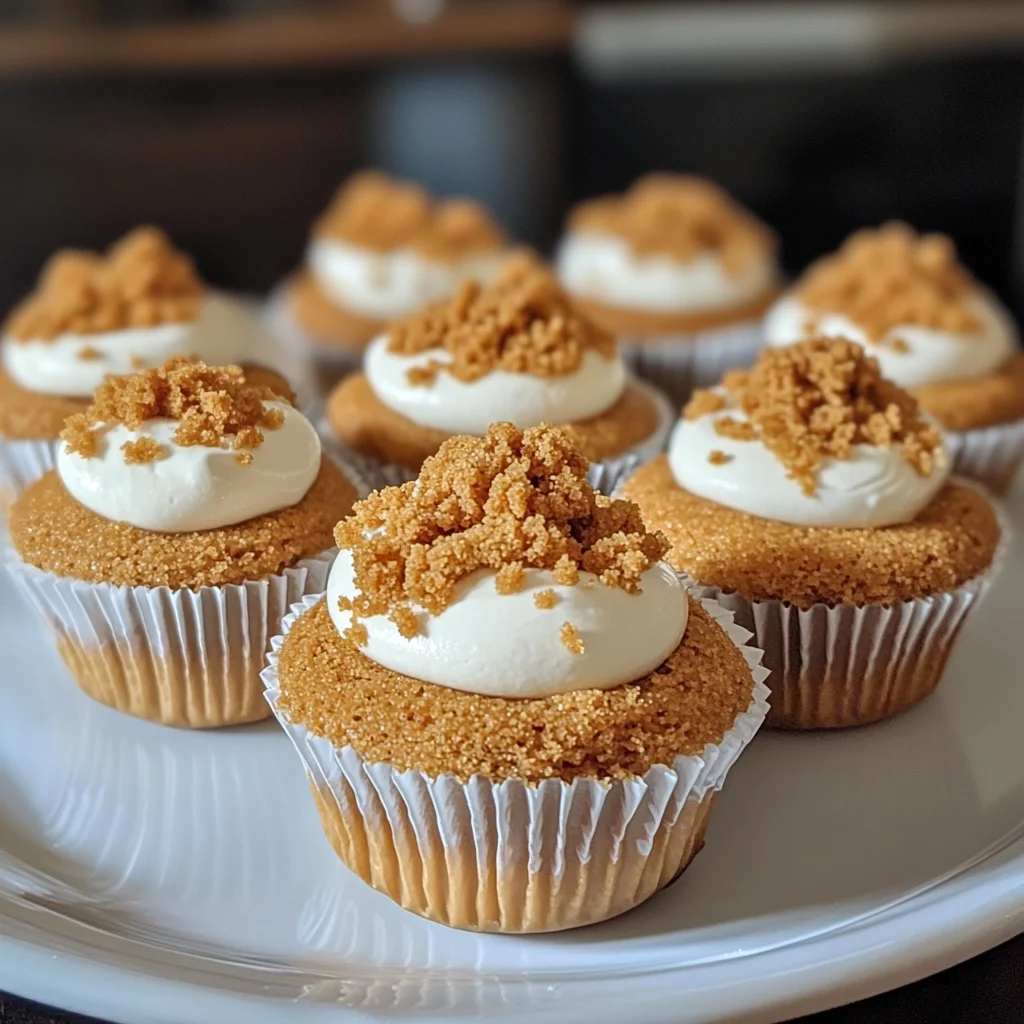
Introduction to Mini Biscoff Cheesecakes
Hey there, fellow food lovers! If you’re anything like me, you often find yourself juggling a hundred things at once. That’s why I’m excited to share my delicious Mini Biscoff Cheesecakes with you. They’re perfect for a busy day or when you want to impress family and friends without spending hours in the kitchen. These little bites of heaven combine creamy cheesecake and the irresistible flavor of Biscoff cookies. Trust me, once you make these, they’ll quickly become your go-to dessert for every occasion!
Why You’ll Love This Mini Biscoff Cheesecakes
These Mini Biscoff Cheesecakes are a dream come true for busy moms like me! They’re super easy to whip up, taking just 30 minutes of active prep time. Plus, who can resist that perfect blend of rich creaminess and delightful spice from Biscoff? You’re not just making a dessert; you’re creating a moment of joy that’s bound to bring smiles to the table. Perfect for any gathering or a cozy night in!
Ingredients for Mini Biscoff Cheesecakes

Let’s gather what we need for these delightful Mini Biscoff Cheesecakes! Here’s a handy list of ingredients that will transform your kitchen into a sweet haven.
- Biscoff cookie crumbs: These form the base of your cheesecake and bring that iconic caramelized flavor. You can crush whole Biscoff cookies if you can’t find pre-made crumbs.
- Melted butter: This helps the cookie crumbs bind together, giving you that perfect crust. Unsalted butter works best, but feel free to experiment with coconut oil for a dairy-free option.
- Cream cheese: The heart of any cheesecake! Choose full-fat for the creamiest texture, but reduced-fat cream cheese will work in a pinch.
- Heavy cream: This adds a lightness and lusciousness to the filling. If you prefer a lighter option, half-and-half can substitute, but it won’t be as rich.
- Powdered sugar: This sweetens your cheesecake without the grainy texture of granulated sugar. It’s the secret to that smooth finish!
- Vanilla extract: A splash of this gives depth to the flavor. You can opt for vanilla bean paste if you’re feeling fancy!
- Biscoff spread: This is the star of the show! Full of that spiced flavor, it takes the cheesecake to a whole new level. Use a little more if you adore the taste!
- Crumble Biscoff cookies: These are for topping your cheesecakes, adding a crunchy contrast to the creamy filling. You could also throw on some chocolate shavings or crushed nuts if you’re feeling adventurous!
All the precise measurements are at the bottom of this article if you’re ready to start baking, so no need to stress about the details just yet!
How to Make Mini Biscoff Cheesecakes
Getting your kitchen ready for these Mini Biscoff Cheesecakes is half the fun! Let’s walk through the steps together. With a sprinkle of love and a dash of patience, you’ll create a dessert that’ll be the highlight of any meal!
Step 1: Preheat the Oven
First things first, set your oven to 350°F (175°C). Preheating is crucial! It gets the oven warmed up, creating the perfect environment for our cheesecake crust to bake just right. While that happens, you can gather the rest of your ingredients.
Step 2: Prepare the Crust
In a medium bowl, mix together the Biscoff cookie crumbs and melted butter. Stir until every crumb is coated. It should start to clump together—don’t rush it! This crust will form the foundation of your mini cheesecakes. If it seems too dry, a splash more butter won’t hurt.
Step 3: Bake the Crust
Spoon about one tablespoon of the crumb mixture into each muffin cup. Use the back of a spoon to press it down firmly. We want a solid base! Pop the muffin tin in the oven and let it bake for just 5 minutes. Your kitchen will smell amazing! After baking, take the tin out and let the crusts cool completely.
Step 4: Make the Cheesecake Filling
While the crusts are cooling, it’s time to create that rich filling. In a large mixing bowl, beat the cream cheese until smooth and creamy. This step is best done with an electric mixer! Now, add in the heavy cream, powdered sugar, and vanilla extract. Beat on medium speed until the mixture thickens. It should be nice and fluffy!
Step 5: Fill the Cheesecake Cups
Now comes the fun part! Take the Biscoff spread and blend it into your filling until it’s fully incorporated. This makes it extra delicious! Spoon or pipe the cheesecake filling onto each cooled cookie crust, filling them almost to the top. Use a spatula to smooth the tops out for that professional look!
Step 6: Chill the Cheesecakes
For the magic to happen, place your mini cheesecakes in the fridge. Chill them for at least 3 hours, or until they’re fully set. I know, the wait can be tough! But trust me, it’s worth it when you taste that creamy goodness later!
Step 7: Add the Toppings
Once chilled, take the cheesecakes out and grab those crumbled Biscoff cookies. Generously sprinkle them on top for an extra crunch! If you’re feeling indulgent, whipped cream or caramel sauce would taste divine here, too. Now you’re ready to dig in!
Tips for Success
- Press the cookie crust firmly to avoid a crumbly base.
- Let the cheesecakes chill for the full 3 hours to ensure they set perfectly.
- If using cookies for topping, crush them just before serving to keep them crunchy.
- For a richer flavor, add an extra tablespoon of Biscoff spread to the filling.
- Experiment by swapping some ingredients; try almond extract for a twist!
Equipment Needed
- Muffin tin: A standard 12-cup muffin tin works perfectly. If you don’t have one, a mini cheesecake pan is a great alternative.
- Mixing bowls: You’ll need a medium bowl for the crust and a larger one for the filling.
- Electric mixer: An electric mixer makes beating the ingredients effortless, but a whisk will do in a pinch.
- Spatula: A rubber spatula helps in smoothing out the cheesecake tops.
Variations on Mini Biscoff Cheesecakes
- Chocolate Biscoff Cheesecakes: Add cocoa powder to the filling for a chocolatey twist. Swirl in some melted chocolate for an extra indulgent treat!
- Peanut Butter Biscoff Cheesecakes: Mix in creamy peanut butter to the cheesecake filling for a nutty flavor that pairs beautifully with Biscoff.
- Gluten-Free Option: Use gluten-free Biscoff cookies to make these cheesecakes suitable for a gluten-sensitive diet.
- No-Bake Version: Skip the baking step by using no-bake cheesecake mix, which will still deliver that creamy texture without any oven time.
- Fruit Topped: Add fresh fruit, like strawberries or raspberries, on top for a refreshing contrast to the rich cheesecake.
- Spicy Biscoff: Incorporate a dash of cinnamon or nutmeg to the crust for a little extra warmth and spice.
Serving Suggestions for Mini Biscoff Cheesecakes
- Pair with coffee: A warm cup of coffee or espresso complements the rich flavors perfectly.
- Serve with whipped cream: A dollop of whipped cream adds a light and airy touch to every bite.
- Plate with fresh fruit: Garnish with berries for a splash of color and refreshing contrast.
- Present on a tiered stand: Elevate your dessert table by showcasing the cheesecakes on a beautiful tiered stand.
- Drizzle with caramel: A sweet caramel drizzle enhances the luxuriousness of the cheesecakes.
FAQs about Mini Biscoff Cheesecakes
I’ve gathered some common questions to help you navigate making these delightful Mini Biscoff Cheesecakes. Let’s tackle them together!
Can I make Mini Biscoff Cheesecakes ahead of time?
Absolutely! These cheesecakes store wonderfully in the refrigerator for up to 5 days. Just make sure to keep them covered to maintain their freshness.
How do I know when the cheesecakes are fully set?
They should feel firm to the touch. If you give the muffin tin a gentle shake, they should maintain their shape without jiggling excessively.
Can I use a different cookie for the crust?
Definitely! Feel free to swap Biscoff cookies for graham crackers, Oreos, or any of your favorite cookies. Each option adds a unique twist!
What can I use instead of heavy cream?
If you’re looking for a lighter option, half-and-half can replace heavy cream. However, be prepared for a less rich flavor.
Can I freeze Mini Biscoff Cheesecakes?
Yes, but without the toppings! Freeze them in an airtight container for up to 3 months. Thaw in the fridge before enjoying.
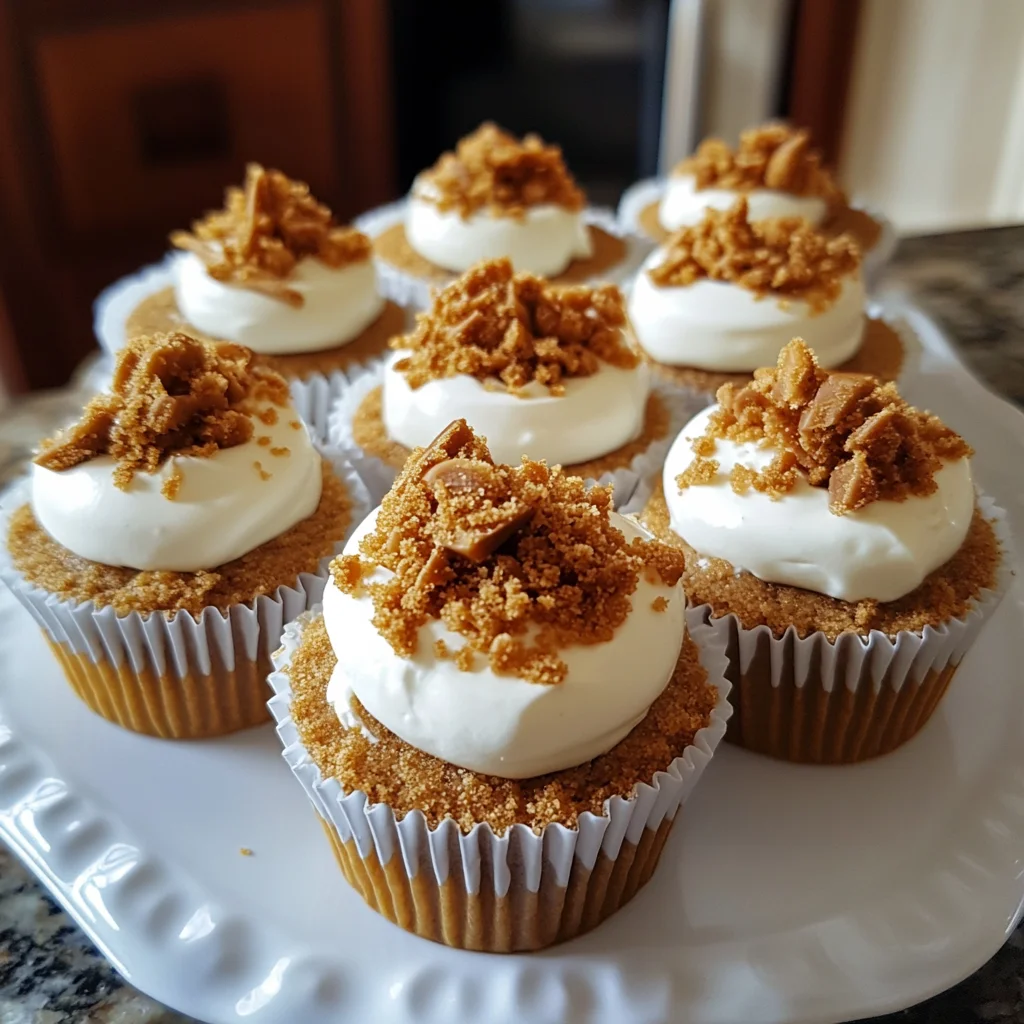
Final Thoughts on Mini Biscoff Cheesecakes
Making Mini Biscoff Cheesecakes is more than just whipping up a dessert; it’s a delightful adventure that brings joy to every bite. As I prepared these little treats, the sweet aroma filled my kitchen, transforming it into a cozy haven. Each cheesecake is a perfect balance of creamy richness and the unmistakable charm of Biscoff. Serving these to family or friends, I’ve seen their faces light up with every taste. So, whether it’s a special occasion or a simple family dinner, these cheesecakes are bound to be a hit that leaves everyone smiling and satisfied!
Print
Mini Biscoff Cheesecakes
- Total Time: 3 hours 35 minutes
- Yield: 12 mini cheesecakes 1x
- Diet: Vegetarian
Description
Delightful mini cheesecakes made with Biscoff cookies and spread for a rich flavor.
Ingredients
- 1 1/2 cups Biscoff cookie crumbs
- 1/4 cup melted butter
- 2 cups cream cheese
- 1 cup heavy cream
- 1/2 cup powdered sugar
- 1 teaspoon vanilla extract
- 1/2 cup Biscoff spread
- 1/4 cup Biscoff cookies, crumbled
Instructions
- Preheat your oven to 350°F (175°C) and prepare a 12-cup muffin tin by lining each cup with paper liners.
- In a medium bowl, combine the Biscoff cookie crumbs and melted butter, stirring until the crumbs are evenly coated and the mixture begins to hold together.
- Spoon about one tablespoon of the cookie crumb mixture into each muffin cup and press it down firmly with the back of a spoon to create a solid crust.
- Place the muffin tin in the oven and bake for 5 minutes to set the crust. After baking, remove the tin from the oven and allow the crusts to cool completely.
- While the crusts cool, beat the cream cheese in a large mixing bowl with an electric mixer until smooth and creamy.
- Add the heavy cream, powdered sugar, and vanilla extract to the cream cheese and beat on medium speed until the mixture thickens and becomes smooth.
- Add the Biscoff spread to the mixture and beat again until fully incorporated and the filling is thick and smooth.
- Spoon or pipe the Biscoff cheesecake mixture onto each cooled cookie crust, filling each cup almost to the top.
- Smooth the tops of the cheesecakes with a spatula, making sure they are even.
- Place the mini cheesecakes in the fridge to chill for at least 3 hours, or until fully set.
- Once chilled, remove the cheesecakes from the fridge and top each one with crumbled Biscoff cookies.
- Serve immediately or store the cheesecakes in an airtight container in the refrigerator until ready to enjoy.
Notes
- Make sure to press the cookie crust firmly to avoid a crumbly base.
- For a richer flavor, you can add an extra tablespoon of Biscoff spread to the filling.
- If you don’t have a muffin tin, use a mini cheesecake pan or a standard cupcake tin.
- Allow the cheesecakes to chill for the full 3 hours to ensure they set properly.
- Top the cheesecakes with whipped cream or caramel sauce for an extra indulgent touch.
- Prep Time: 30 minutes
- Cook Time: 5 minutes
- Category: Dessert
- Method: Baking & Chilling
- Cuisine: American
Nutrition
- Serving Size: 1 cheesecake
- Calories: 230
- Sugar: 10g
- Sodium: 150mg
- Fat: 18g
- Saturated Fat: 10g
- Unsaturated Fat: 6g
- Trans Fat: 0g
- Carbohydrates: 18g
- Fiber: 1g
- Protein: 3g
- Cholesterol: 40mg