
Introduction to Red, White & Blue Cake Pops
Welcome to the delightful world of Red, White & Blue Cake Pops! Whether you’re gearing up for a summer BBQ or an Independence Day bash, these cake pops are your secret weapon for impressing friends and family. They’re eye-catching, delicious, and oh-so-fun to make!
I completely understand how busy life can get while you juggle work, family, and everything in between. These cake pops are a fantastic option when you need a quick, festive treat that brings smiles all around. Let’s dive into these scrumptious bites of joy!
Why You’ll Love This Red, White & Blue Cake Pops
These Red, White & Blue Cake Pops are the perfect solution for busy moms and professionals alike. They’re quick to prepare, taking less than two hours, which means you can whip them up in a flash. Plus, they’re irresistibly delicious with a delightful crunch from the chocolate coating. Trust me, these festive treats will make you the star of any gathering, leaving everyone asking for seconds!
Ingredients for Red, White & Blue Cake Pops

Let’s gather the ingredients for these festive Red, White & Blue Cake Pops! Here’s what you’ll need:
- White cake mix: The base of your cake pops, this mix is quick and easy. You’ll need the ingredients listed on the box for preparation.
- Vanilla frosting: This acts as the glue, helping bind the cake crumbs together. You can use store-bought or whip up a quick homemade batch.
- White chocolate chips or candy melts: The outer coating that makes these cake pops sweet and smooth. Candy melts are a bit easier to work with, but either works wonders!
- Red, white, and blue sprinkles: These festive sprinkles add charm and an extra festive touch. They can be swapped for any fun color combo you have on hand!
- Red and blue gel food coloring: This is what gives your cake pops their vibrant colors without changing the texture. Stick with gel, as it works best!
- Lollipop sticks: These are essential for holding your cake pops together. If you’re in a pinch, you can use coffee stirrers or straws as a substitute.
For exact quantities, check out the bottom of the article—you can even print it out for handy reference!
How to Make Red, White & Blue Cake Pops
Prepare and Bake the Cake
Start by preparing the white cake mix as per the package instructions. It’s as simple as mixing, pouring, and baking! Once the cake is golden and puffed, let it cool completely. Trust me, a cooled cake is key—it makes all the cake pop crafting easier!
Crumble the Cake
Once the cake has cooled, it’s time for a little destruction! Crumble the cake into three separate bowls. Use your hands for this; it’s oddly satisfying to break it apart. Make sure the crumbs are fine enough so they stick together later!
Tint the Cake Crumbles
Now comes the fun part: adding color! In one bowl, add red gel food coloring, followed by blue in another. The last bowl stays white, of course. Mix thoroughly until the colors brighten and the cake crumbs are transformed into vibrant hues. It’s like creating a little rainbow!
Mix with Frosting
Time to bind these colorful crumbs! Add around two tablespoons of vanilla frosting to each bowl. Mix until the crumbs hold together well—this is what forms that irresistible cake ball. Think of it as shaping little festive clouds!
Form the Cake Balls
Now we’ll roll these into sweet bites of joy! Take small amounts of each color and gently press them together. Roll them into 1-inch balls, which is the perfect size for popping in your mouth. Place these beauties on a parchment-lined baking sheet.
Chill the Cake Balls
Before we dive into chocolate, let’s chill! Pop the cake balls into the refrigerator for about an hour or into the freezer for 20 minutes. This chilling time firms them up, so they stay on the sticks when dipped.
Melt the Chocolate
While the cake balls chill, let’s get a melt on! In a microwave-safe bowl, microwave your white chocolate chips or candy melts in 30-second intervals. Stir between each burst until it’s perfectly smooth. Be careful not to overheat!
Dip the Cake Balls
Now it’s time for the glorious dip! Dip the tip of each lollipop stick into the melted chocolate, then insert it into a cake ball. This helps keep the stick in place. Next, dip the entire ball into the melted chocolate, tapping off any excess. Look at that shine!
Decorate with Sprinkles
Before the chocolate sets, immediately adorn your pops with those colorful sprinkles! A generous sprinkle adds that final festive flair. Stick them into a styrofoam block or cake pop stand to set. It’s a dazzling sight!
Let Set Before Serving
Finally, allow your cake pops to set completely. This could take a bit of patience, but once they’re ready, you’ll have festive treats that are sure to dazzle at any gathering. Just think about all those smiles!
Tips for Success
- Use gel food coloring for brighter colors without altering texture.
- Chill cake pops well before dipping; this helps them stay on the stick.
- Try using a deep bowl for melting chocolate; it makes dipping much easier.
- Keep leftover cake balls in the fridge for snacking later.
- Get creative with sprinkles! Use what you have on hand.
Equipment Needed for Red, White & Blue Cake Pops
- Mixing bowls: Essential for combining your cake crumbs and frosting. Pyrex or stainless steel works wonderfully!
- Microwave-safe bowl: For melting chocolate. If you don’t have one, a small saucepan on low heat will do.
- Baking sheet: Necessary for chilling and setting your cake pops. Parchment paper helps to prevent sticking!
- Lollipop sticks: These hold everything together. In a pinch, coffee stirrers or straws can substitute!
- Styrofoam block or cake pop stand: This is for holding your pops while they set, but a simple cardboard box can do the trick too.
Variations of Red, White & Blue Cake Pops
- Chocolate Cake Base: Swap the white cake mix for a chocolate cake mix for a rich twist on the classic flavor.
- Gluten-Free Option: Use a gluten-free cake mix to cater to dietary needs without sacrificing flavor.
- Fruit Flavoring: Add a splash of raspberry or blueberry puree to the frosting for a fruity kick in the filling.
- Dairy-Free Version: Use dairy-free chocolate and frosting to make these delicious treats suitable for vegan diets.
- Nutty Surprise: Incorporate crushed nuts into the cake crumbs for added texture and flavor.
Serving Suggestions for Red, White & Blue Cake Pops
- Ice Cream: Pair your cake pops with a scoop of vanilla ice cream for a delightful combination.
- Fresh Fruit: Serve alongside a mixed berry salad for a refreshing contrast.
- Party Platters: Arrange cake pops on vibrant platters for eye-catching presentations at celebrations.
- Refreshing Beverages: Offer lemonade or berry-infused drinks to complement the festive vibe.
FAQs about Red, White & Blue Cake Pops
Can I make Red, White & Blue Cake Pops ahead of time?
Absolutely! These cake pops can be made a day in advance. Just store them in the refrigerator until you’re ready to serve. They’ll stay fresh and delicious.
What if I don’t have lollipop sticks?
No problem at all! You can use coffee stirrers, straws, or even pop them onto forks for a fun twist. Just make sure whatever you use is sturdy enough to hold the weight of the cake pop.
Can I use different colors for the cake pops?
Of course! Have fun with it! Whether you’re celebrating a different holiday or just want a colorful treat, feel free to swap in any colors you like. The possibilities are endless!
How do I store leftover cake pops?
Keep your leftover cake pops in an airtight container in the fridge. They’ll stay fresh for up to five days, making them a sweet snack for later!
What can I serve with cake pops?
These Red, White & Blue Cake Pops pair beautifully with a refreshing glass of lemonade or a bowl of mixed berries. They’re perfect for summer gatherings!
Final Thoughts on Red, White & Blue Cake Pops
Creating Red, White & Blue Cake Pops is not just about the end product; it’s the joy and creativity that come with it. Each colorful bite brings happiness to any festive occasion. They’re a true conversation starter, and making them with your loved ones turns a simple recipe into a cherished memory. Plus, you get to enjoy a delicious treat that’s as pleasing to the eyes as it is to the palate. Dive into this delightful adventure of cake crafting and watch smiles bloom with every pop served. Trust me, the joy is irresistible!
Print
Red, White & Blue Cake Pops
- Total Time: 1 hour 55 minutes
- Yield: Approximately 24 cake pops 1x
- Diet: Vegetarian
Description
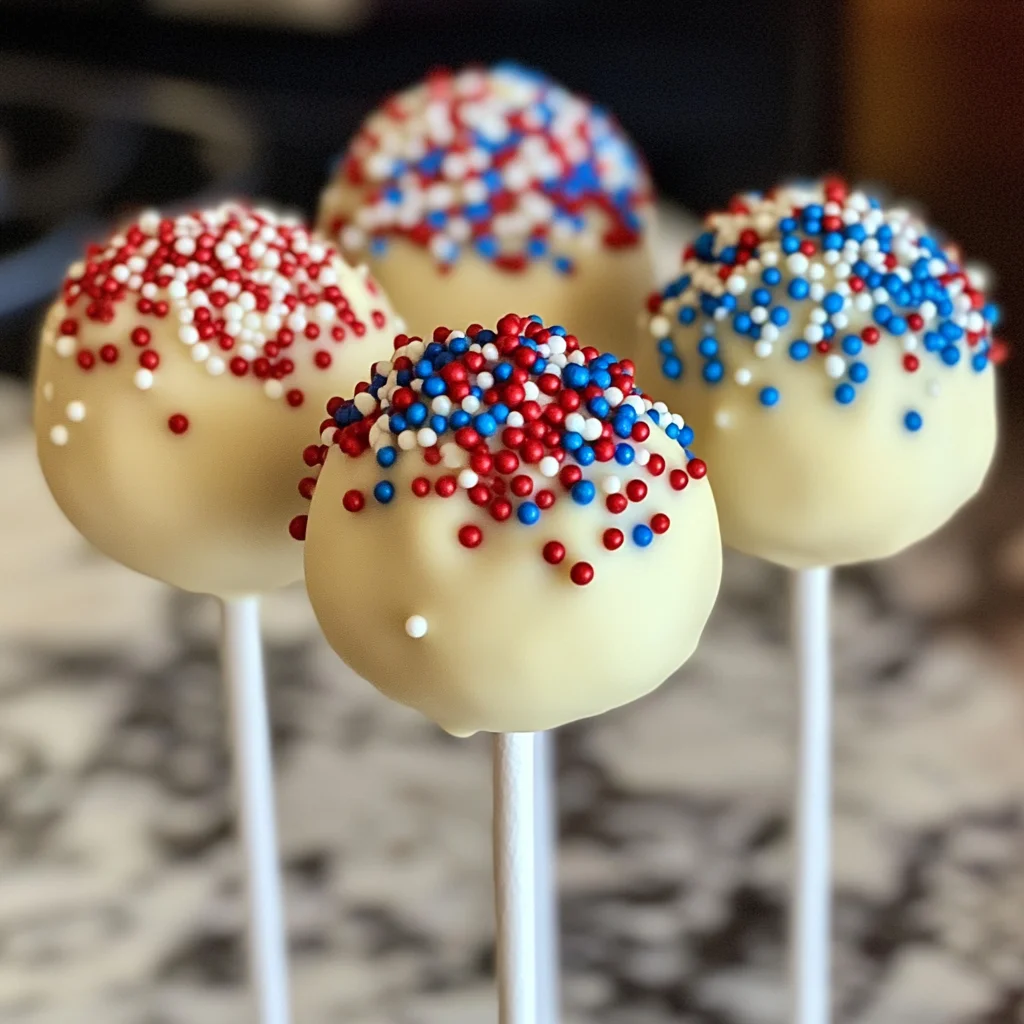
Red, White & Blue Cake Pops are festive and fun treats perfect for celebrations, featuring layers of colored cake covered in chocolate and decorated with sprinkles.
Ingredients
- 1 box white cake mix (plus ingredients to prepare)
- 1/2 cup vanilla frosting
- 12 oz white chocolate chips or candy melts
- Red, white, and blue sprinkles
- Red and blue gel food coloring
- Lollipop sticks
Instructions
- Prepare and bake the white cake according to package instructions. Let it cool completely.
- Once cooled, crumble the cake into three separate bowls.
- Tint one bowl of crumbled cake red and another blue using gel food coloring. Leave the third bowl white.
- Add about 2 tablespoons of frosting to each bowl and mix until the crumbs hold together.
- Take a small amount from each color and gently press them together to form multicolored balls. Roll into 1-inch balls and place on a baking sheet lined with parchment paper.
- Chill the cake balls in the refrigerator for 1 hour or freeze for 20 minutes.
- Melt white chocolate or candy melts in a microwave-safe bowl in 30-second intervals, stirring until smooth.
- Dip the tip of each lollipop stick in melted chocolate, then insert into a cake ball. Dip the entire ball into the melted chocolate to coat, gently tapping off the excess.
- Immediately decorate with red, white, and blue sprinkles. Stand upright in a styrofoam block or cake pop stand to set.
- Let cake pops set completely before serving.
Notes
- Use gel food coloring to avoid altering the cake’s texture.
- Chill cake pops well before dipping to help them stay on the stick.
- Store in the refrigerator for up to 5 days.
- Prep Time: 30 minutes
- Cook Time: 25 minutes
- Category: Dessert
- Method: Baking and Dipping
- Cuisine: American
Nutrition
- Serving Size: 1 cake pop
- Calories: 150
- Sugar: 14g
- Sodium: 95mg
- Fat: 7g
- Saturated Fat: 4g
- Unsaturated Fat: 2g
- Trans Fat: 0g
- Carbohydrates: 19g
- Fiber: 0g
- Protein: 1g
- Cholesterol: 15mg