Introduction to Fruity Pebbles Cookies
As a busy mom, I know how hectic life can get, but that doesn’t mean we should skip out on sweet treats. Enter Fruity Pebbles Cookies! These delightful, colorful cookies are not only a feast for the eyes but also a deliciously chewy bite that brings back childhood memories. Perfect for a quick after-school snack or an eye-catching dessert for family gatherings, these goodies are sure to impress your loved ones. Plus, they come together in no time, giving you more moments to cherish with your family instead of being stuck in the kitchen.
Why You’ll Love This Fruity Pebbles Cookies
These Fruity Pebbles Cookies are a game-changer for busy families. They’re quick to whip up, taking just 35 minutes from start to finish! The colorful specks make them irresistibly fun, while the chewy texture keeps everyone coming back for more. Whether you’re juggling work, kids, or both, this recipe stands out as a delightful dessert that doesn’t require hours in the kitchen. Who knew being a supermom could be this sweet?
Ingredients for Fruity Pebbles Cookies
To create these delightful Fruity Pebbles Cookies, you’ll need a colorful mix of ingredients that come together for a sweet and chewy treat. Here’s what you’ll need:
- Fruity Pebbles: This iconic cereal brings a burst of vibrant color and fruity flavor, making the cookies joyfully appealing to both kids and adults.
- All-Purpose Flour: A staple in baking, this gives the cookies structure and that satisfying chewy texture.
- Baking Soda: This ingredient acts as a leavening agent, helping the cookies rise and achieve that perfect fluffy bite.
- Salt: Just a pinch enhances the sweetness and balances the flavors for a delightful finish.
- Unsalted Butter: Room temperature butter creams beautifully with sugar, adding richness and a mouthwatering flavor to the cookies.
- Sugar: The sweet base of the dough, white sugar gives the cookies a crisp edge while making them tender and delightful.
- Eggs: A large egg and an extra yolk add moisture and richness, helping to bind the ingredients together.
- Vanilla Extract: This adds a warm, aromatic flavor that pairs perfectly with the fruity crunch of the cereal.
- Powdered Sugar: Perfect for making a sweet, creamy glaze that elevates the cookie experience.
- Milk: Used in the glaze, this helps in achieving a smooth consistency. Adjust to your liking!
- Optional Toppings: Feel free to sprinkle more Fruity Pebbles on top of the glaze for an extra crunch and a pop of color.
For exact measurements and quantities, you can find them at the bottom of the article, where you can easily print them out for your baking adventures!
How to Make Fruity Pebbles Cookies
Making Fruity Pebbles Cookies is as easy as pie! With just a few simple steps, you’ll have a batch of colorful, chewy cookies that are sure to bring smiles. Let’s get started!
Step 1: Prepare the Oven and Baking Sheets
First things first, preheat your oven to 350°F (180°C). This is crucial! Meanwhile, line your baking sheets with parchment paper or silicone baking mats. This will help prevent sticking and make clean-up a breeze.
Step 2: Crush the Fruity Pebbles
Now for the fun part—crushing the Fruity Pebbles! Grab your food processor and add about two cups of the cereal. Pulse until you have fine crumbs. You want about one cup of crushed Fruity Pebbles, packed with all that fruity flavor.
Step 3: Combine Dry Ingredients
In a medium-sized bowl, mix your fruity pebble crumbs with flour, baking soda, and salt. Whisk it well to ensure everything is evenly combined. This mix is the base of your cookie dough and sets the stage for a perfectly textured treat!
Step 4: Cream Butter and Sugar
In a large mixing bowl, cream the unsalted butter and sugar together on medium speed for about 2-3 minutes. You’re aiming for a light and fluffy texture. This step is where the magic begins, adding a richness that will melt in your mouth!
Step 5: Add Wet Ingredients
Next, add in the whole egg, the egg yolk, and the vanilla extract. Mix until everything is well combined. The eggs add moisture while the vanilla gives the cookies a delightful aroma. It’s the little details that elevate the flavor!
Step 6: Mix in Dry Ingredients
Now, it’s time to combine the dry ingredients with the wet mix. Gently fold them in until just combined. Be careful not to over-mix. You want your dough to be cohesive yet soft and fluffy, like a cloud of happiness!
Step 7: Form Cookie Balls
Using a measuring cup or your hands, divide the cookie dough into 8 even balls. Aim for about 5-6 tablespoons of dough per cookie. This size will ensure each cookie is perfectly chewy with a nice thickness. Use your hands to gently roll them into smooth balls.
Step 8: Bake the Cookies
Place these dough balls on your prepared baking sheets, spacing them out to allow room for spreading. Bake for 10-15 minutes or until the edges are just golden and the cookies are no longer glossy. That’s when you’ll know they’re ready!
Step 9: Cool the Cookies
Once baked, let the cookies cool on the sheet for about 5-10 minutes. Then, transfer them to a cooling rack. This step is essential for letting them set properly and ensures that each bite remains soft and chewy.
Step 10: Add the Glaze and Garnish
For the delicious glaze, mix the powdered sugar with milk in a small bowl to reach your desired consistency. Dip each cooled cookie into the glaze, letting the excess drip off, and then press into some extra Fruity Pebbles for that added crunch and flair. Set them aside to dry and harden—if you can resist the temptation!
Tips for Success
- Use room temperature butter for easier creaming and a smoother dough.
- Don’t skip the chilling step—letting the dough rest helps the flavors meld.
- For a fun twist, experiment with different cereals or mix-ins like chocolate chips.
- Monitor the baking time closely to prevent over-baking; cookies should be soft when you take them out.
- Feel free to double the recipe for larger gatherings, these cookies disappear fast!
Equipment Needed
- Mixing Bowl: A large mixing bowl for combining ingredients. A glass or metal bowl works best.
- Food Processor: Essential for crushing fruity pebbles. A zip-top bag and rolling pin can work too!
- Baking Sheets: Line with parchment paper or silicone mats to prevent sticking.
- Cooling Rack: Helps cookies cool evenly. A plate can substitute in a pinch.
- Measuring Cups and Spoons: Accurate measurements are key to baking success!
Variations of Fruity Pebbles Cookies
- Chocolate Chip Addition: Stir in a cup of chocolate chips for a delightful contrast of flavors. Who doesn’t love chocolate?
- Dairy-Free Option: Use coconut oil instead of butter and a dairy-free milk for the glaze to accommodate lactose intolerance.
- Add Nuts: Toss in some chopped nuts like walnuts or pecans for an added crunch and nutty flavor.
- Gluten-Free Version: Substitute all-purpose flour with a gluten-free blend. Just make sure it includes a binding agent.
- Fruity Medley: Mix in other colorful cereals along with Fruity Pebbles for additional textures and flavors.
- Festive Themes: For holidays, consider adding seasonal sprinkles or tinted glaze to match the occasion.
Serving Suggestions for Fruity Pebbles Cookies
- Pair these colorful cookies with a glass of ice-cold milk for the ultimate treat.
- Serve them as a fun dessert at birthday parties or family gatherings.
- For fancy presentation, stack the cookies on a cute plate and drizzle with extra glaze.
- Consider offering a side of fresh fruit for a balanced sweet treat.
- Wrap them in colorful cellophane for a delightful homemade gift!
FAQs about Fruity Pebbles Cookies
Can I use other cereals instead of Fruity Pebbles?
Absolutely! While Fruity Pebbles bring vibrant colors and flavors, you can experiment with other cereals like Rice Krispies or Cinnamon Toast Crunch. Just keep in mind, it might change the overall taste and texture!
How should I store these cookies?
For the best freshness, store your Fruity Pebbles Cookies in an airtight container. They’ll stay delicious for up to a week. But, if you have any left after the first few days, you must be a miracle worker!
Can I freeze the cookie dough for later baking?
Yes, you can! Simply wrap the dough balls in plastic wrap and place them in a freezer bag. They’ll keep well for up to three months. When you’re ready, just bake straight from the freezer, adding a couple of extra minutes to the baking time.
What consistency should the glaze be?
The glaze should be smooth yet thick enough to coat each cookie without dripping too much. If it’s too runny, add more powdered sugar; if it’s too thick, a splash of milk can fix that!
Can I make these cookies vegan?
You can! Substitute the butter with a plant-based alternative and use flax eggs instead of regular eggs. Just mix one tablespoon of ground flaxseed with three tablespoons of water per egg you want to replace.
Final Thoughts
Making Fruity Pebbles Cookies isn’t just about baking; it’s a journey of nostalgia and joy. The vibrant colors and delightful flavors whisk you and your family back to carefree childhood days. Baking these cookies brings laughter, smiles, and yummy aromas wafting through your home—a simple remedy to a busy day. Whether you’re preparing a quick snack for your kids or surprising guests, these cookies are bound to shine on any dessert table. Plus, every bite is a reminder that even in our whirlwind lives, we can squeeze in sweetness and connection with those we love. Enjoy the magic!
Print
Fruity Pebbles Cookies
- Total Time: 35 minutes
- Yield: 8 cookies 1x
- Diet: Vegetarian
Description
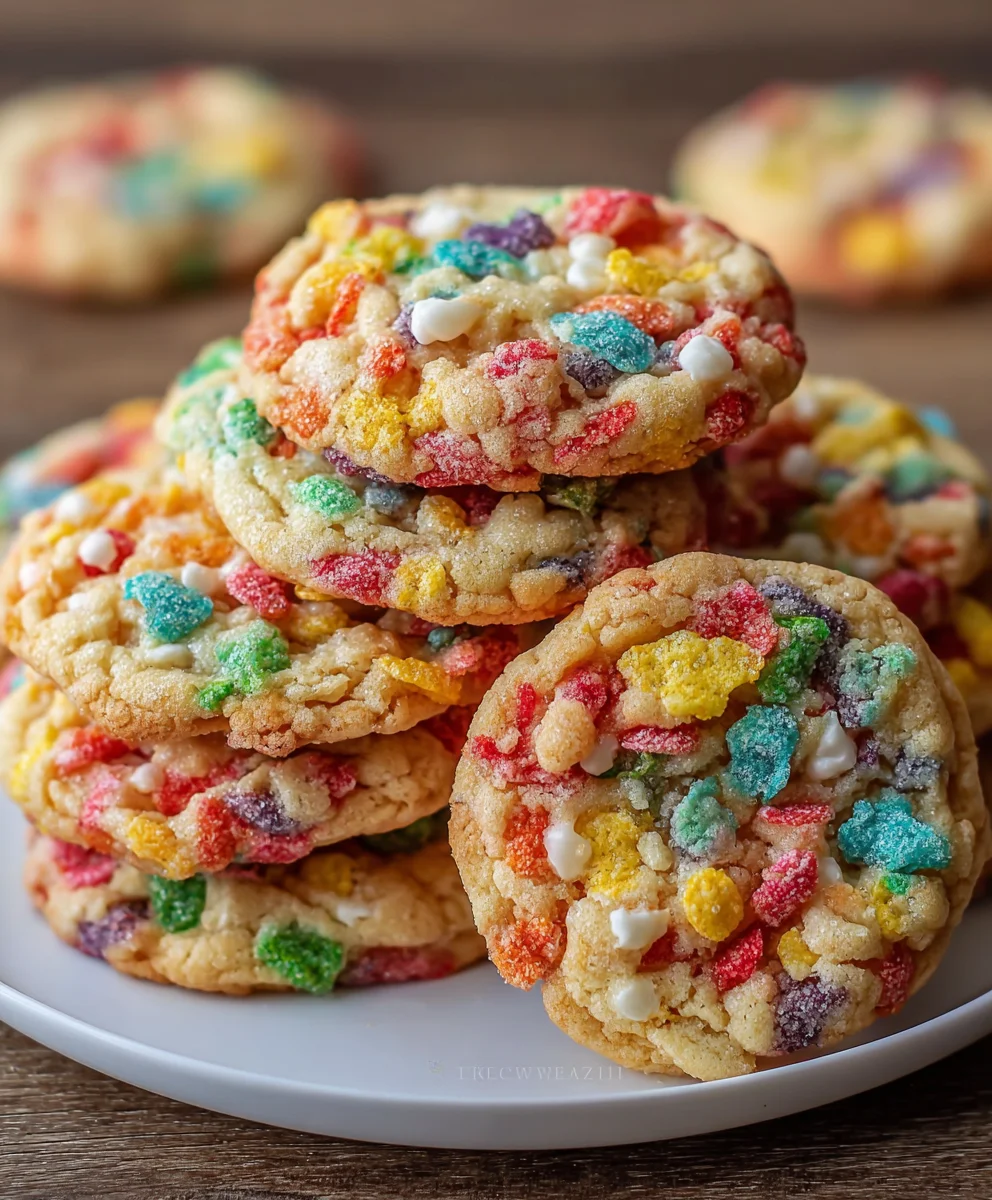
Deliciously colorful and chewy Fruity Pebbles Cookies topped with a sweet glaze.
Ingredients
- 2 1/3 cups fruity pebbles
- 2 cups plus 2 tbsp (276g) all-purpose flour
- 1 tsp baking soda
- 1/4 tsp salt
- 3/4 cup (168g) unsalted butter, room temperature
- 1 cup (207g) sugar
- 1 large egg
- 1 large egg yolk
- 1 tbsp vanilla extract
- 1 cup (115g) powdered sugar for glaze
- 2–3 tbsp milk for glaze
- 2 cups fruity pebbles for garnish
Instructions
- Preheat oven to 350°F (180°C). Line baking sheets with parchment paper or silicone baking mats. Set aside.
- Add the fruity pebbles to a food processor and crush into crumbs. You want to end up with 1 cup of crumbs.
- Combine the fruity pebbles crumbs, flour, baking soda and salt in a medium sized bowl and set aside.
- Cream the butter and sugar together in a large mixer bowl on medium speed until light in color and fluffy, 2-3 minutes.
- Add the egg and egg yolk and mix until well combined.
- Add the vanilla extract and mix until well combined.
- Add the dry ingredients and mix until the dough is well combined. Be careful not to over-mix.
- Divide the cookie dough into 8 even balls of about 5-6 tablespoons (about 105g) of cookie dough per ball.
- Bake the cookies for 10-15 minutes or until the cookies are no longer glossy and are just about to brown on the edges.
- Allow the cookies to cool for 5-10 minutes, then move to a cooling rack to cool completely.
- To add the glaze, combine the powdered sugar and milk in a small bowl. Add the fruity pebbles to another small bowl.
- Working with one cookie at a time, dip each cookie into the glaze and let the excess drip off, then press the cookie into the fruity pebbles. Set cookies aside to dry, then serve.
Notes
- Store cookies in an airtight container for up to a week.
- For extra crunch, add more fruity pebbles on top of the glaze before it sets.
- Feel free to adjust the milk quantity in the glaze for your desired consistency.
- Prep Time: 20 minutes
- Cook Time: 15 minutes
- Category: Dessert
- Method: Baking
- Cuisine: American
Nutrition
- Serving Size: 1 cookie
- Calories: 200
- Sugar: 15g
- Sodium: 150mg
- Fat: 8g
- Saturated Fat: 5g
- Unsaturated Fat: 2g
- Trans Fat: 0g
- Carbohydrates: 30g
- Fiber: 1g
- Protein: 2g
- Cholesterol: 30mg