Introduction to Creamy Peach Crumble Cheesecake Cones
As a passionate home cook, I’m always on the lookout for that perfect dessert that brings joy and a touch of nostalgia. Enter the Creamy Peach Crumble Cheesecake Cones! This delightful treat perfectly layers a rich cheesecake filling with sweet, juicy peaches and a crunchy crumble, all nestled in a crispy cone. It’s simple enough for a busy day yet impressive enough to delight family and friends. Whether it’s for a casual gathering or an afternoon treat, this recipe is a little slice of happiness that anyone can whip up in no time!
Why You’ll Love This Creamy Peach Crumble Cheesecake Cones
The best part about these Creamy Peach Crumble Cheesecake Cones is how effortlessly they come together, even on the busiest of days. With just a few simple steps, you can create a gorgeous dessert that brings smiles all around. The combination of creamy cheesecake, juicy peaches, and that crunchy crumble is simply divine. Plus, they’re perfectly portable, making them an excellent treat for picnics or gatherings!
Ingredients for Creamy Peach Crumble Cheesecake Cones
Here’s what you’ll need to create these luscious Creamy Peach Crumble Cheesecake Cones. You’ll find that each ingredient plays a vital role in crafting this delicious dessert:
- Fresh Peaches: The star of the show! Sweet, juicy peaches add natural sweetness and a burst of flavor.
- Granulated Sugar: Used for both the peach filling and the cheesecake, sugar brings balance to the flavors.
- Cornstarch: This helps to thicken the peach filling, creating a nice, syrupy texture.
- Ground Cinnamon: A pinch of this warm spice elevates the peach flavor, making it even more comforting.
- Unsalted Butter: Adds richness to both the peach filling and the crumble topping.
- All-Purpose Flour: Essential for the crumble topping, giving it that delightful crunch.
- Rolled Oats: These add texture to the crumble topping, making it hearty and satisfying.
- Light Brown Sugar: A sweeter alternative to granulated sugar, it adds a lovely caramel note to the crumble.
- Waffle or Sugar Cones: These are not just for holding the fillings but also add a delightful crunch to each bite.
- Cream Cheese: The creamy base of the cheesecake filling, which should be softened for easy mixing.
- Vanilla Extract: This aromatic flavor enhances the cheesecake, making it truly irresistible.
- Lemon Juice: Adds a refreshing tang that balances the sweetness of the other ingredients.
- Heavy Cream: Whipping this transforms it into light, fluffy clouds that create a perfect texture in the filling.
You can find the exact measurements for each ingredient at the bottom of this article, along with a printable version for your convenience!
How to Make Creamy Peach Crumble Cheesecake Cones
Get ready for the fun part! Making these Creamy Peach Crumble Cheesecake Cones is quite straightforward and enjoyable. Let’s dive into the steps that will bring this delightful treat to life.
Step 1: Preheat and Prepare the Crumble
First things first, preheat your oven to 350°F (175°C). While the oven heats up, grab a mixing bowl and combine the all-purpose flour, rolled oats, brown sugar, and ground cinnamon. This creates the base for your crunchy crumble topping that adds so much texture!
Step 2: Create the Crumble Topping
Now, take the cubed cold butter and toss it into your dry ingredients. Using your fingers or a pastry cutter, mix until the mixture resembles coarse crumbs. Think of it as a mini workout for your hands! This step builds the team of flavors that complement the cheesecake and peach filling beautifully.
Step 3: Bake the Crumble
Spread your crumble mixture evenly onto a baking sheet, making sure it’s nicely spaced out. Pop it in the oven for about 10-12 minutes, watching for that golden brown perfection. You’ll know it’s done when you catch that heavenly aroma wafting through your kitchen. It’s time to feel like a superstar baker!
Step 4: Cook the Peach Filling
While your crumble is baking, let’s focus on the peaches. In a saucepan, combine your diced peaches, granulated sugar, cornstarch, ground cinnamon, and unsalted butter. Cook this mixture on medium heat, stirring occasionally, until it thickens and becomes syrupy. This filling will be the juicy layer that brings everything together.
Step 5: Prepare the Cheesecake Filling
In a large mixing bowl, beat your softened cream cheese with granulated sugar until it’s silky-smooth. Stir in the vanilla extract and lemon juice. This cheesecake mixture is where the magic truly happens—it’s creamy, dreamy, and incredibly irresistible!
Step 6: Whip the Cream
Next, in a chilled bowl, pour in the cold heavy cream. Whip it until stiff peaks form—this will give your cheesecake filling a light, airy texture. Gently fold the whipped cream into the cream cheese mixture, being careful not to overmix. Remember, we’re looking for fluffiness here!
Step 7: Assemble the Cones
Grab your waffle or sugar cones. Begin layering! Start with a scoop of cheesecake filling, followed by a layer of cooled peach filling, and then sprinkle some crumble on top. Repeat the layers until the cones are filled to the brim. This is where you can get creative, so have fun with it!
Step 8: Chill Before Serving
Once your cones are all assembled, it’s time for a little patience. Chill them in the refrigerator for at least 2 hours. This helps set the cheesecake filling and develops those flavors wonderfully. Trust me, the waiting will be worth it when you take that first bite!
Tips for Success
- Make sure your cream cheese is at room temperature for smooth mixing.
- Chill your heavy cream before whipping for better volume.
- Don’t skip the chilling time—it makes a world of difference!
- Experiment with different fruits like berries for a fun twist.
- Use fresh peaches for the best flavor; canned ones can be too mushy.
Equipment Needed for Creamy Peach Crumble Cheesecake Cones
- Mixing Bowls: A set of various sizes is ideal. You can use any bowls you have at home.
- Whisk or Electric Mixer: For smooth cheesecake filling. A manual whisk works too with a bit more effort.
- Baking Sheet: Use a cookie sheet to bake the crumble.
- Measuring Cups and Spoons: Essential for accurate ingredient amounts, but you can eyeball it if you’re comfortable.
- Chilled Mixing Bowl: For whipping cream, a glass or metal bowl works best for achieving stiff peaks.
Variations of Creamy Peach Crumble Cheesecake Cones
- Berry Medley: Swap out peaches for a mix of blueberries, raspberries, and strawberries for a berry-filled delight.
- Mini Cheesecake Cups: Instead of cones, use small cups or jars for a fun twist that can be layered and served individually.
- Vegan Option: Use dairy-free cream cheese and whipped coconut cream to create a vegan-friendly version that everyone can enjoy.
- Gluten-Free Option: Replace all-purpose flour with almond flour or an alternative gluten-free flour blend for a gluten-free treat.
- Chocolate Drizzle: Add a rich chocolate drizzle on top of your layered cones for an indulgent touch that pairs beautifully with the peaches.
Serving Suggestions for Creamy Peach Crumble Cheesecake Cones
- Pair your cones with a scoop of vanilla ice cream for an extra creamy experience.
- Serve alongside a refreshing mint lemonade to balance the sweetness.
- For a beautiful presentation, sprinkle some extra crumble on top and garnish with fresh peach slices.
- Consider using decorative plates to elevate the dessert’s appeal during gatherings.
FAQs about Creamy Peach Crumble Cheesecake Cones
It’s no surprise that you might have a few questions about these delightful Creamy Peach Crumble Cheesecake Cones. I’m here to help clarify any doubts and make your baking journey even smoother!
Can I make the cheesecake filling ahead of time?
Absolutely! You can prepare the cheesecake filling a day in advance and store it in the refrigerator. Just make sure to whip the cream right before assembling to keep it light and fluffy.
Can I use frozen peaches instead of fresh?
Sure thing! Just thaw and drain the frozen peaches before using them. This works well but may alter the texture slightly, so choose good quality frozen peaches for the best results.
How do I prevent the cones from getting soggy?
Chilling the cones after assembly helps set the cheesecake and peach layers without making the cones soggy. You can also coat the insides of the cones with melted chocolate to create a barrier!
What’s the best way to store leftover cones?
Store any leftover cones in the fridge, separated if possible, to avoid sogginess. They’ll last for a day or two, but they’re at their best when fresh.
Can I add other toppings to the cones?
Of course! Consider adding whipped cream, a drizzle of caramel sauce, or even some chopped nuts for crunch. The options are endless and can elevate your cream peach crumble cheesecake cones even further!
Final Thoughts on Creamy Peach Crumble Cheesecake Cones
These Creamy Peach Crumble Cheesecake Cones aren’t just a dessert; they’re an experience filled with joy and delightful flavors. Every bite captures the essence of summer, with the sweetness of fresh peaches and a creamy, dreamy filling. They’re the perfect way to unwind after a long day or to make special moments even sweeter. With their fun presentation and vibrant taste, they’ll surely steal the spotlight at your gatherings. So grab those cones and bring a little happiness to your table—you and your loved ones deserve it!
Print
Creamy Peach Crumble Cheesecake Cones
- Total Time: 2 hours 50 minutes
- Yield: 12–15 cones 1x
- Diet: Vegetarian
Description
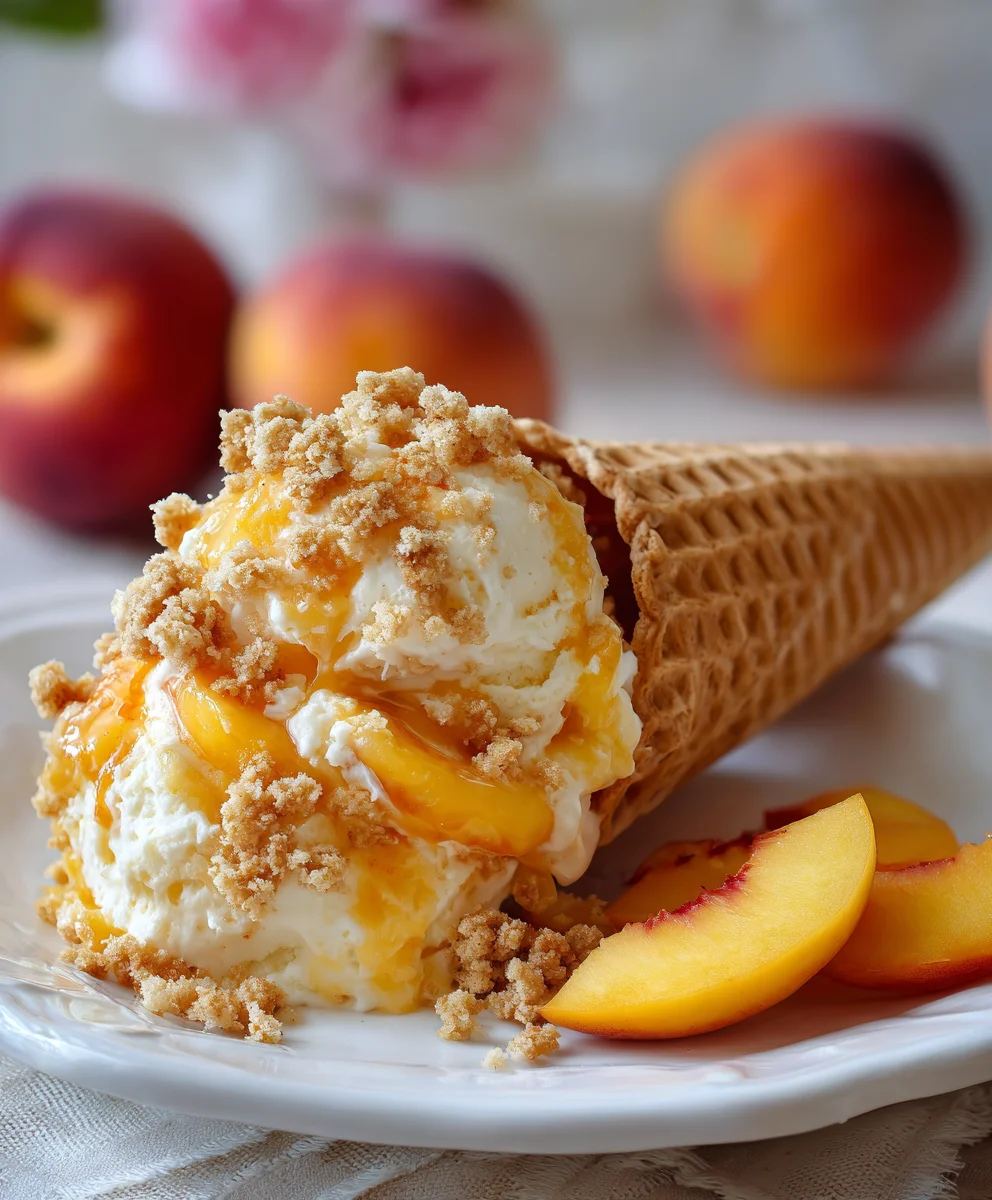
Delicious creamy cheesecake filling layered with fresh peach filling and a crunchy crumble, all served in a cone for a delightful dessert experience.
Ingredients
- 3 cups fresh peaches, peeled, pitted, and diced
- 1/4 cup granulated sugar (for peaches)
- 1 tbsp cornstarch (for peaches)
- 1/2 tsp ground cinnamon (for peaches)
- 1 tbsp unsalted butter (for peaches)
- 1/2 cup all-purpose flour
- 1/4 cup rolled oats
- 1/4 cup packed light brown sugar
- 1/4 tsp ground cinnamon (for crumble)
- 1/4 cup cold unsalted butter, cubed (for crumble)
- 12–15 waffle cones or sugar cones
- 16 oz (2 blocks) cream cheese, softened
- 1/2 cup granulated sugar (for cheesecake)
- 1 tsp vanilla extract
- 1 tbsp lemon juice
- 1/2 cup heavy cream, cold
Instructions
- Preheat oven to 350°F (175°C) and prepare the crumble topping by mixing flour, oats, brown sugar, and ground cinnamon.
- Add cubed cold butter to dry ingredients and mix until the mixture resembles coarse crumbs.
- Spread the crumble evenly on a baking sheet and bake for 10-12 minutes until golden brown.
- In a saucepan, combine diced peaches, granulated sugar, cornstarch, ground cinnamon, and butter; cook until thickened.
- In a large bowl, beat softened cream cheese with granulated sugar until smooth; stir in vanilla and lemon juice.
- In a chilled bowl, whip heavy cream until stiff peaks form, then gently fold into cream cheese mixture.
- Layer the cheesecake filling, peach filling, and crumble in the cones, repeating until full.
- Chill assembled cones in the refrigerator for at least 2 hours.
- Serve chilled with peach slices or extra crumble on top.
Notes
- Ensure the cream cheese is softened for easier mixing.
- Chilling the cones helps set the cheesecake and prevents sogginess.
- Feel free to adjust the sweetness of the peach filling according to your preference.
- Prep Time: 30 minutes
- Cook Time: 20 minutes
- Category: Dessert
- Method: Baking and Chilling
- Cuisine: American
Nutrition
- Serving Size: 1 cone
- Calories: 320
- Sugar: 22g
- Sodium: 160mg
- Fat: 18g
- Saturated Fat: 10g
- Unsaturated Fat: 6g
- Trans Fat: 0g
- Carbohydrates: 36g
- Fiber: 2g
- Protein: 5g
- Cholesterol: 60mg