Introduction to Red Velvet Waffles
Hey there, all you busy moms and professionals! I know life can sometimes feel like a whirlwind, but that doesn’t mean you can’t sprinkle a little joy into your mornings. Enter red velvet waffles—a decadent treat that transforms an ordinary breakfast into something extraordinary. Imagine biting into soft, fluffy waffles with that stunning crimson hue, all while knowing they’re quick to whip up. They’re perfect for impressing your loved ones or treating yourself after a long week. So, ready to dive into a delightful breakfast adventure? Let’s make some magic happen in the kitchen!
Why You’ll Love This Red Velvet Waffles
These red velvet waffles are not just a feast for the eyes; they’re a breeze to make, too! In just 35 minutes, you can create a delicious breakfast that feels like a special occasion. They’re fluffy, tasty, and infused with a hint of cocoa and that gorgeous red color. Plus, who can resist the thrill of serving something so unique? Trust me, these waffles will become a beloved favorite in your household!
Ingredients for Red Velvet Waffles

Let’s talk about what makes these red velvet waffles so special! I promise you’ll find everything you need for a delightful morning adventure right here.
- All-purpose flour: The backbone of any waffle, offering that fluffy texture we crave.
- Salt: Just a pinch works wonders. It enhances the flavor of the other ingredients.
- Baking powder: This magical ingredient gives our waffles that perfect lift, ensuring they’re light and airy.
- Granulated sugar: Sweetness alert! It adds a delightful hint of sugar that complements the cocoa flavor.
- Unsweetened cocoa powder: A secret weapon for that subtle chocolate essence, it also makes the color pop.
- Large eggs: They help bind everything together and add richness to our delicious waffles.
- Milk: Creamy goodness! You can use whole, almond, or oat milk as options for a dairy-free twist.
- Vegetable oil: Adds moisture and helps in getting that crispy exterior we all adore.
- Lorann Red Velvet Bakery Emulsion or red food coloring: The star of the show! This is what gives our waffles that signature red hue. Use the emulsion for a more robust flavor, or adjust the food coloring to your desired intensity.
For exact measurements, don’t forget to check the end of the article. You can print them out, too!
How to Make Red Velvet Waffles
Now that we have gathered our ingredients, it’s time to bring our red velvet waffles to life! I’ll walk you through each step in a straightforward way, so you’ll feel like a pro in no time. Let’s get cooking!
Step 1: Preheat the Waffle Maker
Start by preheating your waffle maker according to the manufacturer’s instructions. This step is essential for achieving those perfectly crispy edges. Trust me; you won’t want to skip it when you see the magic unfold!
Step 2: Whisk the Dry Ingredients
In a large mixing bowl, combine the all-purpose flour, salt, baking powder, sugar, and cocoa powder. Grab a good whisk and blend these ingredients until they’re well mixed. This cozy mixture is the foundation of our waffles, ensuring they have that delightful texture!
Step 3: Mix the Wet Ingredients
In a separate bowl, beat the eggs until fluffy, then add the milk and vegetable oil. Now, here’s the fun part! Stir in the Lorann Red Velvet Bakery Emulsion or red food coloring. Mix everything until well combined. The vibrant color is mesmerizing, isn’t it?
Step 4: Combine Wet and Dry Mixtures
Gently pour the wet mixture into the bowl with your dry ingredients. Using a spatula, stir until just combined. Take care not to overmix! A few lumps are perfectly fine, as this keeps your waffles nice and light.
Step 5: Cook the Waffles
Once your batter is ready, pour an appropriate amount onto the preheated waffle maker. Close it and allow the waffles to cook until they’re golden brown and irresistibly crispy. Usually, this takes about 4–5 minutes, but keep an eye out to avoid burning!
Step 6: Serve and Enjoy!
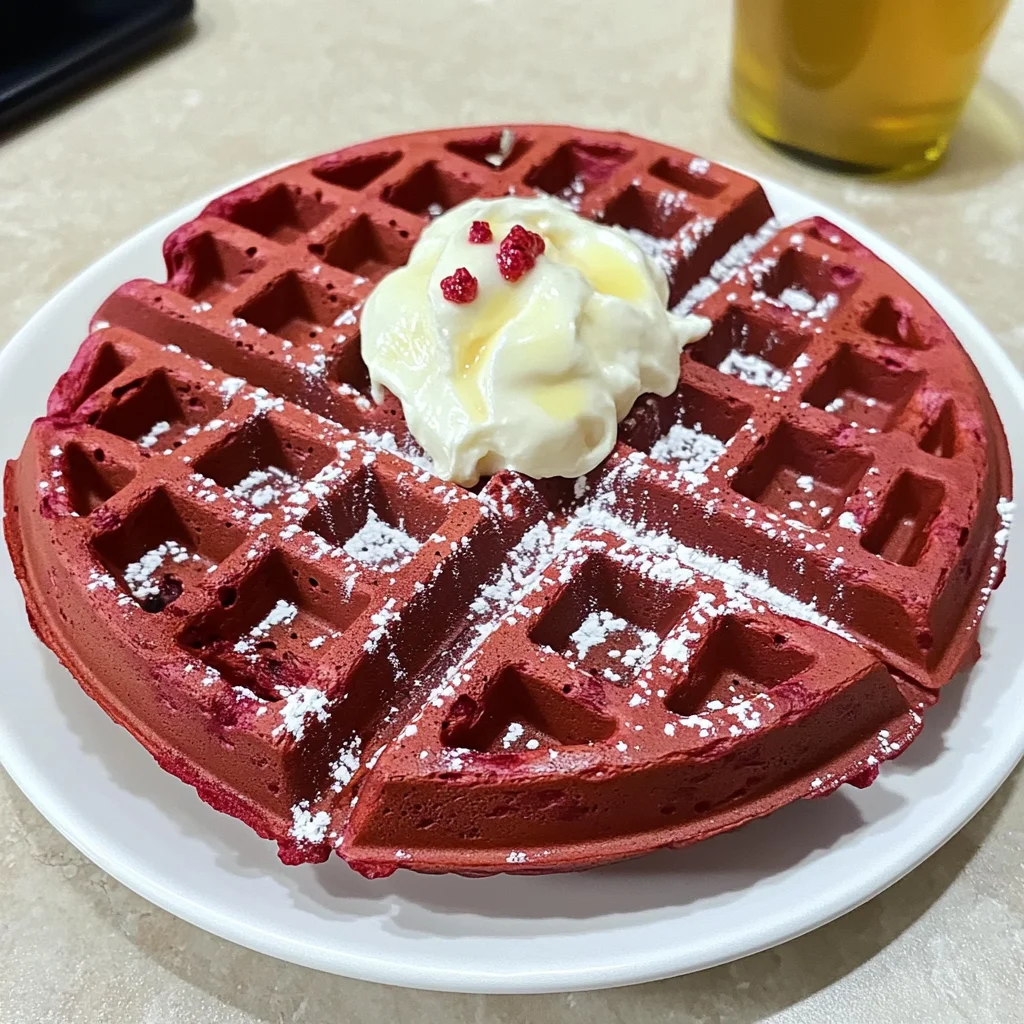
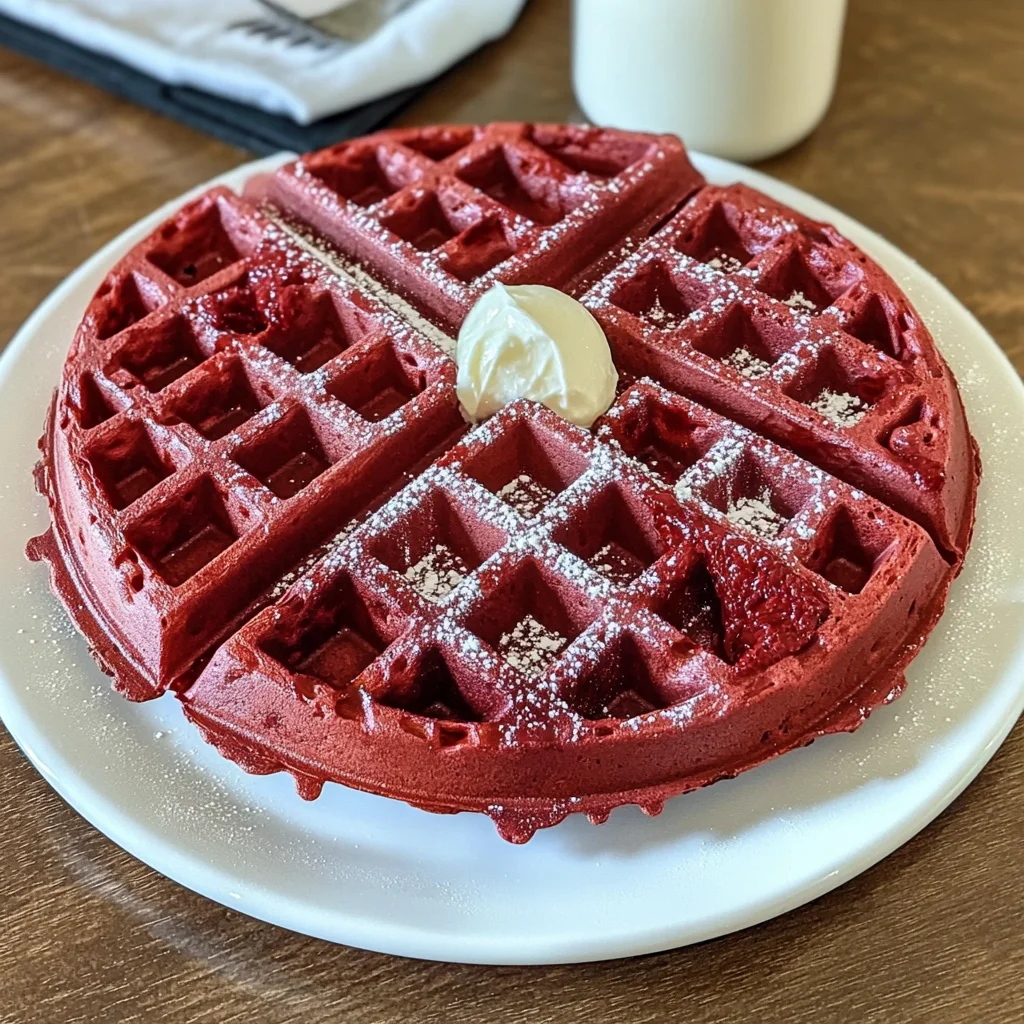
Carefully remove the waffles from the waffle maker. Serve them warm with your favorite toppings—think cream cheese icing, fresh berries, or a drizzle of maple syrup. As you dig in, you’ll experience that cheerful blend of flavors and textures, making every bite a mini celebration!
Tips for Success
- Make sure your waffle maker is fully preheated for that crispiness every waffle deserves.
- Keep the batter lumpy! It makes for fluffier waffles—don’t worry about perfection.
- Try varying the color using food coloring. This makes for a fun twist on presentation.
- For extra flavor, add a pinch of cinnamon to your dry ingredients.
- Serve immediately or keep warm in the oven at 200°F until you’re ready to enjoy!
Equipment Needed
- Waffle Maker: This is essential for creating those fluffy red velvet waffles. If you don’t have one, a skillet can work for pancake-style variations!
- Mixing Bowls: You’ll need at least two—one for dry ingredients and another for wet. Glass or stainless steel works best.
- Whisk: For blending your dry and wet ingredients together. A fork can substitute in a pinch!
- Spatula: Perfect for gently combining your batter without overmixing.
- Pouring Pitcher: Makes it easier to pour batter into the waffle maker. A measuring cup can also do the trick!
Variations of Red Velvet Waffles
- Gluten-Free Red Velvet Waffles: Substitute all-purpose flour with a gluten-free baking mix. It’s an easy swap for those avoiding gluten!
- Vegan Red Velvet Waffles: Replace eggs with flax eggs (1 tablespoon of flaxseed meal mixed with 2.5 tablespoons of water) and use almond or coconut milk. This way, everyone can enjoy them!
- Chocolate Chip Red Velvet Waffles: Fold in semi-sweet or dark chocolate chips into your batter for an extra layer of indulgence. It’s a chocolate lover’s dream!
- Red Velvet Waffle Sandwich: Stack two waffles together with cream cheese frosting or whipped cream in between. This creates a delightful dessert experience!
- Fruit-Infused Red Velvet Waffles: Add mashed bananas or pureed strawberries to the wet ingredients. This will add natural sweetness and a fruity twist.
Serving Suggestions
- Top with a dollop of cream cheese icing for a classic pairing that never disappoints.
- Fresh whipped cream and seasonal berries make for a vibrant, colorful presentation.
- Serve alongside crispy bacon or sausage for a delightful sweet and savory combo.
- A warm cup of coffee or a latte complements the flavors beautifully.
- Garnish with a sprinkle of powdered sugar or chocolate shavings for added flair!
FAQs about Red Velvet Waffles
If you’re diving into the world of red velvet waffles for the first time, you might have some questions. No worries! I’ve got you covered with answers to the most common inquiries.
Can I make the batter ahead of time?
Absolutely! You can prepare the batter the night before and store it in the fridge. Just give it a gentle stir before pouring it into the waffle maker in the morning.
Do I need a special waffle maker for red velvet waffles?
Nope! A standard waffle maker works perfectly. Just ensure it’s preheated for those crispy edges. If you fancy a different shape, go for it!
How do I store leftover waffles?
Store any uneaten waffles in an airtight container in the refrigerator for up to two days. You can easily reheat them in a toaster or microwave later!
Can I freeze red velvet waffles?
Yes! Freeze individual waffles in a single layer, then transfer them to a freezer bag. They’ll be perfect to enjoy any time you crave this delicious treat.
What’s the best way to serve these waffles?
These red velvet waffles shine with cream cheese icing or a drizzle of maple syrup. Add fruit for a refreshing twist, or go wild with extra toppings like whipped cream!
Final Thoughts
Making red velvet waffles is more than just a breakfast routine; it’s a joyful experience that draws everyone together. The vibrant color, decadent taste, and fluffy texture create a delightful morning moment that’s effortlessly shared with family or friends. Each bite is a celebration of flavors that can bring even the busiest of days to a sweet pause. I can’t wait for you to enjoy these enchanting waffles just like I do! So, get your waffle maker ready and let’s sprinkle some love into your breakfast time. Trust me; your taste buds will thank you!