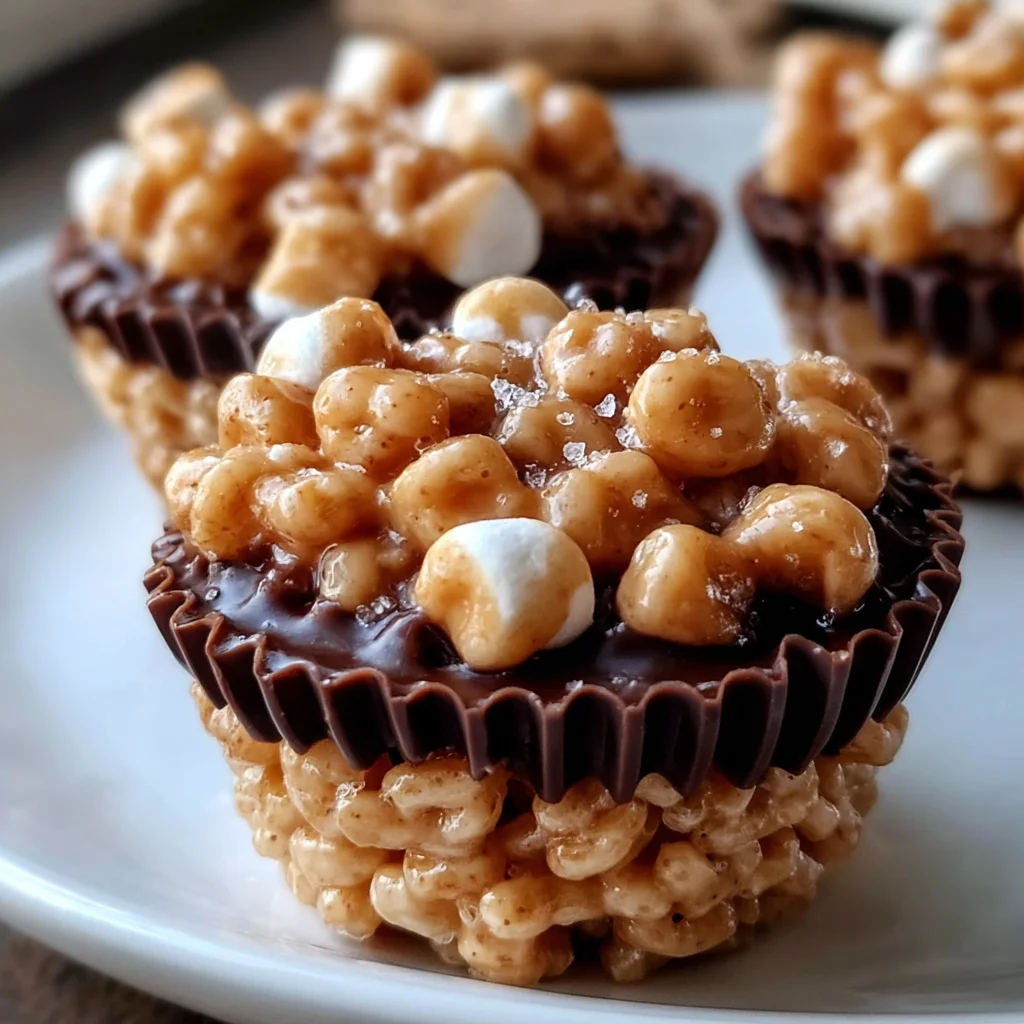
Introduction to Chocolate Peanut Butter Rice Krispie Cups
As a busy mom, I know how precious time can be, especially when you’re juggling kids, work, and household chores. That’s why I absolutely adore these Chocolate Peanut Butter Rice Krispie Cups! They’re not just a delicious treat; they’re a lifesaver on hectic days. Picture this: a delightful fusion of creamy peanut butter, rich chocolate, and that nostalgic crunch of Rice Krispies, all in one cute little cup. Whether it’s a quick dessert after dinner or a sweet surprise for the kids, this recipe has your back. Trust me, it’s sure to impress your loved ones and brighten their day!
Why You’ll Love This Chocolate Peanut Butter Rice Krispie Cups
These Chocolate Peanut Butter Rice Krispie Cups are a dream come true for busy folks like us. They’re incredibly easy and quick to whip up, taking just 25 minutes from start to finish! The taste is simply out of this world—imagine the satisfying crunch of Rice Krispies paired with the rich creaminess of peanut butter and chocolate. It’s a sweet escape that everyone in the family will adore!
Ingredients for Chocolate Peanut Butter Rice Krispie Cups
To create these delightful Chocolate Peanut Butter Rice Krispie Cups, you’ll need a handful of simple ingredients that bring out the best in each other. Here’s what you’ll be gathering:
- Rice Krispies cereal: The quintessential crunch factor! These little guys add that signature crispy texture.
- Creamy peanut butter: Rich and smooth, peanut butter binds everything together while delivering a flavor punch.
- Unsalted butter: This creates a luscious base when melted, making your cups silky and rich. Unsalted is preferable, as you can control the saltiness.
- Mini marshmallows: They add sweetness and magic! They melt into a gooey goodness that helps hold the cups together.
- Chocolate chips: These are the crowning glory! Melting them creates a decadent layer that every bite just craves.
- Vanilla extract (optional): Just a splash of this lovely essence enhances the flavor beautifully without overpowering.
- Pinch of sea salt (optional): A touch of sea salt balances the sweetness, elevating the overall taste experience.
Don’t worry; if you’re short on some ingredients or need substitutions, feel free to mix it up. Almond butter can replace peanut butter, and you can use any chocolate variety you love! The exact measurements can be found at the bottom of this article, along with a handy print option. Happy cooking!

How to Make Chocolate Peanut Butter Rice Krispie Cups
Creating these Chocolate Peanut Butter Rice Krispie Cups is a breeze. With just a few simple steps, you and your family will have a delightful treat ready in no time. Let’s dive right in!
Step 1: Melt the Base
First, grab a medium saucepan and set it over low heat. Add unsalted butter and mini marshmallows. Stir consistently until the mixture is silky smooth. This step is crucial—keep it slow to prevent burning. The heat should be low, like a gentle summer breeze. The goal? A sweet, gooey goodness, perfect for binding everything together!
Step 2: Add Peanut Butter
Next, it’s time to bring in the creamy peanut butter. Fold it into the melted mixture with a spatula. If you’re using vanilla extract, add it here too. Stir until every bit of that creamy goodness is blended in. You want a luscious mixture that whispers, “I’m ready for some crispy fun!”
Step 3: Mix with Cereal
Now, take a large bowl and pour in the Rice Krispies. It’s time to bring the party together! Gently fold the peanut butter mixture into the cereal. Be careful not to crush those crispy gems—preserving their crunch is key. Mix until every piece is brilliantly coated and looks like a beautiful mess.
Step 4: Shape the Cups
Line a muffin tin with paper liners. Now, spoon your Rice Krispie mixture evenly into each cup, pressing down slightly to form a flat base. Use your fingers or the back of a spoon to gently pack it in; we want them stable but still crisp. Trust me; the best part is yet to come!
Step 5: Add Chocolate Layer
It’s time for the glorious chocolate! Microwave your chocolate chips in 20-second intervals, stirring between each. Once melted and smooth, spoon the chocolate over each Rice Krispie cup. Spread it evenly like a nice warm blanket. If you’re feeling fancy, sprinkle a little sea salt on top for that perfect sweet and salty contrast.
Step 6: Set & Serve
Now, let the cups cool. You can leave them out at room temperature for about 20 minutes or pop them in the fridge for a quicker set. Once they’re firm, carefully peel off the paper liners. And voilà! Time to enjoy your homemade Chocolate Peanut Butter Rice Krispie Cups. You’re about to be the star of dessert!
Tips for Success
- Keep the heat low when melting the base to prevent any burning.
- Use a silicone spatula for easy mixing and scraping of the bowl.
- Lightly press the mixture in the muffin tin to retain the Rice Krispies’ crunch.
- Let the chocolate set fully in the fridge for the best results.
- Store leftover cups in an airtight container—if there are any!
Equipment Needed
- Muffin tin: A standard muffin tin works great, but you can also use a mini muffin tin for bite-sized treats.
- Medium saucepan: Any oven-safe pot can substitute, just ensure it has a heavy base for even heat distribution.
- Spatula: A silicone spatula is perfect, but a wooden spoon will do the job too.
- Microwave-safe bowl: For melting chocolate, any microwave-safe dish will suffice.
Variations
- Nut Allergies: Swap creamy peanut butter for sunflower seed butter or tahini for a nut-free version that’s just as delightful!
- Chocolate Lovers: Use dark chocolate or semi-sweet chocolate chips for a richer flavor profile that satisfies your chocolate cravings.
- Healthier Option: Try using brown rice cereal instead of Rice Krispies for a whole grain twist that provides more fiber.
- Sweeteners: If you prefer a lower sugar version, consider using a natural sweetener like honey or agave syrup in place of some chocolate chips.
- Texture Variations: Add chopped nuts or seeds for a delightful crunch, or stir in dried fruit for a fruity sweetness!
Serving Suggestions
- Pair these cups with a tall glass of cold milk for that classic combo!
- Serve alongside fresh fruit like strawberries or bananas for a refreshing balance.
- Arrange on a beautiful platter, drizzling extra melted chocolate on top for a fancy touch.
- Garnish with crushed nuts or colorful sprinkles to make them even more enticing.
FAQs about Chocolate Peanut Butter Rice Krispie Cups
Can I make Chocolate Peanut Butter Rice Krispie Cups ahead of time?
Absolutely! These delightful treats store well. You can make them a day in advance and keep them in an airtight container in the fridge. This way, they’re ready to go for your kids’ snacks or last-minute gatherings.
What can I substitute for Rice Krispies cereal?
If Rice Krispies aren’t available, you can try any puffed rice cereal. You could also use cornflakes for a slightly different texture. Just ensure whatever you choose remains crunchy!
How do I keep my Rice Krispie cups from becoming soggy?
To avoid sogginess, it’s best to store these cups in an airtight container at room temperature. Keeping them in the fridge can make the chocolate layer too hard, so room temp is ideal for the perfect bite!
Can I add other mix-ins?
Definitely! Feel free to throw in mini chocolate chips, butterscotch chips or even dried cranberries for a fun flavor twist. Just remember to keep the balance; too many mix-ins might make them difficult to shape.
Are these Chocolate Peanut Butter Rice Krispie Cups suitable for kids?
Yes! They’re a hit with kids and adults alike. With a simple recipe, they can help you make these delicious cups. Just be mindful of any nut allergies if you’re using peanut butter.
Final Thoughts
Making these Chocolate Peanut Butter Rice Krispie Cups is more than just following a recipe; it’s about creating sweet moments with your family. I cherish the smiles and laughter that comes from sharing these delightful treats around the table. They remind me how just a few simple ingredients can bring joy to our busy lives. Whether it’s a quick after-school snack or a special dessert for game night, these cups transform everyday moments into cherished memories. So, roll up your sleeves, get your kids involved, and whip up a batch today. Your taste buds— and your loved ones— will thank you!
Print
Chocolate Peanut Butter Rice Krispie Cups are Irresistible!
- Total Time: 25 minutes
- Yield: 12 cups 1x
- Diet: Vegetarian
Description
Chocolate Peanut Butter Rice Krispie Cups are a delicious and irresistible treat that combines the flavors of chocolate, peanut butter, and crispy cereal.
Ingredients
- 3 cups Rice Krispies cereal
- 1 cup creamy peanut butter
- 1/2 cup unsalted butter
- 1 cup mini marshmallows
- 1 cup chocolate chips
- 1/2 tsp vanilla extract (optional)
- Pinch of sea salt (optional)
Instructions
- Melt the Base: In a medium saucepan over low heat, melt butter and marshmallows while stirring consistently until smooth.
- Add Peanut Butter: Stir in peanut butter and vanilla extract (if using) until fully combined and creamy.
- Mix with Cereal: Pour the Rice Krispies into a large bowl and add the peanut butter mixture. Gently fold until all the cereal is coated evenly.
- Shape the Cups: Line a muffin tin with paper liners. Spoon the mixture evenly into each cup and press down gently to form a flat surface.
- Add Chocolate Layer: Melt chocolate chips in the microwave (20-second intervals, stirring in between). Spoon melted chocolate over each cup and spread evenly. Sprinkle with sea salt if desired.
- Set & Serve: Allow the cups to cool at room temperature for 20 minutes or place them in the refrigerator to set faster. Once firm, remove the paper liners and serve!
Notes
- Low Heat is Key: When melting butter, marshmallows, and peanut butter, keep the heat low to prevent burning or altering the texture. Stir constantly for a smooth, creamy mixture.
- Press Gently: When shaping the cups in the muffin tin, press the mixture lightly to avoid crushing the Rice Krispies and losing their signature crunch.
- Chill for Best Results: Allow the chocolate layer to fully set by chilling the cups in the fridge for at least 20 minutes. This ensures a firm chocolate topping that won’t melt when served.
- Prep Time: 15 minutes
- Cook Time: 10 minutes
- Category: Dessert
- Method: No-Bake
- Cuisine: American
Nutrition
- Serving Size: 1 cup
- Calories: 150
- Sugar: 10g
- Sodium: 80mg
- Fat: 8g
- Saturated Fat: 3g
- Unsaturated Fat: 4g
- Trans Fat: 0g
- Carbohydrates: 18g
- Fiber: 1g
- Protein: 2g
- Cholesterol: 10mg