Introduction to One-Day Sourdough Bread
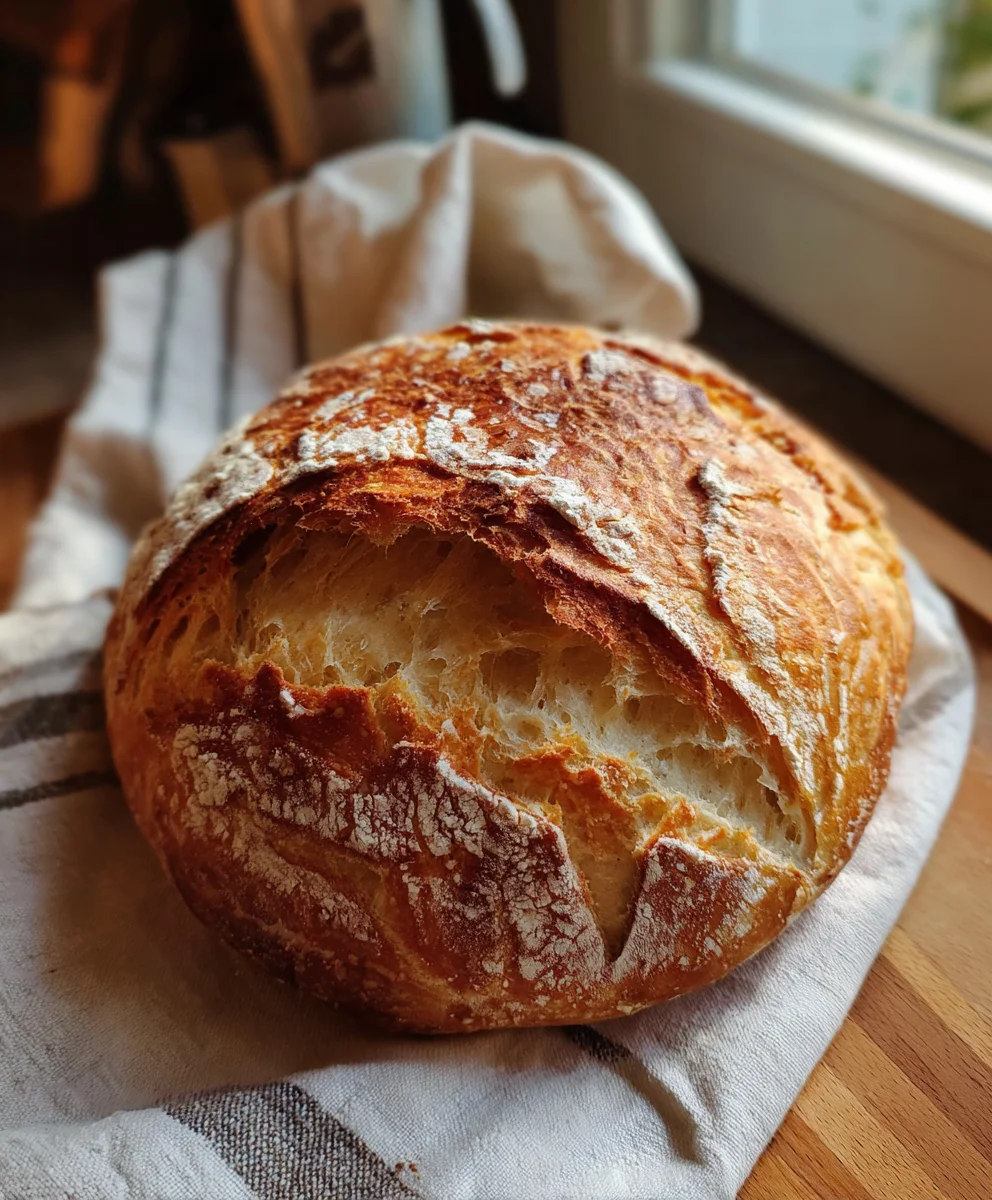
Welcome, fellow food lovers! If you’ve ever dreamed of baking warm, crusty bread at home but felt daunted by the process, let me introduce you to my one-day sourdough bread recipe. It’s a game-changer, perfect for busy moms and professionals alike. Picture this: in less than a day, you can have a fresh loaf that fills your kitchen with cozy aromas and earns compliments from family and friends. This recipe takes the fuss out of traditional sourdough, making it accessible without sacrificing flavor. Let’s get started on this beautiful baking adventure!
Why You’ll Love This One-Day Sourdough Bread
One-Day Sourdough Bread is the perfect blend of simplicity and deliciousness. In just one day, you can create a loaf that rivals those from artisanal bakeries. It’s quick enough to fit into your busy schedule, yet the flavor is anything but rushed. Every bite delivers a satisfying chew and that signature sourdough tang—just what you need to make any meal special. You’re going to love it!
Ingredients for One-Day Sourdough Bread
To whip up this delightful one-day sourdough bread, you’ll need just a handful of ingredients. Each one plays a vital role in crafting that perfect loaf.
- Sourdough Starter: Use 125g of an active, bubbly starter. It’s the heart and soul of your bread, providing that essential sour flavor.
- Bread Flour: 500g of high-quality bread flour creates structure and chewiness. You can swap some with whole wheat flour for a nutty flavor.
- Water: 300g of lukewarm water helps hydrate the flour. If you prefer, you can use slightly warmer water, but not hot—nobody likes scorched yeast!
- Salt: 10g of salt enhances flavor and strengthens the dough. Sea salt works beautifully, but feel free to use what’s on hand.
If you’d like to experiment, consider adding herbs, garlic, or even cheese to elevate your bread. You can find the exact measurements at the end of the article, which are also available for printing!
How to Make One-Day Sourdough Bread
Step 1: Mixing the Dough
Let’s dive into the fun part—mixing the dough! Start by gathering your ingredients and a large mixing bowl. In the bowl, combine your bubbly sourdough starter, bread flour, lukewarm water, and salt. Now, get messy! Use your hands to mix everything together until it forms a sticky ball. Don’t stress about achieving a smooth texture just yet; the goal is to incorporate everything. The dough will feel rough and tacky, and that’s perfectly fine. Think of this stage like parenting: messy and a bit chaotic, but so rewarding! Once mixed, cover the bowl with a towel or some plastic wrap, letting it rest for half an hour. Trust me—this is where the magic begins!
Step 2: Autolyse
After mixing, it’s time for the autolyse, a fancy term for giving your dough a little break. This resting period helps the flour fully hydrate and begins the gluten development. It’s like a mini vacation for your dough, allowing the proteins to unwind and stretch. This step enhances the bread’s texture, making it chewy and delightful. Cover your bowl again, perhaps for a quick coffee break, and let it rest for 30 minutes. You might just notice how the dough becomes slightly smoother and more elastic when you return!
Step 3: Stretch and Folds
Now, you’re ready for the stretch and folds, a gentle yet critical technique in sourdough making. Start by wetting your hands to prevent sticking. Grab one side of the dough, stretch it upwards, and fold it over to the center. Rotate the bowl a quarter turn, and repeat this process three more times. This motion builds strength and gluten without over-kneading. Picture it as stretching before a workout; you want your dough to have that elasticity! After completing this cycle, cover the bowl and let it rest for another 30 minutes. The dough will expand, feeling alive and vibrant—a true reflection of your baking efforts!
Step 4: Room Temperature Rise
At this stage, place your dough in a warm area to rise. Ideally, the temperature should be around 75°F to 80°F for optimum fermentation. This leisurely rise allows the flavors to develop, creating that beautiful sourness we all love. After a few hours, keep an eye on the dough; it should puff up and become airy. When it’s doubled in size, you’ll know it’s ready for the next step. Think of this moment as watching your children grow—so rewarding to see their hard work pay off!
Step 5: Shaping the Loaf
Let’s shape that dough into a fantastic loaf! Gently transfer it onto a lightly floured surface, being careful not to deflate it too much. With slightly wet hands, grasp the edges and fold them inward, creating a round shape. Flip it over so the seam is on the bottom and use your palms to create a tight, smooth surface. Think of it like tucking in a little blanket—nice and cozy! Once shaped, place it into a proofing basket or a bowl lined with a floured kitchen towel. Cover it with a towel, and let it rest for about an hour. This final puff will ensure a beautiful rise in the oven!
Step 6: Proofing
Proofing is a crucial step that allows the dough to rest before baking. It’s like letting the team gather their strength before a big game! Ensure your dough is covered properly to prevent it from drying out. At this point, you can preheat your oven to 450°F and prepare your Dutch oven. This step is particularly important because it ensures your loaf rises and has a lovely crust. Keep an eye on it—it’s ready when it has doubled in size and is slightly wobbly to the touch. That’s the sweet spot!
Step 7: Cold Fermentation
If you’re short on time, cold fermentation is your best friend. By placing the dough in the fridge after shaping, the fermentation slows down, allowing flavors to intensify while you take care of other things. The longer, cooler fermentation allows for a deeper sourness and more complex flavors. It’s the answer to your busy schedule! Feel free to let it sit in the fridge for several hours or even overnight. Just think—tomorrow, you’ll wake up to the enticing smell of freshly baked bread!
Step 8: Baking the Bread
Finally, let’s bake our masterpiece! Before you transfer the dough to the preheated Dutch oven, score the top with a sharp knife. This step allows steam to escape and helps with that beautiful crust we all crave. Carefully place the dough inside the Dutch oven and cover it with the lid. Bake it for 50 minutes, and then remove the lid to bake for an additional 10 minutes to get that lovely golden-brown crust. When the aroma fills your kitchen, you’ll know your one-day sourdough bread is about to steal the show!
Tips for Success
- Always use an active sourdough starter for the best results.
- Don’t rush the resting and rising times; they’re crucial for flavor.
- Keep your workspace floured to prevent sticking during dough shaping.
- Ensure your Dutch oven is preheated for a perfect crust.
- Experiment with different flours for unique flavors and textures.
Equipment Needed
- Mixing Bowl: Any large bowl will do; even a sturdy pot works in a pinch.
- Dutch Oven: A heavy pot with a lid is ideal; try using an oven-safe casserole dish instead.
- Dough Scraper: A bench scraper makes handling dough easier; a spatula works too!
- Digital Scale: Accurate measurements ensure success; measuring cups can be used if necessary.
Variations on One-Day Sourdough Bread
- Herb-Infused Sourdough: Add dried herbs like rosemary or thyme to the flour for a fragrant twist.
- Cheese Lovers: Incorporate shredded cheese, such as cheddar or mozzarella, into the dough during mixing for a cheesy delight.
- Seeded Sourdough: Blend in seeds like sunflower or sesame for extra crunch and nutrition.
- Sweet Sourdough: Add a bit of honey or maple syrup for a sweeter flavor, along with dried fruits like cranberries or raisins.
- Whole Wheat Variation: Substitute 50% of the bread flour with whole wheat flour for a nuttier flavor and denser texture.
Serving Suggestions
- Pair your one-day sourdough bread with a rich and creamy spread, like butter or herbed cream cheese.
- Serve it alongside a fresh salad drizzled with olive oil and balsamic vinegar for a light meal.
- Consider toasting slices and topping with avocado and a sprinkle of sea salt for a delicious brunch treat.
FAQs about One-Day Sourdough Bread
Can I use all-purpose flour instead of bread flour?
Absolutely! While bread flour brings a chewy texture, all-purpose flour can be a great alternative. Just keep in mind that the loaf might be a tad softer but still delicious.
What if my sourdough starter isn’t bubbly?
If your sourdough starter isn’t bubbly, it may need more time to ferment. Give it a feeding a few hours before you start baking. It should be active and frothy for the best results in your one-day sourdough bread.
How can I tell if my dough has risen enough?
A well-risen dough should double in size and feel puffy. You can also perform the “poke test”—lightly poke the dough with your finger. If it springs back slowly, you’re ready to shape it!
Can I adjust the cold fermentation time?
Yes! Cold fermentation can be adjusted based on your schedule. The longer it ferments in the fridge, the more complex the flavors will be. So, feel free to experiment!
Is it necessary to score the dough before baking?
Yes, scoring the dough allows steam to escape, giving your loaf a lovely rustic look. It also helps maintain the structure, preventing any unexpected explosions in the oven!
Final Thoughts
Embarking on the journey of crafting one-day sourdough bread can be truly transformative. The tactile experience of mixing dough, the enchanting aroma wafting through your home, and the sheer delight of slicing into a warm loaf are moments that become treasured memories. With minimal fuss, you’ve created something special that brings loved ones together, enhances meals, and fills hearts with warmth. So whether you’re a seasoned baker or just starting, this recipe reminds us all that the joy of baking fresh bread is within reach—making every busy moment worth the while!
Print
One-Day Sourdough Bread
- Total Time: 7 hours
- Yield: 1 loaf 1x
- Diet: Vegetarian
Description
A simple and effective method for making delicious one-day sourdough bread with minimal fuss.
Ingredients
- 125g active sourdough starter (unfed, but bubbly and alive)
- 500g bread flour (provides structure and chew)
- 300g water (lukewarm is best)
- 10g salt (enhances flavor)
Instructions
- Begin your day around 8:00 AM by mixing the dough. In a large mixing bowl, combine the starter, bread flour, water, and salt. Use your hands to mix it together—it doesn’t need to be smooth, just enough to form a sticky ball.
- Once it’s mixed, cover the bowl with a towel or plastic wrap and let it rest for 30 minutes. This resting time (called “autolyse”) helps the flour fully absorb the water.
- After 30 minutes, perform a set of stretch and folds. Grab one side of the dough, stretch it up, and fold it over the center. Rotate the bowl and repeat three more times.
- Cover the dough again and let it rest for a few hours at room temperature.
- Once the dough has rested and has begun to rise, do a second round of stretch and folds. Let it rest again for 30 minutes.
- Gently shape the dough into a round or oval loaf. Place it into a proofing basket or a bowl lined with a floured kitchen towel.
- Let it rest for another hour at room temperature, covered.
- Once the dough has risen again, cover it and place it in the refrigerator for cold fermentation.
- When ready to bake, remove the dough from the fridge, score the top, and place it in a cold Dutch oven. Set the oven to 450°F and bake for 50 minutes with the lid on, then remove the lid and bake for an additional 10 minutes.
Notes
- Ensure the sourdough starter is active before use.
- Be gentle when shaping the dough to preserve air bubbles.
- Cold fermentation can be adjusted based on time availability.
- Prep Time: 30 minutes
- Cook Time: 1 hour
- Category: Bread
- Method: Baking
- Cuisine: American
Nutrition
- Serving Size: 1 slice
- Calories: 150
- Sugar: 0g
- Sodium: 200mg
- Fat: 1g
- Saturated Fat: 0g
- Unsaturated Fat: 1g
- Trans Fat: 0g
- Carbohydrates: 30g
- Fiber: 2g
- Protein: 5g
- Cholesterol: 0mg