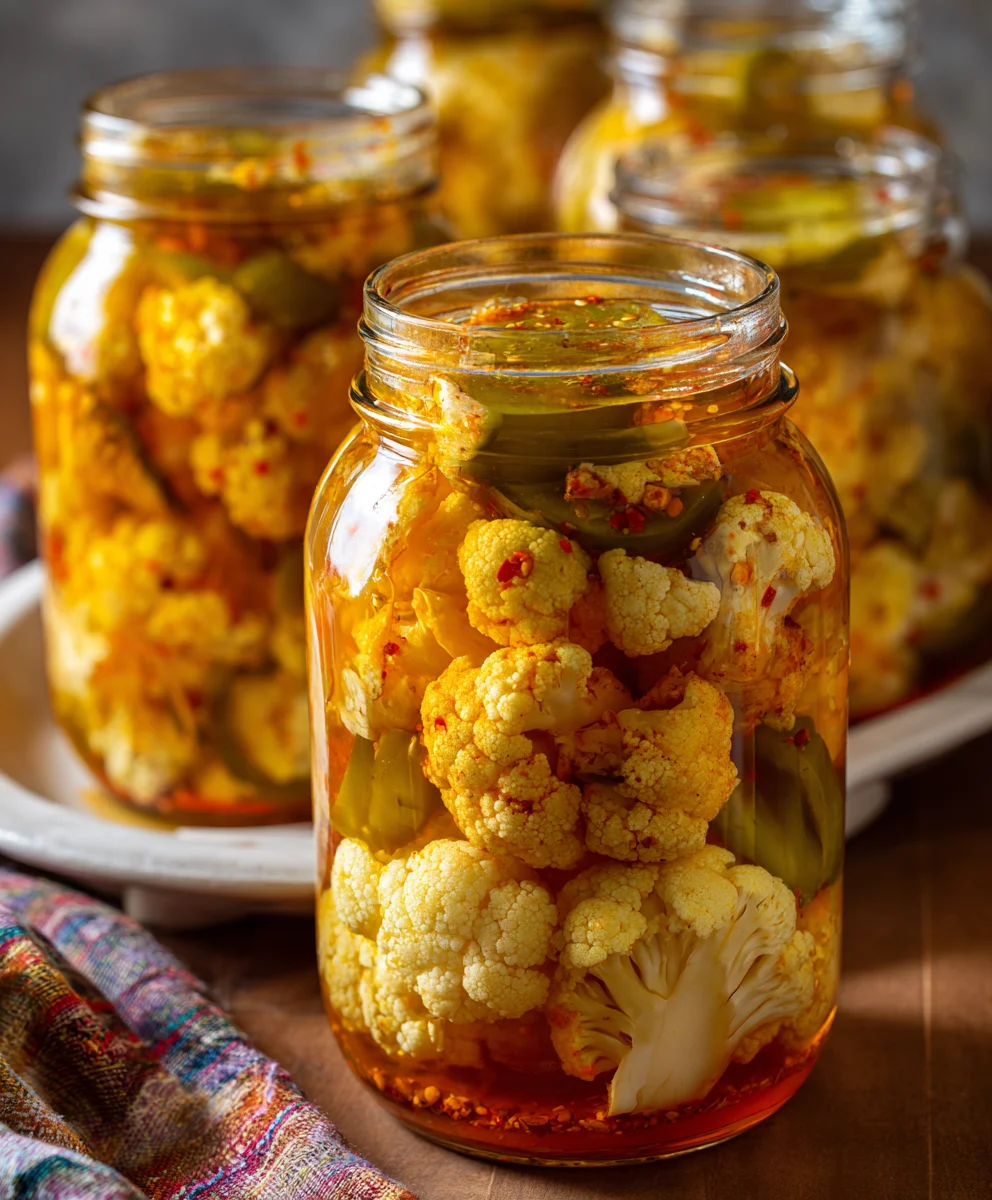
Introduction to Pickled Cauliflower
Hey there, fellow food lovers! Have you ever found yourself diving into the fridge, searching for a quick and tasty snack? Well, let me share my little secret: pickled cauliflower. This recipe has become my go-to solution on busy days when flavor needs to reign supreme but time is short. With just a handful of ingredients and a bit of patience, you can whip up a batch that’s perfect for parties or just a cozy evening at home. Trust me, your family and friends will be asking for more!
Why You’ll Love This Pickled Cauliflower
This pickled cauliflower isn’t just easy to make; it’s a flavor-packed delight that brightens any meal. With just a few simple steps, you can transform a humble head of cauliflower into a zesty treat. Plus, the crunch of pickled veggies adds a satisfying contrast to your dinner spread. Whether you’re a busy mom or a professional juggling tasks, this quick recipe will fit perfectly into your bustling life. You’ll wonder how you lived without it!
Ingredients for Pickled Cauliflower
Gathering the right ingredients is the first step on our pickling adventure. Here’s what you’ll need:
- Cauliflower: A large head of cauliflower is the star of the show. Look for one that’s fresh, firm, and free from blemishes.
- Pickling Spice Blend: This mixture includes spices like mustard seeds, coriander, and black pepper. It adds depth and warmth to your pickles.
- Apple Cider Vinegar: Known for its tangy flavor, this vinegar complements the cauliflower beautifully. It’s also great for your health!
- Filtered Water: Simple and pure, filtered water ensures we don’t alter the flavor of our brine.
- Pickling Salt: I prefer using pickling salt for this recipe, but fine sea salt works just as well. It dissolves easily and prevents cloudiness in the brine.
- Granulated Sugar: Just a touch! It balances the acidity without making it sweet and helps in the overall preservation.
Optional ingredients can include garlic cloves or red pepper flakes for an extra punch. Feel free to customize your picks! You’ll find exact measurements at the bottom of the article for easy printing.
How to Make Pickled Cauliflower
Now that we’ve gathered our ingredients, it’s time to dive into the pickling process! Each step takes us closer to a jar of crunchy, flavorful pickled cauliflower. Let’s get started!
Prepare the Jars
First things first, we need to prepare our jars. Add the pickling spice blend to each clean jar. This little mix is where the magic happens! It’s a flavor explosion waiting to happen, and the spices will infuse their warmth into the cauliflower as it picks.
Cut the Cauliflower
Next, let’s tackle that head of cauliflower. Remove the leaves and the stem. Then, cut it into bite-sized florets. Aim for even sizes—this helps them pickle more uniformly. Remember, we want delightful little morsels that will fit perfectly in your mouth!
Pack the Cauliflower
Time to get packing! Carefully place the florets into the jars, packing them tightly but not too tightly. Leave about half an inch of headspace at the top of each jar. This space allows the brine to cover those lovely veggies and encourages the best pickling results.
Make the Brine
Now, let’s create our mouthwatering brine. In a saucepan, combine the apple cider vinegar, filtered water, pickling salt, and sugar. Bring it all to a boil over medium heat. The scents will be heavenly! Stir occasionally until the salt and sugar dissolve. This brine is the secret to that zesty flavor!
Pour the Brine
Carefully pour the hot brine over the packed cauliflower in the jars. Be sure to leave about a quarter-inch of headspace. This ensures that the brine can work its magic as it cools.
Remove Air Bubbles
No one likes floating pickles! Grab a chopstick or a skewer and gently poke around the inside of the jar to release any trapped air bubbles. This step is crucial for keeping your pickled cauliflower submerged and safe from spoilage.
Seal and Cool
Once air bubbles are out, it’s time to seal those jars. Screw on the lids until they’re snug but not overly tight. Let the jars sit at room temperature until they cool down completely. This cooling process is where the brine begins to work its magic!
Refrigerate
Lastly, pop those jars in the refrigerator. It’s essential to let the pickles soak for at least 48 hours before diving in. This patience pays off with amazing flavor. The longer they sit, the better they taste as the spices and vinegar meld beautifully with the cauliflower.
Tips for Success
- Always start with clean jars to avoid any contamination. Sterilizing them is ideal!
- For extra crunch, consider using fresh cauliflower that’s at its peak.
- Experiment with spices! Try adding bay leaves or dill for different flavors.
- Make double the batch because these pickles vanish quickly!
- Remember, patience is key; let them sit longer for better taste.
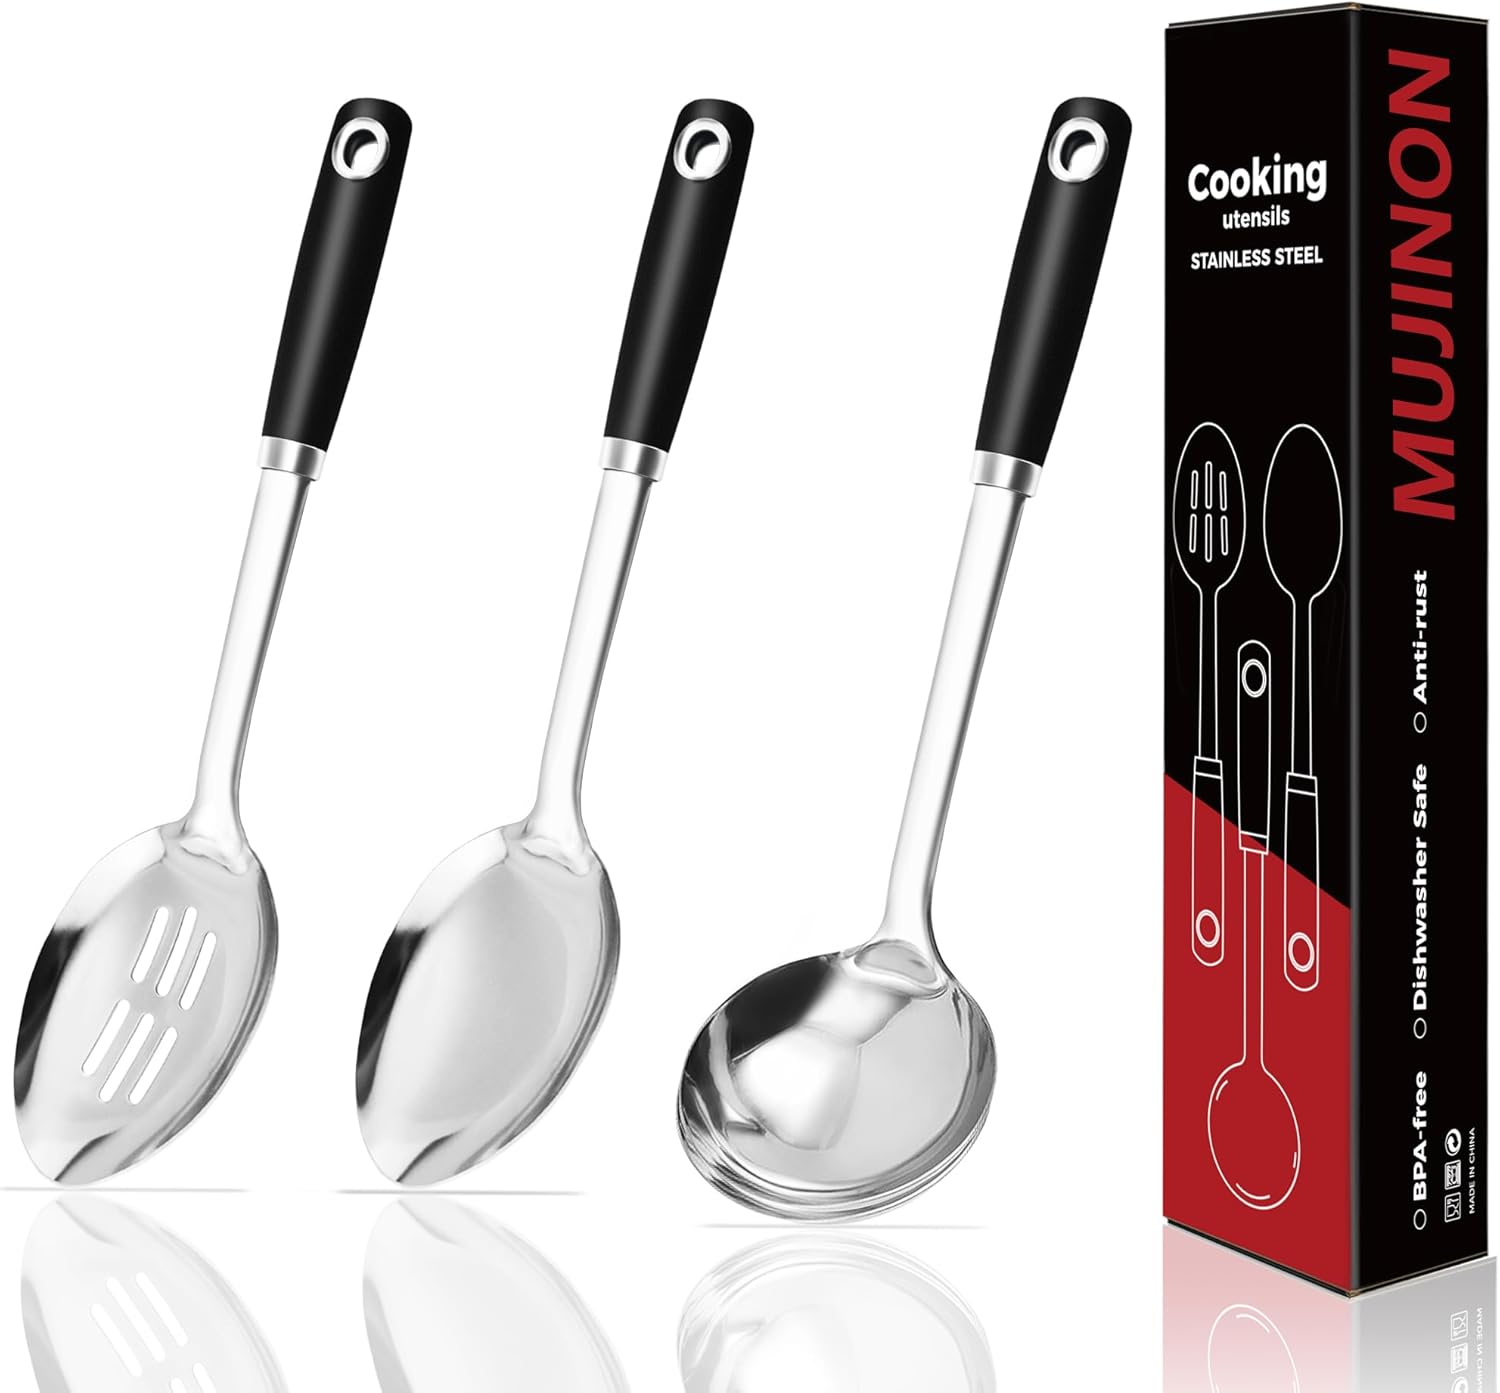
Equipment Needed
- Jars: Use mason jars or any glass containers with airtight seals.
- saucepan: A medium-sized saucepan for boiling the brine.
- Chopstick or Skewer: Perfect for removing air bubbles; a butter knife works too.
- Measuring Cups: Essential for measuring vinegar and water accurately.
Variations
- Spicy Pickled Cauliflower: Add red pepper flakes or sliced jalapeños to the brine for a fiery kick that’s sure to impress!
- Garlic Lovers: Toss in a couple of peeled garlic cloves with the cauliflower for a robust flavor that adds depth to each bite.
- Herb-Infused: Include fresh herbs such as dill or thyme to the jars for a fresh, aromatic touch that brightens the pickled goodness.
- Curry Twist: Substitute some of the pickling spices with a curry powder blend for an exotic flair that will take your taste buds on a delightful adventure!
- Lower Sodium: Use less salt by opting for a low-sodium alternative while still achieving great flavor through herbs and spices!
Serving Suggestions
- Charcuterie Board: Add pickled cauliflower alongside meats, cheeses, and olives for a vibrant touch.
- Sandwiches: Use these zesty pickles as a crunchy topping in sandwiches or wraps.
- Salad Toppers: Sprinkle over salads for an exciting twist and extra crunch.
- Cocktail Garnish: Use pickled cauliflower as a fun garnish in your favorite cocktails.
- Handy Snack: Enjoy straight from the jar as a quick, tasty snack!
FAQs about Pickled Cauliflower
How long do pickled cauliflower last in the fridge?
Once refrigerated, your homemade pickled cauliflower can last up to 2 months. Just make sure the jars are sealed properly and the veggies are submerged in the brine!
Can I use other vegetables for pickling?
Absolutely! This basic pickling method works beautifully with other veggies like carrots, cucumbers, or bell peppers. Just adjust the size of the vegetables to ensure even pickling.
Is pickling cauliflower a healthy snack option?
Yes! Pickled cauliflower is low in calories and brings beneficial probiotics if fermented. It’s a great way to add crunch and flavor to your meals without extra calories.
Do I need to boil the jars before pickling?
It’s a good practice! Boiling your jars before filling them helps sterilize and ensures your pickled cauliflower stays fresh longer. Just let them cool before you start packing!
How can I spice up my pickled cauliflower farther?
Experiment with herbs or spices! Bay leaves, dill, or even mustard seeds can add unexpected layers of flavor. Adjust to your taste for a personalized touch in your pickles!
Final Thoughts
Making pickled cauliflower is like adding a sprinkle of joy to your culinary adventures. The process is simple, yet the rewards are immense. Each time I pop open a jar, I’m greeted by a burst of crunch and tang that elevates every meal. This recipe isn’t just about pickling; it’s about savoring the little moments in the kitchen. Whether it’s for entertaining friends or simply adding a zing to your weeknight dinner, having homemade pickles on hand is a delightful experience. I hope you embrace this journey and enjoy every flavorful bite!
Print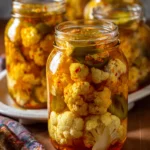
Pickled Cauliflower
- Total Time: 2 days 25 minutes
- Yield: 4–6 servings 1x
- Diet: Vegetarian
Description
Quick and easy homemade pickled cauliflower recipe.
Ingredients
- 1 large head cauliflower (about 2–3 pounds)
- 1 tablespoon pickling spice blend
- 1 cup apple cider vinegar
- 1 cup filtered water
- 1 teaspoon pickling salt (or fine sea salt)
- 1/2 teaspoon granulated sugar
Instructions
- Add pickling spice to clean jars.
- Cut cauliflower into bite-sized florets.
- Pack florets tightly into jars, leaving 1/2 inch of headspace.
- In a saucepan, bring vinegar, water, salt, and sugar to a boil.
- Pour hot brine over cauliflower, leaving 1/4 inch of headspace.
- Remove air bubbles using a chopstick or skewer.
- Seal jars and let cool to room temperature.
- Refrigerate and let pickle for at least 48 hours before serving.
Notes
- Store in the refrigerator.
- Flavor improves with time, so the longer you wait, the better the pickles will taste.
- Prep Time: 15 minutes
- Cook Time: 10 minutes
- Category: Condiment
- Method: Pickling
- Cuisine: American
Nutrition
- Serving Size: 1 serving
- Calories: 30
- Sugar: 1g
- Sodium: 320mg
- Fat: 0g
- Saturated Fat: 0g
- Unsaturated Fat: 0g
- Trans Fat: 0g
- Carbohydrates: 6g
- Fiber: 2g
- Protein: 1g
- Cholesterol: 0mg