Introduction to 4th of July White Chocolate Fudge
As the 4th of July approaches, I find myself reminiscing about summer barbecues and dazzling fireworks. This year, I wanted to whip up something special for my family, and that’s how I landed on this delightful 4th of July White Chocolate Fudge. With its vibrant layers of red, white, and blue, it’s not just a dessert, but a centerpiece that’ll have your guests buzzing with excitement. It’s a quick solution for busy moms like us, proving that even in life’s chaos, a little sweetness can brighten our holiday celebrations.
Why You’ll Love This 4th of July White Chocolate Fudge
This 4th of July White Chocolate Fudge is an absolute game changer for your holiday spread! It’s effortlessly easy to make, requiring minimal kitchen time. With a lovely no-bake approach, you avoid the heat of the oven—perfect for those warm summer days. Plus, the rich, creamy taste, combined with colorful layers, makes it a treat that dazzles every palate. Your guests will rave about it, and you’ll love how quickly it comes together!
Ingredients for 4th of July White Chocolate Fudge
Gathering your ingredients is half the fun! For this dazzling 4th of July White Chocolate Fudge, you’ll need a handful of staples that bring the vibrant colors and rich flavor to life. Here’s what you’ll need:
- For the Blue Layer: White chocolate chips set the sweet foundation. Pair them with sweetened condensed milk for creaminess, unsalted butter for richness, and vanilla extract for flavor. Don’t forget the blue gel food coloring to achieve that patriotic hue!
- For the White Layer: You’ll need the same base ingredients—white chocolate chips, sweetened condensed milk, unsalted butter, and vanilla extract. Keeping it simple ensures that beautiful white layer really stands out against its colorful friends.
- For the Red Layer: Again, use white chocolate chips, sweetened condensed milk, and unsalted butter. The twist this time is red gel food coloring, which will make your fudge burst with that classic Independence Day red!
Each of these ingredients plays a crucial role in creating that melt-in-your-mouth fudge texture. Remember, all specific quantities can be found at the bottom of the article and are available for printing when you’re ready to bake! You can also experiment with different brands of chocolate for variations in taste, or try using other colors of gel food coloring for different festive occasions. Happy fudging!
How to Make 4th of July White Chocolate Fudge
Now that you have your ingredients ready, let’s dive into making this stunning 4th of July White Chocolate Fudge. Each step is simple and straightforward so you’ll be feeling like a pro in no time! Remember to take your time with each layer for the best results. Ready? Let’s go!
Step 1: Prepare the Pan
First things first, line an 8×8 or 9×9-inch square pan with parchment paper. Make sure you leave some overhang on the sides. This will serve as your lifeline when it’s time to remove the fudge later. A well-lined pan means that your delicious treat will slide out without a fight—no one wants a fudge battle in the kitchen!
Step 2: Make the Blue Layer
Next, let’s melt the ingredients for the blue layer. In a saucepan over low heat, combine 2 cups of white chocolate chips, 1/2 cup of sweetened condensed milk, and 1 tablespoon of unsalted butter. Stir gently until everything is fully melted and smooth. Don’t forget to add 1/2 teaspoon of vanilla extract and a few drops of blue gel food coloring for that vibrant touch! Pour this mixture into your prepared pan, spreading it evenly. Chill it for about 20–25 minutes until set.
Step 3: Make the White Layer
For the magic of the white layer, you’ll repeat a similar process. In a clean saucepan, melt another 2 cups of white chocolate chips, 1/2 cup of sweetened condensed milk, and 1 tablespoon of unsalted butter. Stir in 1/2 teaspoon of vanilla extract until it’s creamy and delicious. Carefully pour this over the chilled blue layer, ensuring it covers it entirely. Chill once again for 20–25 minutes. Oh, that beautiful white layer is coming together!
Step 4: Make the Red Layer
Now, we’re nearing the finish line! Melt the final 2 cups of white chocolate chips, 1/2 cup of sweetened condensed milk, and 1 tablespoon of unsalted butter in a saucepan over low heat. Mix in 1/2 teaspoon of vanilla extract along with the exciting red gel food coloring. Pour this mixture over the white layer. Chill the whole masterpiece for at least 2 hours. Patience is key here; the wait will be worth it.
Step 5: Slice and Serve
Once those layers are perfectly set, it’s time to slice and savor! Carefully lift the fudge from the pan using the parchment overhang. Using a hot knife (dipping in hot water helps), cut it into 36 squares. This step is a bit of an art—take your time to get those beautiful pieces. Store any leftovers in the fridge, covered to keep them fresh for future snacking. You’ll be the star of your own 4th of July celebration!
Tips for Success
- Ensure all layers are completely set before adding the next one.
- Use gel food coloring for a vibrant finish; liquid coloring won’t give the same effect.
- Be patient while chilling—hasty setups can lead to layers mixing together.
- For easier slicing, use a hot knife dipped in water.
- Store leftover fudge in an airtight container in the fridge for freshness.
Equipment Needed to Make 4th of July White Chocolate Fudge
- 8×8 or 9×9-inch square pan (a similar sized baking dish works too)
- Parchment paper (aluminum foil can be a substitute, but it may not be as easy to lift out)
- Medium saucepan (any deep pan will suffice)
- Spatula (a heat-resistant silicone spatula makes stirring easy)
- Hot knife (a butter knife heated with warm water does the trick)
Variations of 4th of July White Chocolate Fudge
- Nutty Delight: Add chopped walnuts or pecans to the blue layer for a nutty crunch that balances the creamy texture.
- Berry Boost: Mix in crushed freeze-dried strawberries or blueberries into the white or red layers for a fruity twist.
- Minty Fresh: Incorporate a few drops of peppermint extract into the white layer for a refreshing mint flavor, perfect for summer!
- Gluten-Free Option: Ensure all ingredients, including sweetened condensed milk, are gluten-free to cater to gluten-sensitive friends.
- Vegan Version: Substitute white chocolate chips with dairy-free chocolate, and replace sweetened condensed milk with coconut cream for a vegan-friendly treat.
Serving Suggestions for 4th of July White Chocolate Fudge
- Pair your fudge with fresh summer berries like strawberries and blueberries for a refreshing contrast.
- Serve alongside a scoop of vanilla ice cream to enhance the creamy sweetness.
- Display your fudge on a festive platter, garnished with mini American flags for that patriotic touch!
- Complement with chilled lemonade or iced tea for a delightful summer drink combo.
FAQs about 4th of July White Chocolate Fudge
Can I use regular chocolate instead of white chocolate?
While this recipe shines with white chocolate, you can definitely experiment with milk or dark chocolate. Just keep in mind that the color scheme won’t have the same patriotic flair!
How long will the 4th of July White Chocolate Fudge last?
When stored in an airtight container in the fridge, the fudge can last up to two weeks. However, I promise it won’t last that long with everyone begging for more!
Can I freeze the fudge?
Absolutely! Wrap the fudge tightly in plastic wrap and store it in a freezer-safe container. It can last up to three months in the freezer. Just make sure to let it thaw in the fridge before serving!
What can I do if my fudge is too soft?
If your fudge doesn’t set properly, try chilling it for longer. You can also pop it into the freezer for a short while to firm it up. A little patience goes a long way!
Is this 4th of July White Chocolate Fudge suitable for kids?
Yes! With its rich flavor and vibrant colors, kids will love indulging in this festive treat. Just keep an eye on the food coloring—it can get a bit messy!
Final Thoughts on 4th of July White Chocolate Fudge
This 4th of July White Chocolate Fudge isn’t just a dessert; it’s a celebration in every bite. With its vibrant layers and creamy texture, it brings together friends and family, sparking joy and laughter. The excitement in the room as you unveil this colorful treat is truly priceless. Baking, no matter how busy life gets, allows us to create sweet moments filled with love. So, gather your loved ones and dive into this festive fudge—it’s bound to become a cherished tradition in your holiday celebrations. Happy Independence Day, everyone!
Print
4th of July White Chocolate Fudge
- Total Time: 2 hours 25 minutes
- Yield: 36 squares 1x
- Diet: Vegetarian
Description
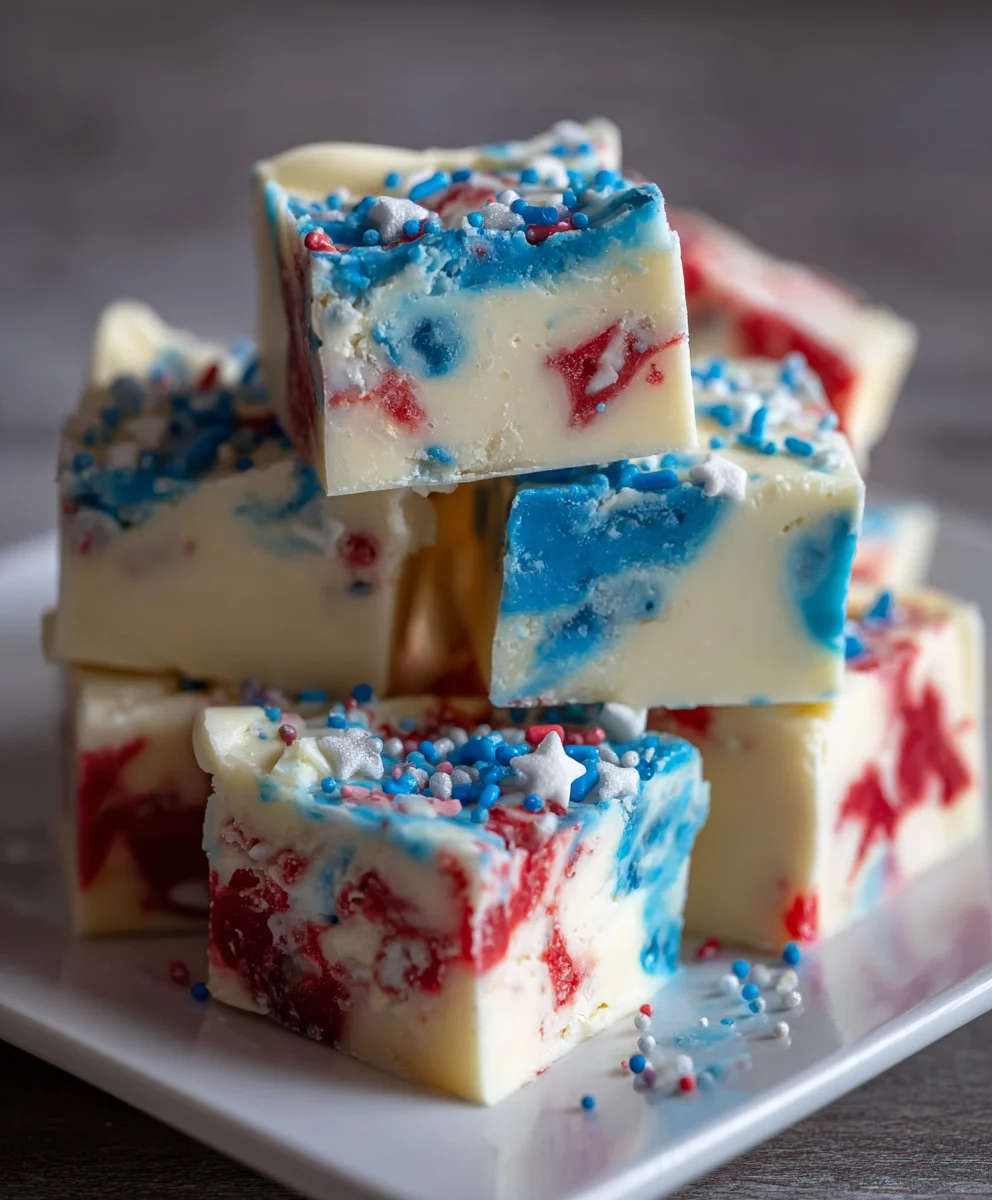
A festive and colorful 4th of July white chocolate fudge that features vibrant blue, white, and red layers, perfect for celebrating Independence Day.
Ingredients
- FOR THE BLUE LAYER:
- 2 cups white chocolate chips
- 1/2 cup sweetened condensed milk
- 1 tablespoon unsalted butter
- 1/2 teaspoon vanilla extract
- Blue gel food coloring
- FOR THE WHITE LAYER:
- 2 cups white chocolate chips
- 1/2 cup sweetened condensed milk
- 1 tablespoon unsalted butter
- 1/2 teaspoon vanilla extract
- FOR THE RED LAYER:
- 2 cups white chocolate chips
- 1/2 cup sweetened condensed milk
- 1 tablespoon unsalted butter
- 1/2 teaspoon vanilla extract
- Red gel food coloring
Instructions
- Prepare the pan: Line an 8×8 or 9×9-inch square pan with parchment paper, allowing overhang on the sides.
- Make the blue layer: Melt 2 cups of white chocolate chips, 1/2 cup sweetened condensed milk, and 1 tablespoon butter over low heat while stirring. Add 1/2 teaspoon vanilla extract and blue gel food coloring. Pour into the prepared pan and chill for 20–25 minutes.
- Make the white layer: In a clean saucepan, melt another 2 cups of white chocolate chips, 1/2 cup sweetened condensed milk, and 1 tablespoon butter. Stir in 1/2 teaspoon vanilla extract and pour over the blue layer. Chill for another 20–25 minutes.
- Make the red layer: Melt the final 2 cups of white chocolate chips, 1/2 cup sweetened condensed milk, and 1 tablespoon butter. Add 1/2 teaspoon vanilla extract and red gel food coloring. Pour over the white layer and chill for at least 2 hours.
- Slice and serve: Lift out the fudge using the parchment overhang and slice into 36 squares using a hot knife. Store covered in the refrigerator.
Notes
- Ensure all layers are completely cooled before adding the next layer.
- Use gel food coloring for a more vibrant color.
- Store leftover fudge in the refrigerator for longer freshness.
- Prep Time: 15 minutes
- Cook Time: 10 minutes
- Category: Dessert
- Method: No-Bake
- Cuisine: American
Nutrition
- Serving Size: 1 square
- Calories: 120
- Sugar: 12g
- Sodium: 30mg
- Fat: 7g
- Saturated Fat: 4g
- Unsaturated Fat: 2g
- Trans Fat: 0g
- Carbohydrates: 14g
- Fiber: 0g
- Protein: 1g
- Cholesterol: 10mg