Introduction to Vanilla Ice Cream
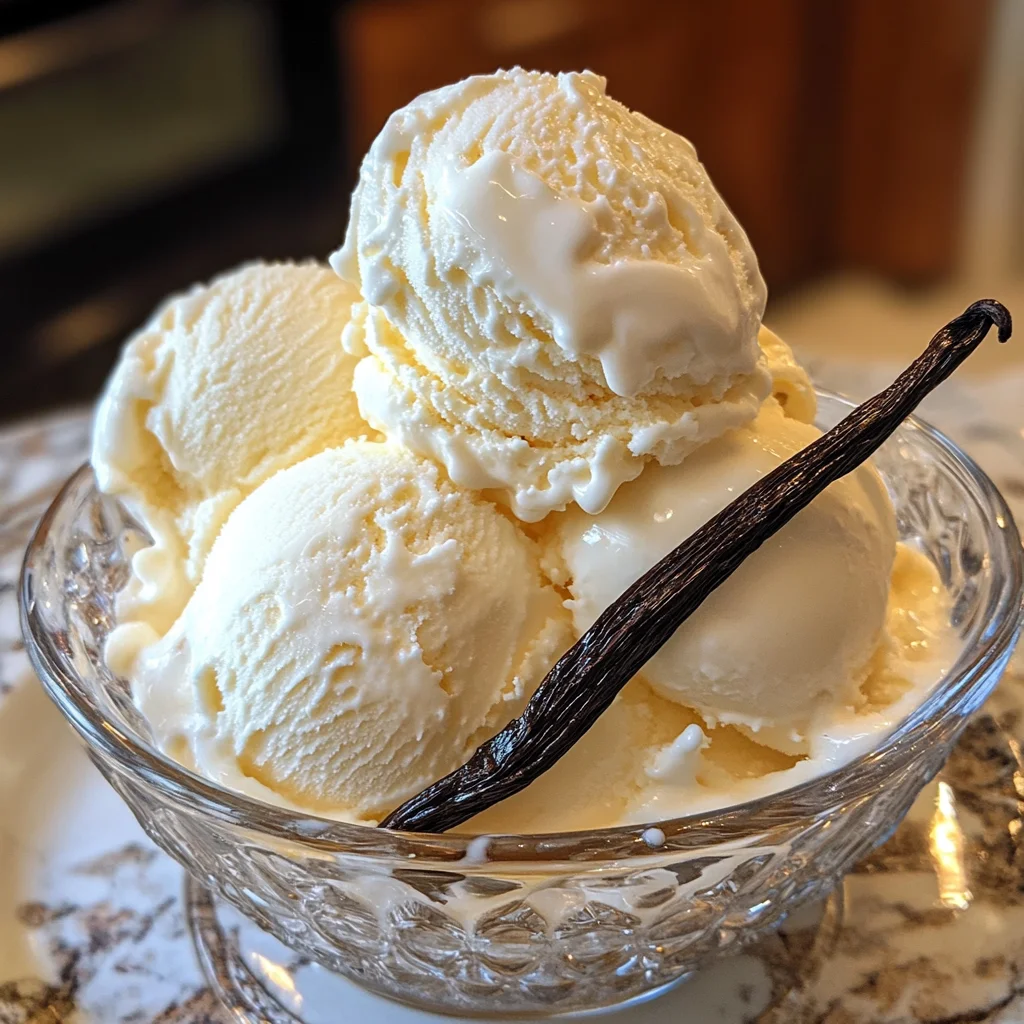
There’s something undeniably comforting about a scoop of homemade vanilla ice cream, don’t you think? With its creamy texture and dreamy flavor, this classic dessert has a way of whisking you back to simpler times, sparking joy on a busy day. I’ve found that making vanilla ice cream can be a delightful escape, transforming ordinary moments into sweet celebrations. Whether you’re treating yourself after a long week or creating a special dessert for your family, this recipe gives you that rich, indulgent taste without the fuss. So let’s dive into this scrumptious world of homemade vanilla ice cream!
Why You’ll Love This Vanilla Ice Cream
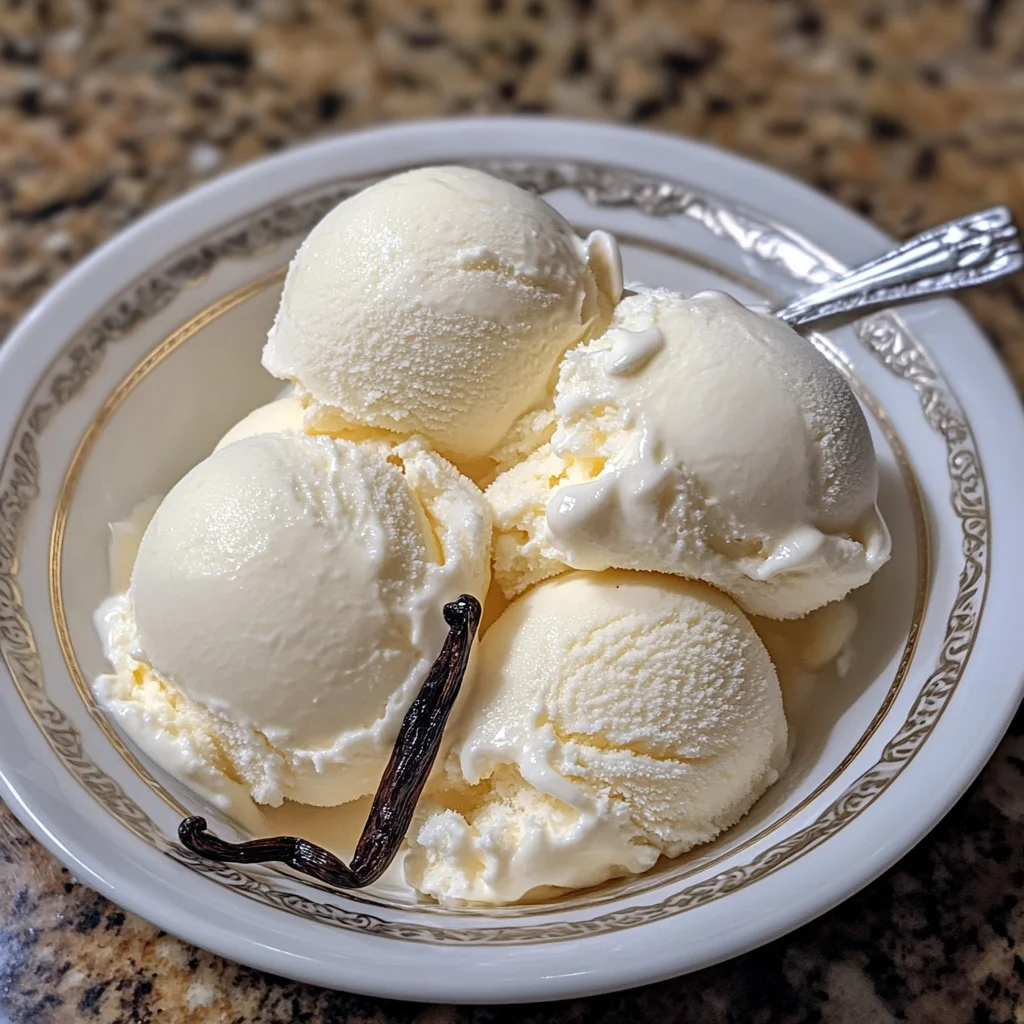
This vanilla ice cream recipe is a breeze to whip up, making it perfect for busy days when you need a sweet pick-me-up. The rich, creamy flavor will dance on your taste buds, leaving you craving more. Plus, every scoop holds the warmth of nostalgia—bringing back memories of family gatherings and sunny afternoons. Trust me, once you try it, you’ll understand why this homemade treat is a favorite!
Ingredients for Vanilla Ice Cream

Gathering the right ingredients is the first step toward creating your perfect homemade vanilla ice cream! Each component plays a vital role in that creamy goodness. Here’s what you’ll need:
- Heavy cream: This provides a rich, creamy base that makes your ice cream luxurious.
- Whole milk: It balances the richness of the cream, keeping your ice cream scoopable.
- Granulated sugar: Sweetness is key! It enhances the flavor and aids in the creamy texture.
- Vanilla bean or vanilla extract: Using a vanilla bean gives a deeper flavor, while extract is a convenient substitute.
- Egg yolks: These act as a natural thickener, contributing to a smooth custard base.
- Pinch of salt: Just a touch of salt elevates the sweet flavors, making everything more delicious!
Feel free to explore substitutes! For a lighter version, try using half-and-half instead of heavy cream. If you’re in a pinch, store-bought vanilla extract works wonders too. You can find the exact measurements at the bottom of this article, along with a handy printable recipe. Now, let’s get ready to churn up some creamy delight!
How to Make Vanilla Ice Cream
Now that we’ve gathered our ingredients, let’s dive into the exciting process of making homemade vanilla ice cream! Trust me, it’s easier than you think. Just follow these simple steps, and you’ll soon be indulging in smooth, creamy bliss.
Step 1: Heat the Cream Mixture
In a medium saucepan over medium heat, combine heavy cream, whole milk, and half of the sugar. As it heats, keep an eye on it, stirring gently. We want it to steam, not boil! Once it’s steaming, it’s time to take a break and let the delicious scents waft through your kitchen.
Step 2: Prepare the Vanilla
Now for one of the most exciting parts: preparing the vanilla! If you’re using a vanilla bean, split it lengthwise with a sharp knife. Scrape those fragrant seeds into the steaming milk mixture and toss in the split pod as well. The seeds will add those beautiful little specks of flavor throughout your ice cream. If you’re using vanilla extract, save it for later.
Step 3: Combine and Temper the Egg Yolks
In a bowl, whisk together the egg yolks, remaining sugar, and a pinch of salt until the mixture is pale and creamy. This step is key—it builds the rich custard base. Slowly pour the warm cream mixture into the yolks, whisking constantly to temper them. This gradual blending prevents scrambling those lovely yolks!
Step 4: Cook the Custard
Return the mixture to the saucepan and cook over low heat. Stir it constantly as it thickens, then test it by coating the back of a spoon. You want the custard to reach about 170°F (77°C). This will give you that smooth, luscious texture. Be patient, and trust the process; it’s worth every minute!
Step 5: Strain and Cool
Next, strain the warm custard through a fine mesh sieve into a clean bowl. This step is crucial—it removes any bits of egg or vanilla pod, leaving you with a silky custard. If you’re using vanilla extract, stir it in now while it’s still warm. Let it cool completely at room temperature, then cover and place it in the fridge for at least 4 hours, or overnight. This helps the flavors meld beautifully!
Step 6: Churn the Ice Cream
Finally, it’s time for the fun part! Pour the chilled custard into your ice cream maker and churn according to the manufacturer’s instructions. This is where the magic happens. The mixture transforms into creamy, dreamy vanilla ice cream. Once churned, transfer it to an airtight container and freeze for at least 2 hours before serving. You did it! Now, you’re ready to dig into your homemade delight!
Tips for Success
- Always use fresh ingredients for the best flavor, especially the vanilla.
- Don’t rush the cooling process; letting the custard chill overnight enhances flavor.
- Keep your ice cream maker bowl frozen for at least 24 hours before churning.
- Experiment with mix-ins like chocolate chips or nuts after churning for extra fun!
- Store any leftovers in an airtight container to maintain creaminess.
Equipment Needed for Vanilla Ice Cream
- Medium saucepan: A classic choice, but any heavy-bottomed pot will do.
- Whisk: Hand or electric, both work great for mixing.
- Fine mesh sieve: Use a colander if you’re in a pinch.
- Ice cream maker: A countertop model is fantastic, or you can try the old-fashioned method with ice and salt.
- Storage container: An airtight container keeps your ice cream fresh—you can also use a plastic freezer bag.
Variations of Vanilla Ice Cream
- Chocolate Swirl: Add a swirl of melted chocolate or chocolate syrup during the last minutes of churning for a decadent twist.
- Fruit Infused: Mix in pureed strawberries, raspberries, or mango for a fruity flavor explosion.
- Nutty Delight: Stir in toasted nuts like pecans or almonds for added crunch and flavor.
- Spiced Vanilla: Add a pinch of cinnamon or nutmeg to the custard mixture for a warm, cozy vibe.
- Dairy-Free Option: Substitute heavy cream and whole milk with coconut milk or almond milk for a lactose-free treat.
Serving Suggestions for Vanilla Ice Cream
- Pair your ice cream with warm chocolate brownies for a delightful contrast.
- Serve it alongside fresh berries for a refreshing twist.
- Add a drizzle of caramel or chocolate sauce for extra indulgence.
- Present it in a waffle cone for a fun, nostalgic touch.
- Enjoy with a splash of espresso for a creamy affogato experience!
FAQs about Vanilla Ice Cream
How long does homemade vanilla ice cream last in the freezer?
Homemade vanilla ice cream can last for about 2 to 3 weeks in the freezer, provided it’s stored in an airtight container. Just remember, for the best texture and flavor, it’s ideal to enjoy it fresh!
Can I make vanilla ice cream without an ice cream maker?
Absolutely! You can pour the custard into a freezer-safe dish and freeze it. Just remember to stir the mixture every 30 minutes for the first few hours to keep it creamy. It’s a bit more work, but the end result is still worth it!
What can I do if my ice cream becomes too hard in the freezer?
If your vanilla ice cream gets too hard, simply let it sit at room temperature for about 10-15 minutes before scooping. This allows it to soften up a bit, making it easier to serve.
Can I use other sweeteners instead of granulated sugar?
Yes, you can try natural sweeteners like honey or maple syrup, although they may alter the flavor slightly. Just remember to adjust the quantity since these sweeteners can be sweeter than sugar!
What’s the difference between using a vanilla bean and extract?
Using a vanilla bean gives a richer and more complex flavor, along with beautiful specks throughout your ice cream. Vanilla extract is convenient and still delicious, but the bean adds that gourmet touch that’s hard to beat!
Final Thoughts
Making homemade vanilla ice cream is a delightful experience that brings joy not just to your taste buds but also to your heart. As you churn and freeze, the anticipation builds, and when you finally scoop out that creamy goodness, it feels like a little slice of happiness. Whether you’re sharing it with loved ones on a warm evening or savoring a quiet moment to yourself, this treat has a wonderful way of enhancing life’s simple pleasures. I hope this recipe becomes a beloved part of your kitchen adventures, creating memories that are as sweet as the ice cream itself!
Print
Vanilla Ice Cream: Discover Your Perfect Homemade Recipe!
- Total Time: ~6 hours 35 minutes
- Yield: 6 servings 1x
- Diet: Vegetarian
Description
A creamy and delicious homemade vanilla ice cream recipe that’s perfect for satisfying your sweet tooth.
Ingredients
- 2 cups heavy cream
- 1 cup whole milk
- 3/4 cup granulated sugar
- 1 vanilla bean (or 1 tbsp pure vanilla extract)
- 5 large egg yolks
- Pinch of salt
Instructions
- In a medium saucepan over medium heat, combine the heavy cream, milk, and half of the sugar.
- Split the vanilla bean lengthwise, scrape out the seeds, and add both seeds and pod to the saucepan. (If using extract, add later.)
- Heat the mixture until it begins to steam, not boil. Remove from heat and let the vanilla bean steep for 30 minutes.
- In a bowl, whisk egg yolks with the remaining sugar and a pinch of salt until pale and creamy.
- Slowly pour the warm cream mixture into the yolks, whisking constantly to temper.
- Return the mixture to the saucepan and cook over low heat, stirring constantly, until it thickens enough to coat the back of a spoon (around 170°F/77°C).
- Strain the custard through a fine mesh sieve into a clean bowl. Discard the vanilla pod. If using extract, stir it in now.
- Let the custard cool completely, then cover and refrigerate for at least 4 hours or overnight.
- Churn in an ice cream maker according to the manufacturer’s instructions. Transfer to a container and freeze for at least 2 hours before serving.
Notes
- For a richer flavor, use high-quality vanilla bean.
- This ice cream can be mixed with various toppings after freezing.
- Store leftovers in an airtight container in the freezer.
- Prep Time: 20 minutes
- Cook Time: 15 minutes
- Category: Dessert
- Method: Chilling and Churning
- Cuisine: American
Nutrition
- Serving Size: 1 serving
- Calories: 290
- Sugar: 20g
- Sodium: 50mg
- Fat: 20g
- Saturated Fat: 12g
- Unsaturated Fat: 8g
- Trans Fat: 0g
- Carbohydrates: 24g
- Fiber: 0g
- Protein: 4g
- Cholesterol: 186mg